Estimated reading time: 6 minutes
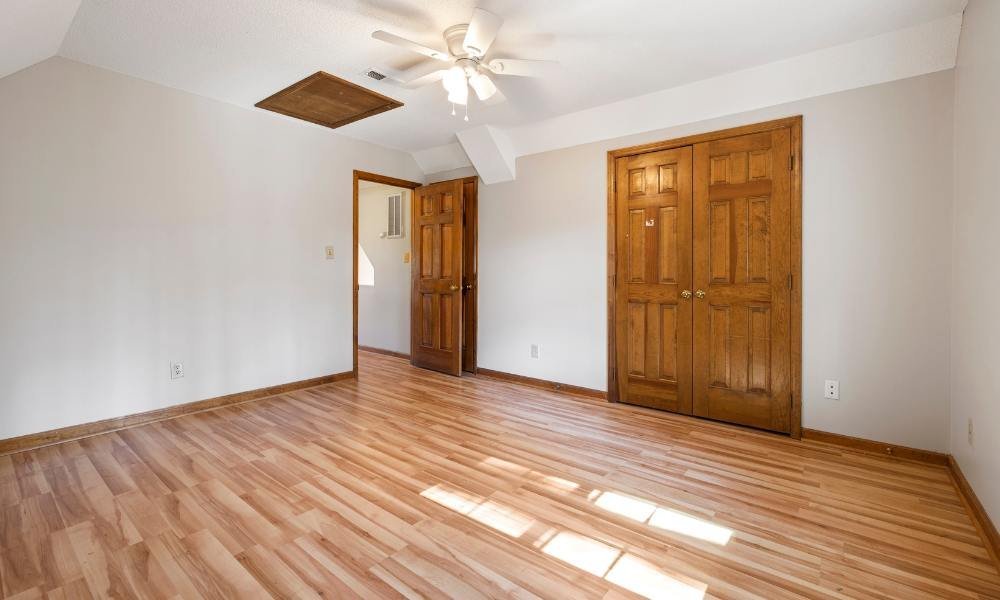
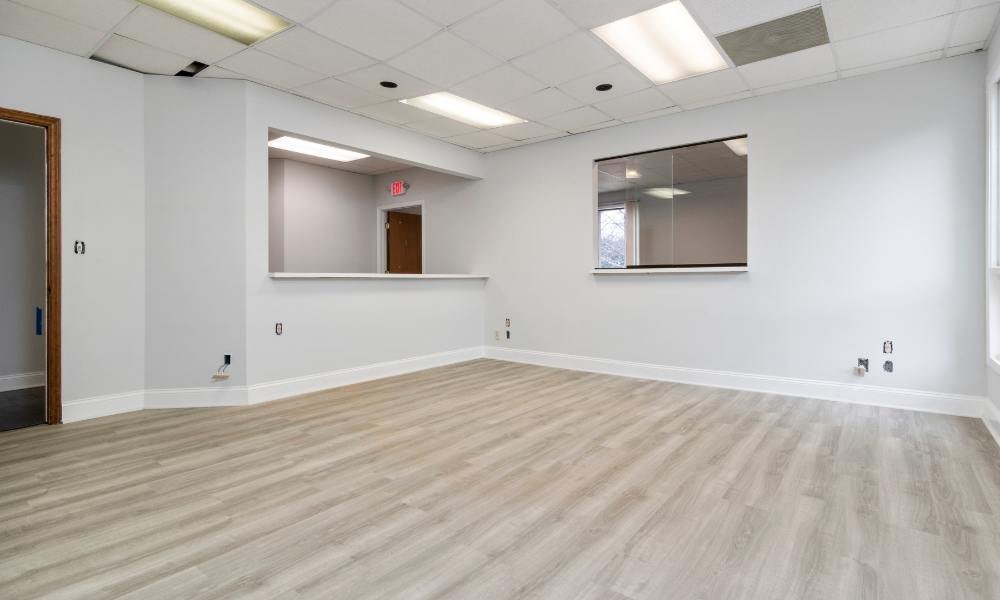
Upgrading your home with waterproof flooring is a fantastic choice for durability and style. It’s designed to handle spills, moisture, and wear, making it ideal for high-traffic and wet areas. However, even the best flooring won’t last if the installation isn’t done properly. Trust me, a few simple errors can lead to big headaches later.
In this guide, I’ll walk you through five common mistakes to avoid when installing moisture-resistant floors. By the end, you’ll have the knowledge to create a flawless, long-lasting surface.
What You’ll Learn
Here’s a quick overview of what we’ll cover:
- The importance of proper flooring installation.
- Five frequent mistakes and how to steer clear of them.
- Pro tips to ensure your new floor looks and performs its best.
Let’s get started.
Why Proper Installation Matters
Installing moisture-resistant flooring might seem straightforward, but there’s more to it than meets the eye. A proper installation ensures:
- Longevity: Mistakes can shorten your floor’s lifespan, leading to costly repairs or replacements.
- Protection Against Moisture: Even waterproof floors can’t perform if water sneaks through weak spots.
- A Smooth Finish: Incorrect installation can leave your floor uneven, noisy, or prone to gaps.
Avoiding these common issues can save you time, money, and frustration.
Mistake #1: Skipping Surface Preparation
Proper preparation is the foundation of any successful flooring project. Unfortunately, it’s a step many people overlook.
What Goes Wrong?
If the subfloor isn’t clean, dry, and level, your flooring won’t adhere properly. Uneven surfaces, dirt, and cracks can create weak points that lead to warping or bubbling over time.
How to Get It Right
- Clean Thoroughly: Remove debris, old adhesive, and dust. A broom or vacuum works wonders.
- Level the Surface: Use a leveling compound to smooth out bumps or dips.
- Repair Cracks: Seal gaps with a patching material to prevent moisture from seeping through.
Think of it this way: a flawless floor starts with a solid base.
Mistake #2: Using the Wrong Materials
Not all adhesives, underlayment, or flooring types work well together. Using incompatible materials can compromise the integrity of your installation.
Why It Matters
The wrong adhesive can weaken bonds, and an improper underlayment might fail to provide the necessary moisture protection or noise reduction.
How to Choose Wisely
- Match the adhesive to the flooring type. Check the manufacturer’s recommendations.
- Select underlayment that adds comfort and acts as a moisture barrier.
- Use waterproof flooring materials designed for specific areas, like vinyl planks for kitchens or basements.
Choosing the right materials ensures your floor stays beautiful and functional for years.
Mistake #3: Ignoring Subfloor Moisture Levels
Even though your new flooring is water-resistant, moisture from below can still cause problems if ignored.
What Happens Without Testing?
Unchecked moisture can lead to buckling, mold, or adhesive failure. This is especially common with concrete subfloors that naturally retain water.
How to Avoid This Issue
- Test for Moisture: Use a moisture meter to ensure the subfloor meets acceptable levels.
- Install a Vapor Barrier: For areas prone to dampness, add an extra layer of protection.
- Check Regularly: Moisture can vary by season, so stay vigilant.
This small step can save you big repair costs down the line.
Mistake #4: Forgetting Expansion Gaps
Expansion gaps are crucial for allowing your flooring to adjust to changes in temperature and humidity.
The Problem
Without proper gaps, the flooring has no room to expand or contract. Over time, this can cause buckling or gaps between planks.
How to Plan for Movement
- Leave a ¼-inch gap between the flooring and walls.
- Use spacers during installation to ensure consistency.
- Cover gaps with baseboards or trim for a polished look.
It’s a simple step, but it makes a huge difference in preventing long-term damage.
Mistake #5: Skipping Underlayment
Underlayment is often seen as optional, but it plays a critical role in the performance of your flooring.
Why It’s Important
Underlayment provides cushioning, reduces noise, and acts as an additional barrier against moisture. Skipping it can lead to uneven floors and increased wear.
How to Do It Right
- Choose underlayment designed for moisture-resistant flooring, such as foam or cork.
- Install it evenly across the subfloor, securing it as needed.
- Don’t skimp on quality—it’s a small investment that pays off in comfort and durability.
Additional Tips for a Flawless Installation
Here are a few more tricks I’ve learned over the years to help you avoid common pitfalls:
- Follow Instructions: Every flooring type has specific guidelines for installation. Stick to them for the best results.
- Measure Twice, Cut Once: Take your time with measurements to prevent waste or poorly aligned planks.
- Work in Sections: Installing one area at a time ensures precision and avoids overwhelming mistakes.
- Seek Professional Help: If the project feels too complex, hiring an expert can save time and frustration.
FAQs About Waterproof Flooring Installation
Here are some common questions I get about installing water-resistant floors:
1. Can I Install It Myself?
Yes, but only if you’re comfortable with DIY projects and have the right tools. If not, hiring a professional can be worth the investment.
2. What’s the Best Type of Waterproof Flooring?
Vinyl planks, laminate with a waterproof core, and ceramic tiles are all excellent options. The best choice depends on your space and needs.
3. How Long Does Installation Take?
For DIYers, it may take a day or two for an average-sized room. Professionals often finish within a single day.
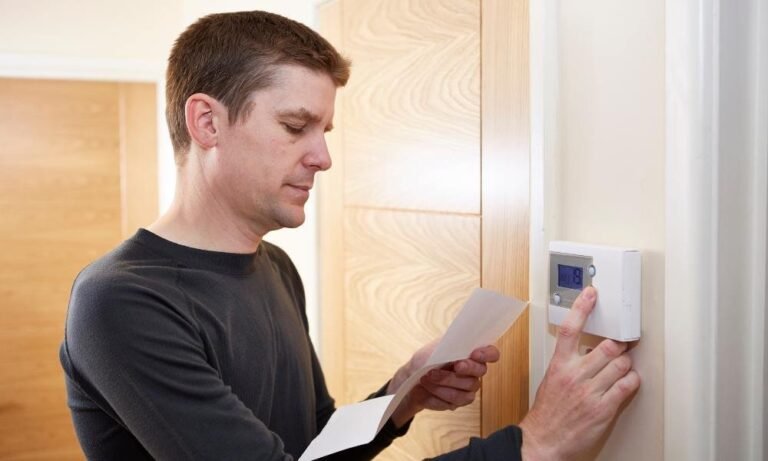
4. Is a Vapor Barrier Always Necessary?
Not always, but it’s highly recommended for concrete subfloors or high-moisture areas.
5. Can I Install Waterproof Flooring Over Existing Floors?
In some cases, yes—if the existing floor is level and in good condition. However, removing old floors is often better for long-term results.
Final Thoughts
Installing waterproof flooring is a smart investment, but it requires careful planning and execution to achieve the best results. By avoiding common mistakes like skipping preparation or using the wrong materials, you’ll ensure your floors stay beautiful, durable, and trouble-free.
So, whether you’re tackling this project yourself or bringing in the pros, take the time to get it right. Your effort will pay off every time you step onto your flawless, water-resistant floor. Happy installing!