Estimated reading time: 6 minutes
Drip, drip, drip—that annoying sound can interrupt your peace at home. Beyond being an irritation, a leaking faucet wastes a significant amount of water and drives up your bills. It’s estimated that a single tap can waste up to 3 gallons of water a day if left unrepaired. The good news? Fixing this issue is simpler than you might think. With a few tools and some basic knowledge, you can take care of it yourself.
Let’s dive into how you can handle a leaky faucet quickly, efficiently, and without unnecessary frustration.
What You’ll Learn
- Why faucets leak in the first place.
- Tools and parts you’ll need for a successful repair.
- A detailed step-by-step guide to fixing the issue.
- Preventative measures to stop future leaks.
- When it’s time to seek professional help.
Why Do Faucets Leak?
Understanding the cause of the problem makes fixing it much easier. Here are the most common reasons your faucet might be dripping:
- Worn-Out Washers or O-Rings: These small parts form the seal that keeps water from escaping. Over time, they wear out or become loose.
- Damaged Cartridges: Modern faucets, especially Monobloc or mixer types, often use ceramic cartridges. When these fail, they need replacement.
- Mineral Buildup: Hard water can lead to deposits that interfere with the faucet’s components, causing leaks.
- High Water Pressure: Excessive pressure in your plumbing system can force water through even the smallest openings.
- Corrosion: Over time, components inside your faucet may rust or degrade, leading to leaks.
Tools You’ll Need
Before you start, gather the necessary tools. Having the right equipment makes the repair process smoother:
- Adjustable wrench
- Screwdrivers (flathead and cross-headed)
- Replacement washers or O-rings
- Plumber’s tape
- A towel or rag
- A bucket to catch water
Pro Tip: Always keep spare washers and O-rings handy. They’re inexpensive and can save you an unnecessary trip to the store.
Step-by-Step Guide to Fixing a Leaking Faucet
Shut Off the Water Supply
Before anything else, locate the shut-off valve under your sink and turn it off. If your faucet doesn’t have a dedicated valve, you’ll need to turn off your home’s main water supply. Open the tap to let any remaining water drain out.
Plug the Sink
You don’t want small parts like screws or washers falling into the drain. Place a towel or plug in the sink to catch anything that might slip.
Disassemble the Faucet
Use a screwdriver to remove the handle. Many faucet handles have a decorative cap hiding the screw—gently pry it off to access the screw underneath. Keep the components organized as you remove them, and consider taking pictures to make reassembly easier.
Inspect the Valve or Cartridge
Once you’ve exposed the internal mechanism, check the valve or cartridge. If it’s a traditional faucet, you’ll see a washer that may be worn or cracked. For ceramic disc models, inspect the cartridge for damage.
Replace Damaged Parts
If the washer, O-ring, or cartridge shows signs of wear, replace it with a new one. Make sure the replacement part matches the original. Take the old component to your local hardware store if you’re unsure.
Quick Note: If mineral buildup is the issue, soak the affected parts in a vinegar solution to dissolve the deposits.
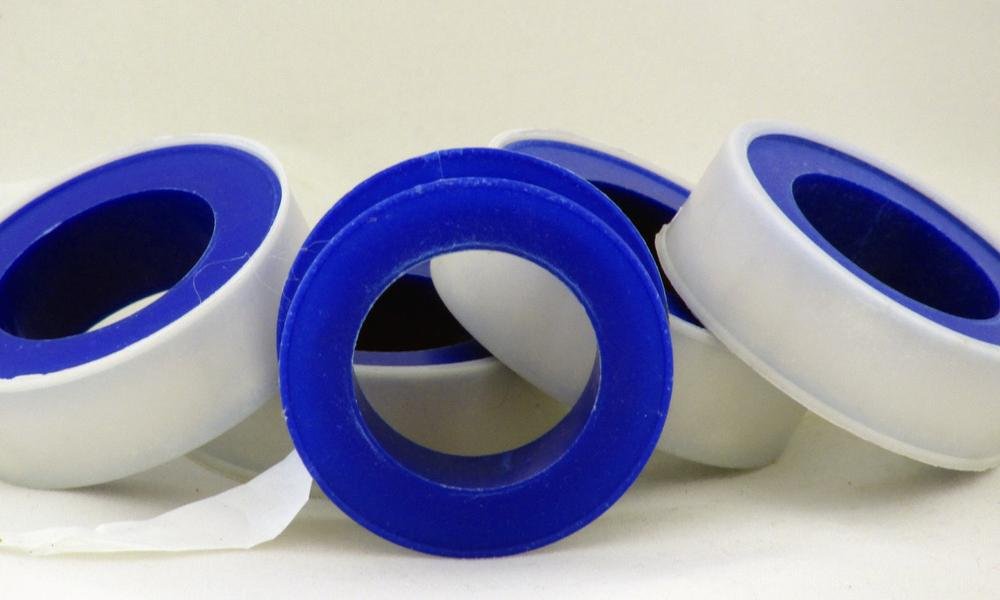
Apply Plumber’s Tape
For threaded connections, wrap plumber’s tape around the threads before reassembly. This ensures a tighter seal and prevents leaks.
Reassemble the Faucet
Reinstall the valve or cartridge, tightening it securely but not excessively. Over-tightening can damage the components. Reattach the handle and any decorative caps.
Turn the Water Supply Back On
Slowly turn the water supply back on and test the faucet. Check for any drips or leaks around the connections. If water still escapes, tighten the fittings slightly.
Test the Faucet
Turn the tap on and off several times to ensure everything is functioning correctly. Listen for unusual sounds or vibrations that might indicate additional issues.
Preventing Future Leaks
Fixing a leak is just one part of the equation. Preventative maintenance can save you time and effort down the road. Here are some tips:
- Avoid Over-Tightening: Many leaks happen because faucets are turned off too tightly. Use gentle pressure to preserve the washers and seals.
- Regulate Water Pressure: High water pressure can strain your plumbing system. Install a pressure regulator to keep things balanced.
- Regular Maintenance: Periodically inspect your faucets for wear and tear. Catching small issues early can prevent major repairs later.
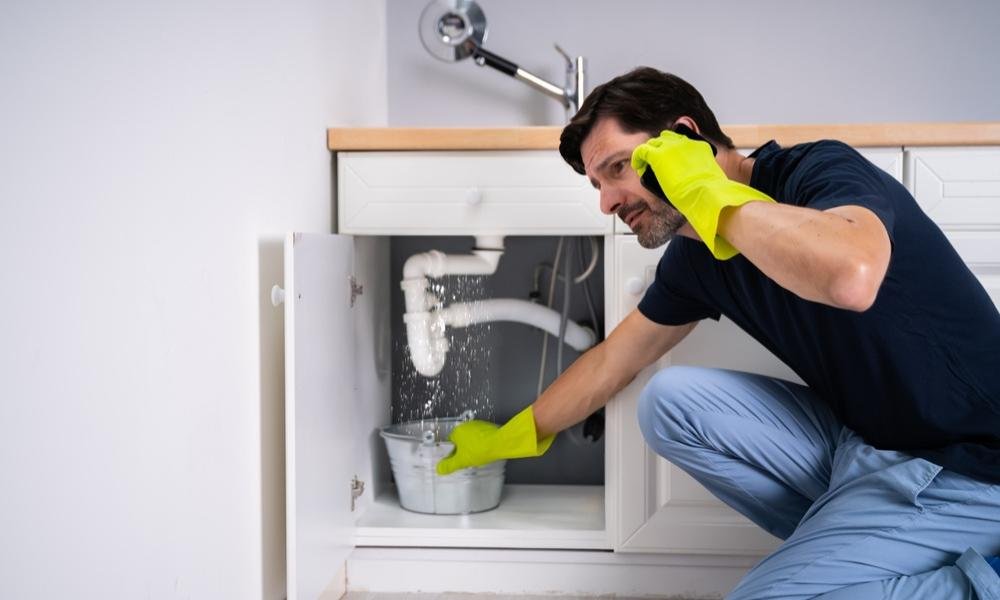
When to Call a Plumber
Sometimes, a leak is more complicated than it seems. Here’s when it’s a good idea to bring in a professional:
- Persistent Drips: If your faucet keeps leaking after replacing parts, there may be a deeper issue in the plumbing system.
- Complicated Fixtures: Mixer taps, Monobloc models, or sensor faucets can be tricky to repair without experience.
- Corrosion or Structural Damage: If internal components are rusted or damaged, a professional can assess the situation and recommend the best course of action.
Hiring a plumber might cost more upfront, but it saves you time and ensures a long-lasting fix.
Bonus Tips for Homeowners
Here are a few additional tips to keep your plumbing system in top shape:
- Invest in Quality Fixtures: Cheap faucets are more likely to develop leaks over time. Choose reliable brands and materials.
- Check Showerheads and Outdoor Taps: Leaks aren’t limited to kitchen or bathroom faucets. Inspect other fixtures regularly.
- Know Your Plumbing System: Familiarize yourself with your home’s plumbing layout, including shut-off valves and pressure settings.
Final Thoughts
Fixing a leaking faucet doesn’t have to be a daunting task. With the right tools and this step-by-step guide, you can tackle the problem head-on and save both water and money. While most repairs are manageable for homeowners, don’t hesitate to call a professional if the issue persists or feels beyond your expertise.
Remember, a well-maintained plumbing system isn’t just about convenience—it’s an investment in your home’s value and efficiency. So go ahead, take that first step, and say goodbye to the drip!
