Estimated reading time: 6 minutes
Creating a peaceful and quiet home isn’t just a luxury—it’s an investment in comfort. If you’re tired of hearing every creak, conversation, or outdoor noise, adding soundproofing is a game-changer. Installing sound-reducing materials in walls, ceilings, and floors can make your space quieter, more private, and even more valuable.
In this guide, I’ll share what I’ve learned about soundproofing homes, including how to choose the right materials, avoid common mistakes, and install insulation effectively. Let’s get started!
What You’ll Learn
Here’s what I’ll cover to help you transform your home into a quiet haven:
- What soundproofing insulation is and why it matters.
- How to select the best materials for your project.
- Step-by-step instructions for a successful installation.
- Common mistakes to avoid during the process.
- Tips for maintaining insulation over time.
What Is Soundproofing Insulation?
Soundproofing insulation refers to materials designed to reduce noise transfer between rooms or from outside. It acts as a barrier to sound waves, either absorbing, deflecting, or blocking them. Think of it as giving your walls, ceilings, and floors the ability to “turn the volume down” on the world outside or next door.
How It Differs From Regular Insulation
While standard insulation focuses on regulating temperature, soundproofing insulation prioritizes noise control. However, many materials offer dual benefits, improving energy efficiency while reducing noise.
Why Should You Consider Soundproofing?
You might be wondering why soundproofing is worth your time and effort. From my experience, here are the top benefits:
Peace and Quiet
Whether you’re working from home, enjoying a movie, or trying to sleep, soundproofing makes a noticeable difference. It minimizes distractions and helps create a calm environment.
Enhanced Privacy
In busy households, noise can travel between rooms easily. Adding insulation prevents conversations, TV sounds, or music from leaking through walls and doors.
Improved Property Value
Homes with soundproofing features appeal to buyers seeking comfort and functionality, making this a smart investment if you plan to sell.
Energy Efficiency
Many soundproofing materials also act as thermal insulators, which means your home stays warmer in winter and cooler in summer—saving on energy bills.
Best Materials for Soundproofing
Not all materials are created equal. When choosing the right option, think about your goals and the specific areas you’re insulating. Here are some of my favorites:
Mineral Wool
- Great for reducing sound and improving fire resistance.
- Best used in walls and ceilings where noise transfer is significant.
Fiberglass Insulation
- Affordable and widely available.
- Works well for reducing both sound and heat transfer.
Acoustic Foam Panels
- Ideal for smaller spaces like home studios or offices.
- Designed to absorb sound and reduce echo rather than block noise entirely.
Floor Underlays
- Perfect for reducing impact sounds, such as footsteps, in multi-level homes.
- Best paired with carpets or hardwood flooring.
Step-by-Step Guide to Installing Soundproofing Insulation
Installing soundproofing materials might seem daunting, but it’s simpler than you think. Follow these steps to get it right:
Step 1: Plan Your Project
Decide which areas of your home need soundproofing. Common trouble spots include shared walls, ceilings between floors, and exterior walls near noisy streets.
Step 2: Gather Tools and Materials
You’ll need:
- Your chosen soundproofing material
- A utility knife
- Staple gun
- Measuring tape
- Protective gloves and goggles
Step 3: Prep the Space
Clear the area you’re working on. If insulating walls, remove drywall to expose the studs. For floors, pull back carpeting or flooring materials.
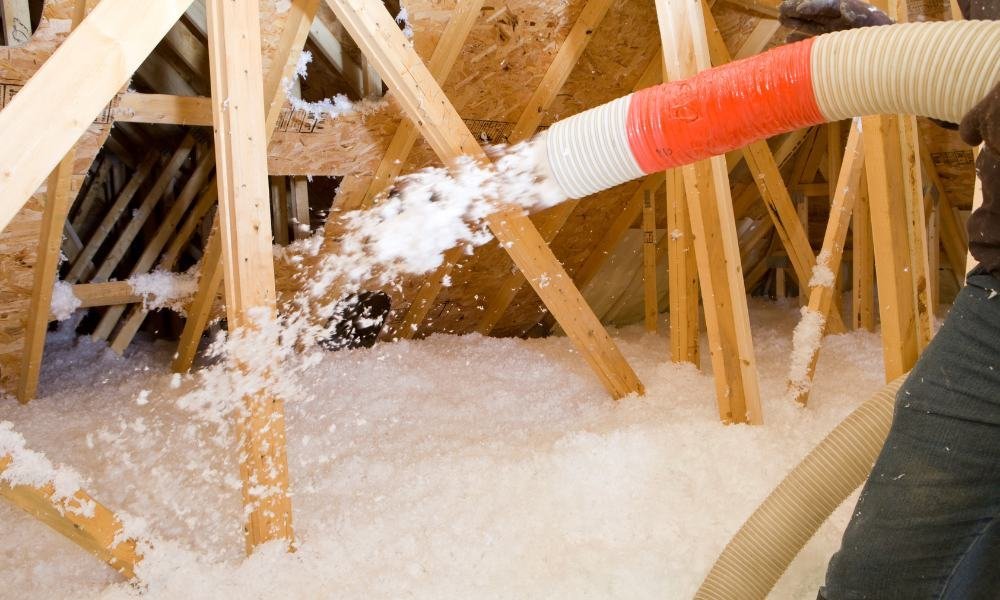
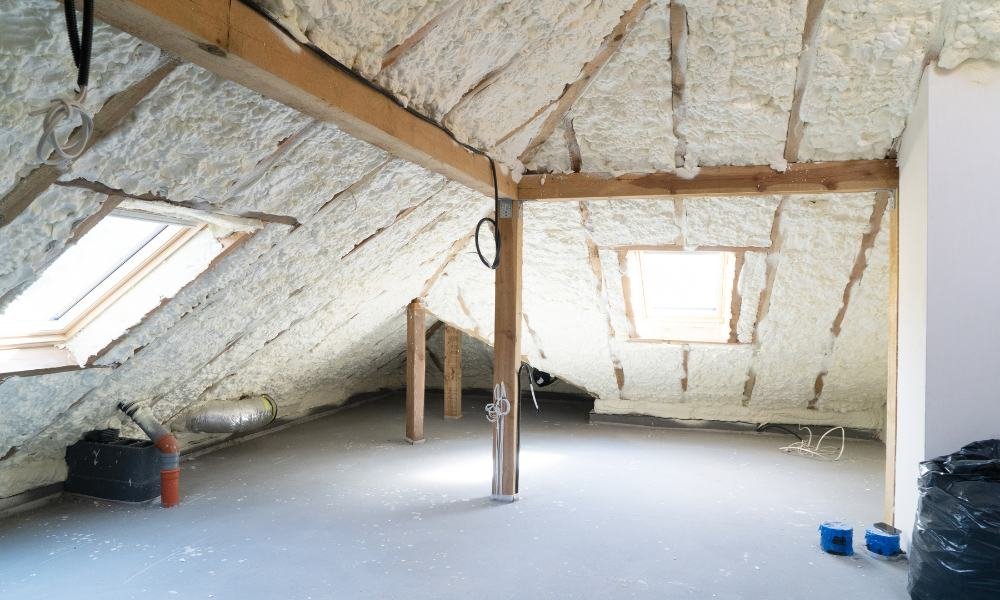
Step 4: Install the Insulation
- For walls and ceilings: Fit the insulation snugly between studs or joists. Fill gaps completely to prevent sound leakage.
- For floors: Lay the underlay material evenly, ensuring there are no wrinkles or gaps.
Step 5: Seal Gaps and Openings
Use acoustic caulk or sealant around outlets, light fixtures, and other openings to block sound pathways.
Step 6: Test the Results
Once the installation is complete, test by playing sound in the treated room. Notice the difference in noise levels in adjacent spaces.
Common Mistakes to Avoid
While soundproofing can be straightforward, these common mistakes can reduce its effectiveness:
Skipping Key Areas
It’s tempting to focus only on walls, but ceilings and floors play a major role in sound transfer. Don’t overlook them!
Leaving Gaps
Even small gaps can undermine your efforts. Take time to seal every opening, especially around outlets or fixtures.
Choosing the Wrong Material
Match the material to your needs. For example, foam panels are great for echo reduction but won’t block noise effectively between rooms.
Neglecting Safety
Always wear protective gear when handling insulation to avoid irritation or injury.
Costs and Budgeting
Soundproofing projects can fit various budgets. Here’s a quick breakdown:
- DIY Projects: Basic materials like fiberglass or mineral wool cost $1–$3 per square foot.
- Professional Help: Hiring a contractor for complex projects may triple the cost but guarantees a polished result.
- Additional Tools: Budget for items like caulk, knives, and safety gear.
Maintaining Soundproofing Insulation
Soundproofing requires little upkeep, but a few steps can help it last longer:
- Inspect Regularly: Check for gaps or signs of wear and tear, especially after renovations.
- Keep It Dry: Moisture can degrade certain materials, so address leaks or dampness promptly.
- Upgrade Over Time: As new technologies emerge, consider upgrading to even more effective options.

Additional Tips for a Quieter Home
If you’re looking for more ways to reduce noise, consider these ideas:
- Use Heavy Curtains: They help block noise from outside.
- Add Rugs or Carpets: These absorb sound and reduce echo, especially on hardwood floors.
- Upgrade Doors: Solid-core doors block sound better than hollow ones.
- Install Weatherstripping: This reduces noise and drafts around windows and doors.
Final Thoughts
Soundproofing your home is one of the best investments you can make in comfort and functionality. By choosing the right materials, following proper installation steps, and avoiding common mistakes, you can enjoy a quieter, more private space for years to come.
So, whether you’re creating a home office, building a media room, or just trying to escape the chaos of everyday noise, this guide has you covered. Now, go grab your tools and start soundproofing—you’ve got this!