Estimated reading time: 6 minutes
Switching to solar power is one of the best financial and environmental decisions I’ve ever made. It slashed my electricity bills, reduced my carbon footprint, and even increased my home’s value. But let’s be real—installing a solar energy system isn’t as simple as buying a new appliance and plugging it in. There’s planning, paperwork, and plenty of considerations involved.
If you’re thinking about making the switch, this guide will help you navigate the entire process. Here’s what I’ll cover.
- Assessing whether your property is solar-ready
- Choosing the right solar system for your energy needs
- Navigating permits and approvals
- Hiring a professional vs. DIY installation
- The installation process from start to finish
- Testing and maintaining your solar panels for long-term efficiency
By the end, you’ll have a clear roadmap for installing solar power at home or work. Let’s get started.
Step 1: Is My Home or Business Solar-Ready?
Before jumping in, I had to determine whether my property was suitable for solar panels. Here’s what I looked at.
Roof Condition and Orientation
A sturdy, south-facing roof (or north-facing in the Southern Hemisphere) is ideal.
If my roof needed repairs or was too small, a ground-mounted system was a better option.
Sunlight Exposure
I checked for potential obstructions like trees, tall buildings, or chimneys.
More direct sunlight means higher energy production.
Energy Usage and Savings Goals
I calculated my monthly electricity consumption to estimate how many panels I needed.
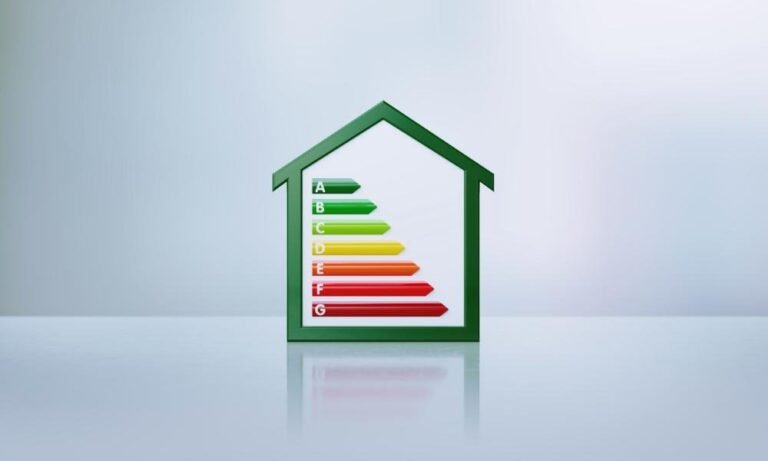
A quick energy audit helped me figure out where I could cut down on waste before investing in solar. If you’re not sure where to start, here’s a useful guide on conducting an energy audit.
If your property meets these criteria, you’re off to a great start. If you’re unsure, here are seven signs your home is ready for solar.
Step 2: Choosing the Right Solar Energy System
Not all solar power systems are created equal. I had to decide between different system types and components.
Grid-Tied vs. Off-Grid vs. Hybrid
Grid-tied connects to the power grid, allowing me to sell excess electricity back.
Off-grid is fully independent, requiring battery storage for nighttime use.
Hybrid is a mix of both, with a grid connection and battery backup.
Since I wanted lower electricity bills, I opted for a grid-tied system with net metering. You can read more about how solar panels reduce electricity bills.
Selecting the Right Solar Panels
Monocrystalline panels are highly efficient but more expensive.
Polycrystalline panels are slightly less efficient but more budget-friendly.
Thin-film panels are lightweight and flexible, best for large-scale projects.
I also considered an inverter, which converts solar power into usable electricity. String inverters, microinverters, and power optimizers each have their own pros and cons.
Step 3: Getting Permits and Approvals
This part wasn’t exciting, but skipping it wasn’t an option. Permits and approvals ensure my system meets safety and building regulations.
What I Had to Do
Checked local zoning laws for residential solar installations.
Reviewed HOA or community approvals, as some neighborhoods have restrictions.
Got utility company approval, which is necessary for grid-tied systems.
Applied for government incentives, including tax credits and rebates. If you’re wondering whether solar is a smart investment, this article on solar panel installation costs and benefits may help.
Permitting can take a few weeks to a few months, depending on your location, so I planned accordingly.
Step 4: Hiring a Professional vs. DIY Installation
Should I hire an expert or install solar panels myself? Here’s what I considered.
DIY Solar Pros and Cons
Lower cost since there are no labor fees.
Full control over the process.
Requires electrical knowledge.
Can void warranties if done incorrectly.
Professional Installation Pros and Cons
Guaranteed efficiency and safety.
Permitting and paperwork are handled by the installer.
Comes with workmanship warranties.
Higher upfront costs.
I chose professional installation to avoid mistakes. If you’re considering DIY, make sure to check local regulations, as some areas require certified electricians for installations.
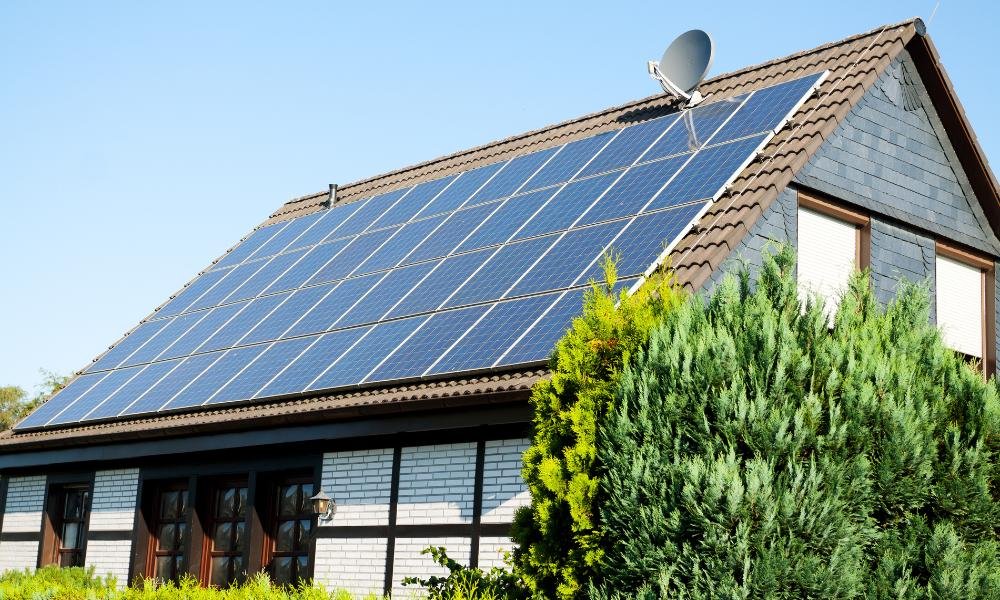
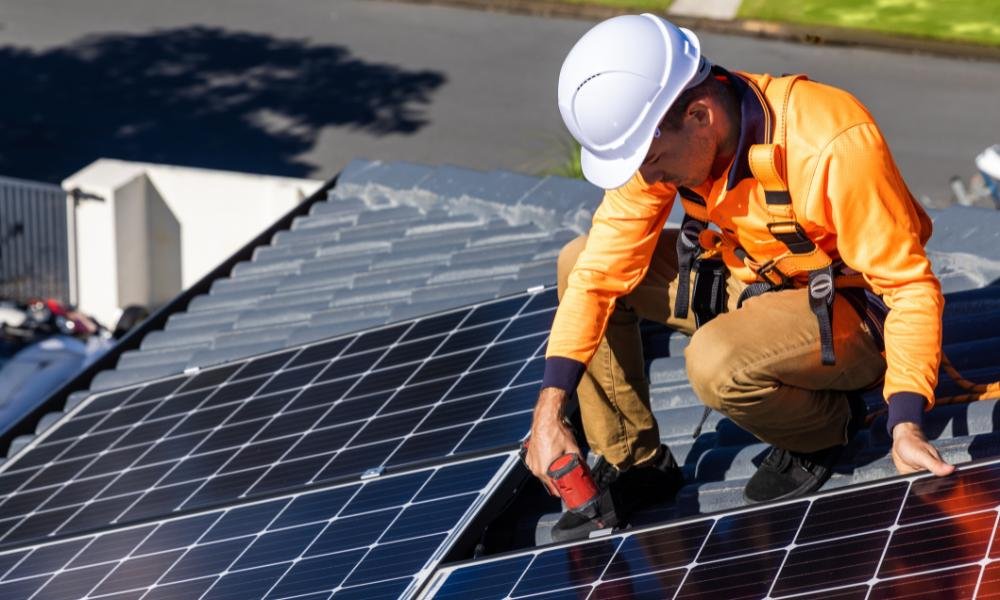
Step 5: Installing the Solar Panels
Once the paperwork was sorted, the actual installation began. Here’s how it went down.
Mounting Setup
My installer placed a racking system on the roof to secure the panels.
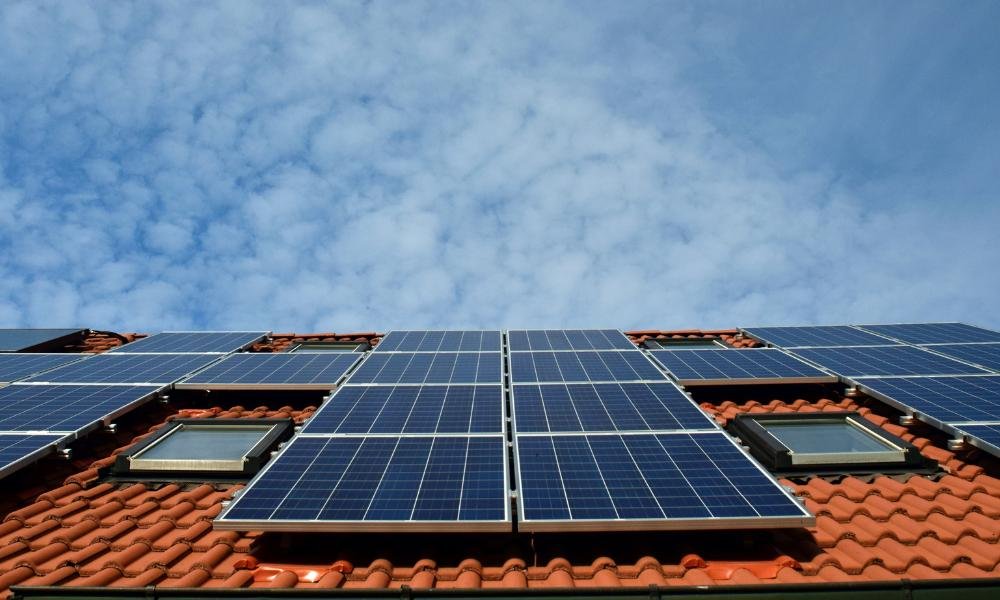
Panel Installation
The panels were positioned at an optimal angle to capture sunlight.
Electrical Wiring
Wires connected the panels to the inverter, which converted the solar energy into usable electricity.
Connecting to the Grid
My installer worked with my utility provider to connect the system and enable net metering.
The process took one to three days, depending on system size.
Step 6: System Testing and Activation
Before flipping the switch, my installer conducted several tests and inspections.
Checked system safety and ensured proper wiring.
Measured energy output to verify performance.
Coordinated with the utility company for a final inspection.
Once everything passed, my system was officially activated.
Step 7: Maintaining My Solar System for Maximum Efficiency
Solar panels don’t need much upkeep, but I follow these steps to keep them running smoothly.
Regular Cleaning
Dust, leaves, and bird droppings reduce efficiency. I clean mine every few months.
Monitoring Energy Production
Most systems come with tracking apps to monitor power output. I check mine weekly.
Professional Inspections
Every one to two years, I have an expert inspect the wiring, inverter, and connections.
Keeping up with maintenance helps me get the most out of my system for decades to come. For other ways to boost efficiency, here are top energy-saving tips for homeowners.
Final Thoughts: Was Installing Solar Worth It?
Absolutely. My electricity bills are lower, I’m less reliant on the grid, and my home value has increased.
If you’re still unsure, start by assessing whether your home is solar-ready. Then, compare different solar options to see what works for your budget and energy needs.
Would I go through the installation process again? Without a doubt.
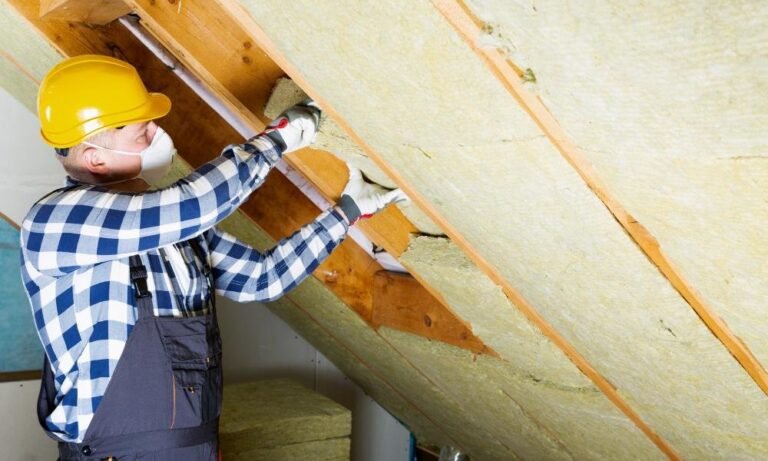
If you’re thinking about optimizing your home’s energy efficiency even further, upgrading insulation is another great step. You can check out the benefits of proper home insulation to learn how it helps with energy savings.