Estimated reading time: 5 minutes
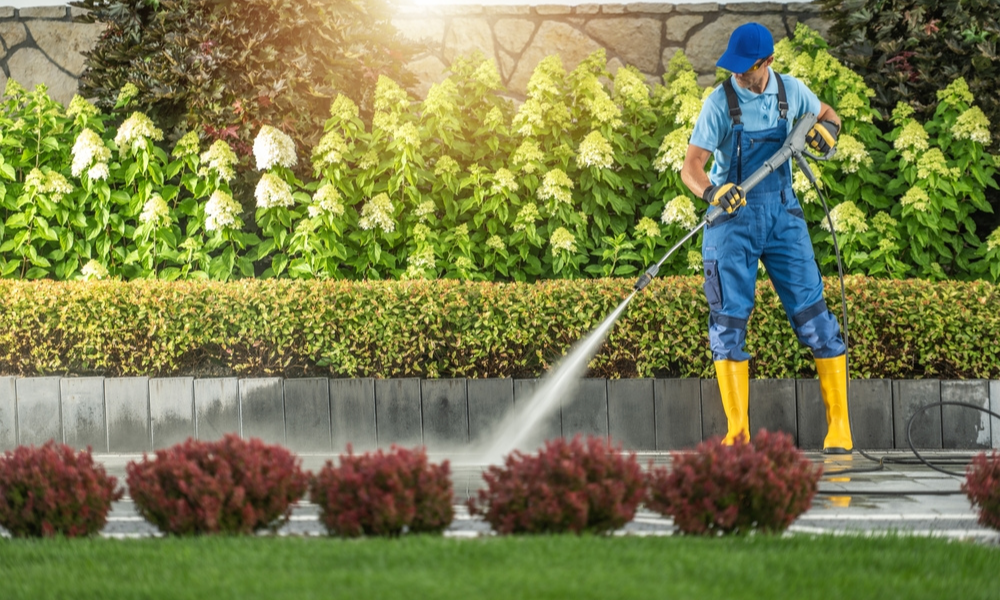
Keeping outdoor spaces clean is more than just a visual upgrade—it’s a way to maintain safety and extend the life of your patio, driveway, or deck. I’ve discovered that using a high-powered washer, commonly called a pressure cleaner, is one of the fastest and most effective methods to tackle dirt and grime. Let me walk you through how to prepare, clean, and maintain your outdoor surfaces like a professional.
What You’ll Learn in This Guide
Steps to prepare your surfaces before cleaning.
Tips and techniques for cleaning patios, driveways, and decks.
How to avoid common mistakes during outdoor cleaning.
Recommendations for tools and cleaning products that get the job done efficiently.
Step 1: Preparation Is Key
The success of any outdoor cleaning project starts with proper preparation. Here’s how I get everything ready:
- Clear the Area: Remove furniture, potted plants, and anything else that might be in the way. These items can be damaged or get in the way of your cleaning process.
- Sweep or Rake: Use a stiff broom or a rake to clear leaves, dirt, and debris from the surface. Starting with a clean base ensures better results.
- Inspect for Damage: Look for cracks in concrete, loose boards on decks, or missing grout between pavers. Address these issues before cleaning to prevent further damage.
Step 2: Choosing the Right Washer and Settings
Not all surfaces are the same, so it’s essential to adjust your equipment for each task.
Wooden Decks: Use a washer with a pressure setting up to 130 bars and a fan spray nozzle to avoid damaging the wood grain.
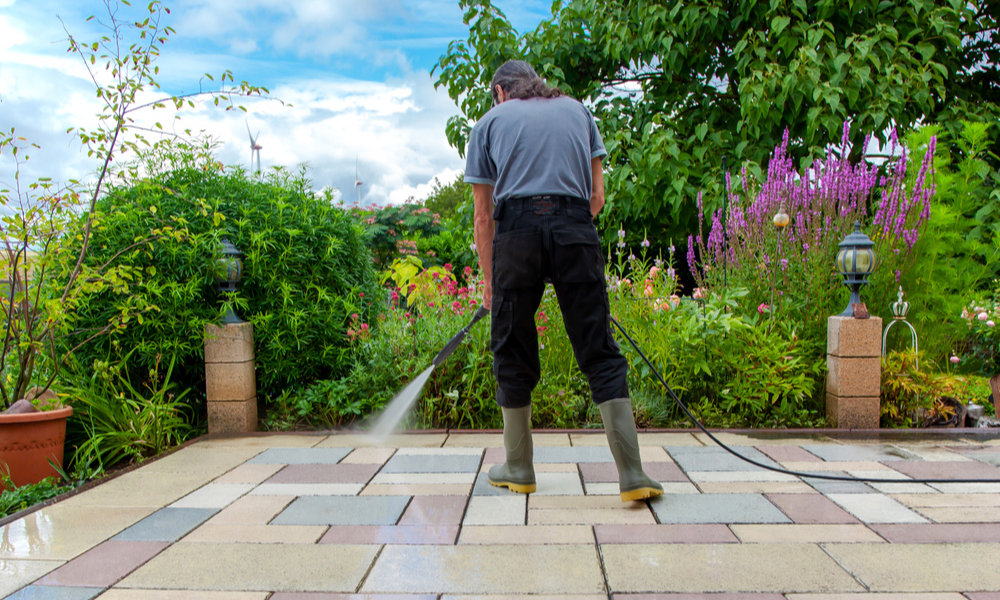
Stone or Brick Patios: For tougher surfaces, opt for 140 bars. This setting effectively removes stubborn stains without harming the material.
Concrete Driveways: Concrete can handle higher pressure, but keep the nozzle moving to prevent surface wear.
Pro Tip: Always start with a lower setting and test a small, inconspicuous area to ensure the surface can handle the pressure.
Step 3: Applying Cleaning Solutions
Sometimes, plain water isn’t enough to tackle deep stains. That’s when surface-specific cleaners come in handy:
- Select the Right Cleaner: Choose a detergent designed for your surface. For decks, go with a wood-safe cleaner; for patios, a stone cleaner works well.
- Apply Evenly: Attach the detergent dispenser to your washer and spray an even coat across the area. Let it sit for 10–15 minutes to break down grime.
- Avoid Drying Out: Work in sections, especially on hot days, to prevent the solution from drying before rinsing.
Step 4: Mastering the Technique
Once your surface is prepped and treated, it’s time to bring out the washer.
- Start at the Edge: Begin cleaning at the farthest corner and work your way toward the water drain or exit point. This approach keeps dirt from flowing over already-cleaned areas.
- Maintain Consistent Motion: Hold the nozzle about 12–18 inches from the surface and move it in overlapping strokes. This ensures even cleaning without streaks.
- Use Accessories: A rotary nozzle or patio cleaner attachment can make the process faster and more effective, especially for large areas.
Pro Tip: For decks, always follow the direction of the wood grain to prevent splintering or damage.
Step 5: Rinsing and Final Touches
Rinsing thoroughly is just as important as the cleaning itself.
- Switch to Low Pressure: After cleaning, switch to a low-pressure setting to rinse away detergent and dirt.
- Check the Drainage: Ensure that water flows freely away from the surface to avoid pooling.
- Let It Dry: Allow the area to air dry completely before moving furniture or decorations back in place.
Post-Cleaning Maintenance
To keep your outdoor spaces looking great, it’s essential to follow up with maintenance:
- Seal the Surface: Applying a sealant protects stone, wood, and concrete from weather and stains.
- Sand Between Pavers: If you cleaned a paver patio, brush fresh sand into the joints to stabilize the structure.
- Inspect Regularly: Check for cracks, loose boards, or other damage and repair them promptly.
Avoid These Common Mistakes
Even with the right tools, it’s easy to make mistakes. Here are a few to avoid:
Using Too Much Pressure: High settings can damage wood and dislodge grout between tiles or pavers.
Ignoring Safety Gear: Always wear goggles and gloves to protect yourself from debris and spray.
Skipping Test Areas: Always test a small section before cleaning the entire surface.
Recommended Tools and Supplies
Here’s what I recommend for a successful cleaning project:
Pressure washer with adjustable nozzles.
Surface-specific detergents (wood, stone, or concrete).
Stiff-bristled broom or rake.
Protective gear like gloves, goggles, and sturdy shoes.
Sealants or finishes for post-cleaning maintenance.
When to Call in the Professionals
There are times when DIY isn’t enough. If you encounter the following, it might be worth hiring an expert:
Stains that won’t budge despite your best efforts.
Extensive mold, mildew, or algae growth.
Delicate or antique surfaces that require special care.
FAQs About Outdoor Cleaning
Can pressure washing damage my deck or patio?
Yes, if the pressure is too high or the nozzle is too close. Use appropriate settings and follow manufacturer recommendations for your surface.
Do I need to use detergent every time?
Not always. For light dirt or dust, plain water might be enough. For heavy grime, detergents make a big difference.
How often should I clean outdoor surfaces?
Twice a year is usually sufficient. High-traffic areas might need more frequent attention.
Conclusion
Pressure cleaning is one of the most effective ways to rejuvenate outdoor spaces, but the right preparation, technique, and tools are crucial for success. By following this guide, you’ll save time, protect your surfaces, and enjoy a clean, welcoming space year-round. Ready to give your patio, driveway, or deck the refresh it deserves? Let’s make it happen!


