Estimated reading time: 4 minutes
Planning a paving project might seem like a big task, but knowing what to expect can make it a much smoother experience. I’ve worked on countless projects, and my goal is always to ensure the process is seamless for clients. This guide will walk you through the steps involved, from the first consultation to post-project care, so you feel confident every step of the way.
What You’ll Learn in This Guide
- How the process begins with a detailed consultation and preparation.
- What goes into getting the area ready for new pavement.
- Step-by-step insight into how your new surface comes to life.
- Tips for maintaining your new installation to maximize its lifespan.
Let’s dive into the details.
1. The Initial Consultation
Every successful project starts with a conversation. During this phase:
- I’ll visit the site to assess its condition and your specific needs.
- We’ll discuss goals, timelines, and surface options, including durable materials like asphalt.
- I’ll provide guidance on planning around things like delivery schedules or landscaping work.
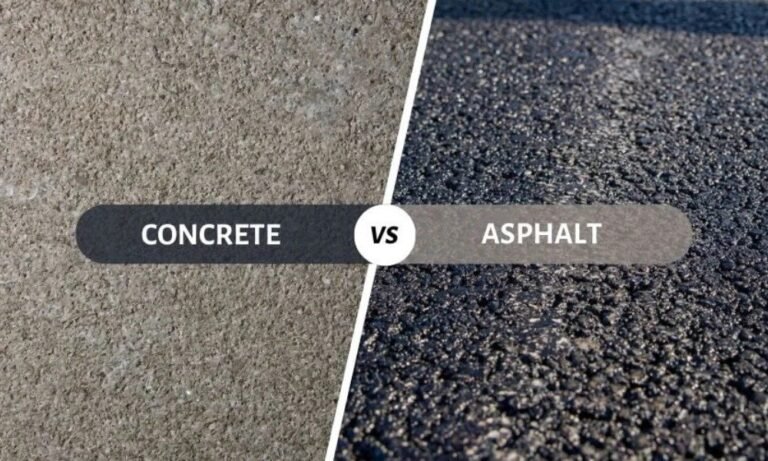
Pro Tip: If you’re still debating material choices, consider reading my article on asphalt vs. concrete for insights into which works best for your needs (source).
Light humor moment: I promise to make the consultation process painless—no one likes surprises, except for birthdays!
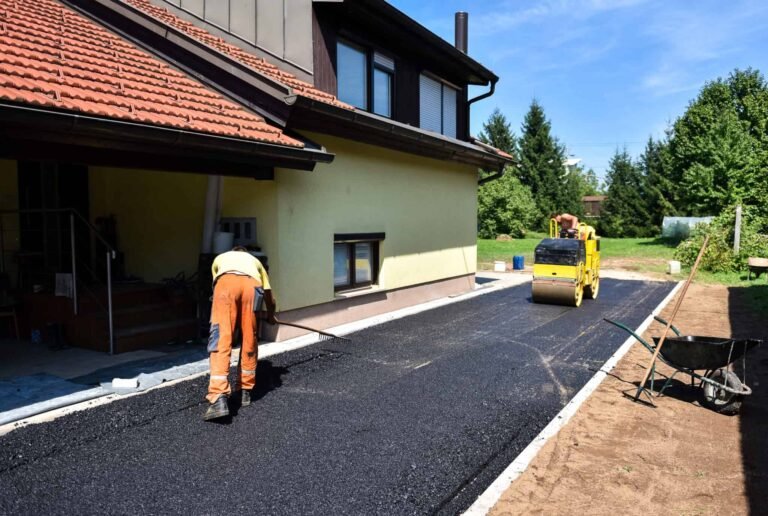
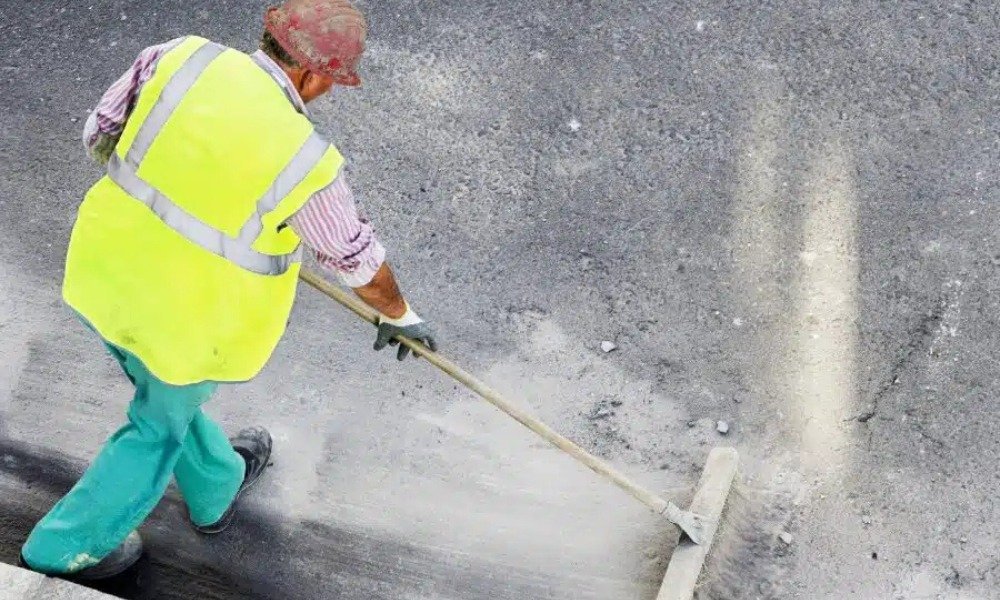
2. Preparing the Site
Once the plan is finalized, preparation begins. This step ensures the area is ready for its new surface:
- Clearing old materials and debris to create a clean base.
- Grading the site to ensure proper water runoff (because puddles aren’t great for anyone).
- Compacting the base to provide a stable foundation.
This stage might not be glamorous, but trust me, it’s critical. A strong foundation ensures your paved area will stand up to daily use for years to come.
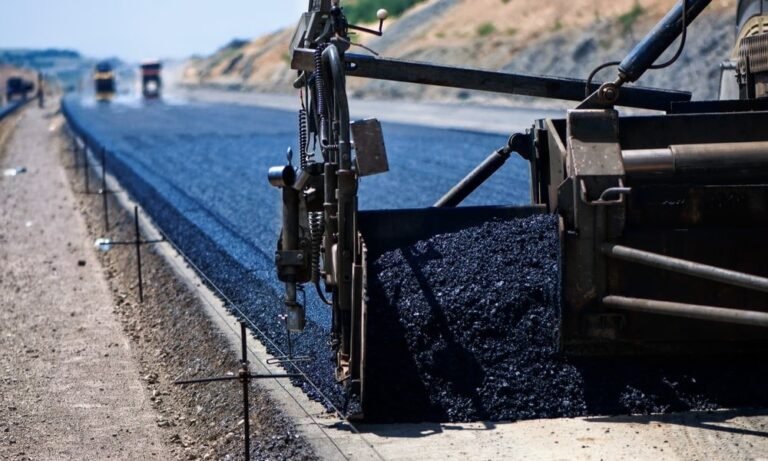
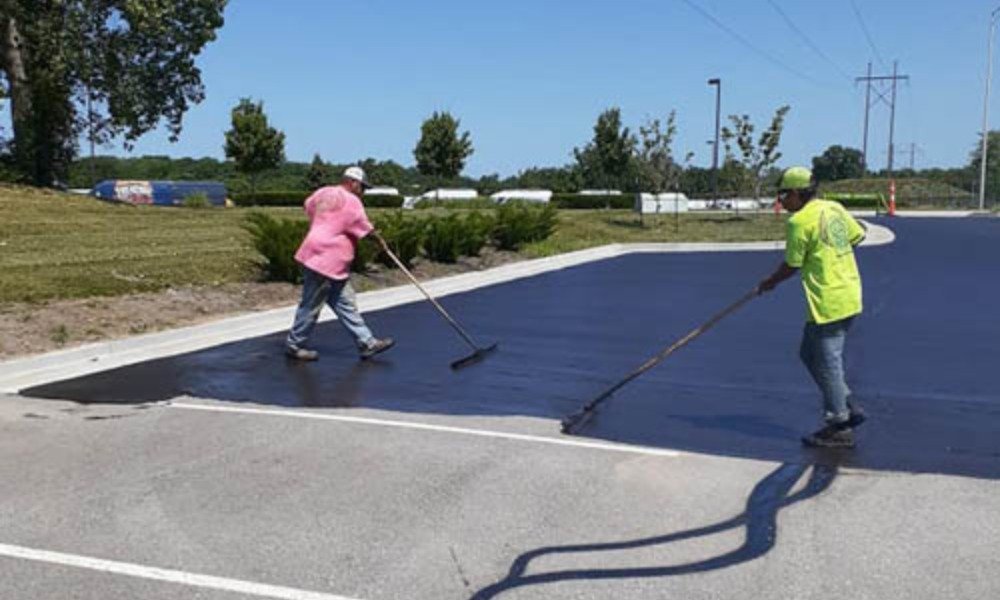
3. The Installation Process
Here’s where the real transformation happens. Once the site is prepped, it’s time to pave:
- Base Layer: A solid base is laid to provide strength and durability.
- Paving Material Application: Whether asphalt or another material, the surface is carefully installed to ensure a smooth finish.
- Final Touches: I’ll smooth and compact the top layer, ensuring it’s ready to handle anything from foot traffic to heavy vehicles.
The process moves quickly, but precision is key. It’s all about creating a surface that not only looks great but also performs well over time.
4. Communication Is Key
During the work, clear communication helps keep everyone informed:
- I make sure clients are updated on progress and timelines.
- For businesses, clear signage or notifications ensure customers and employees know what to expect.
I always say, “A well-informed client is a happy client.” Keeping everyone on the same page avoids unnecessary stress.
5. Post-Project Cleanup and Inspection
After the installation is complete, the site gets a thorough cleanup:
- Any leftover materials or barricades are removed.
- I walk through the finished area with you to ensure you’re satisfied with the results.
If you’re happy with the outcome, I’d appreciate your feedback—reviews are how others find trusted professionals.
6. Maintaining Your New Surface
Taking care of your new installation is essential for extending its lifespan. A few simple steps can make a big difference:
- Clean the surface regularly to prevent debris from causing damage.
- Address cracks or small issues early before they turn into costly repairs.
- Sealcoat the area periodically to protect against wear and tear. For more on this, check out my guide on asphalt maintenance (source).
Pro tip: Think of maintenance as giving your surface a “spa day”—it keeps it looking great and performing even better.
7. Frequently Asked Questions
Here are a few common questions I hear from clients:
- How long will this take? Most projects are completed within a few days, depending on size.
- When can I use it? Typically, you can walk on it within 24 hours and drive on it after 48–72 hours.
- What impacts cost? Factors like size, material choice, and preparation needs can affect pricing. For more details, read my article on asphalt paving costs (source).
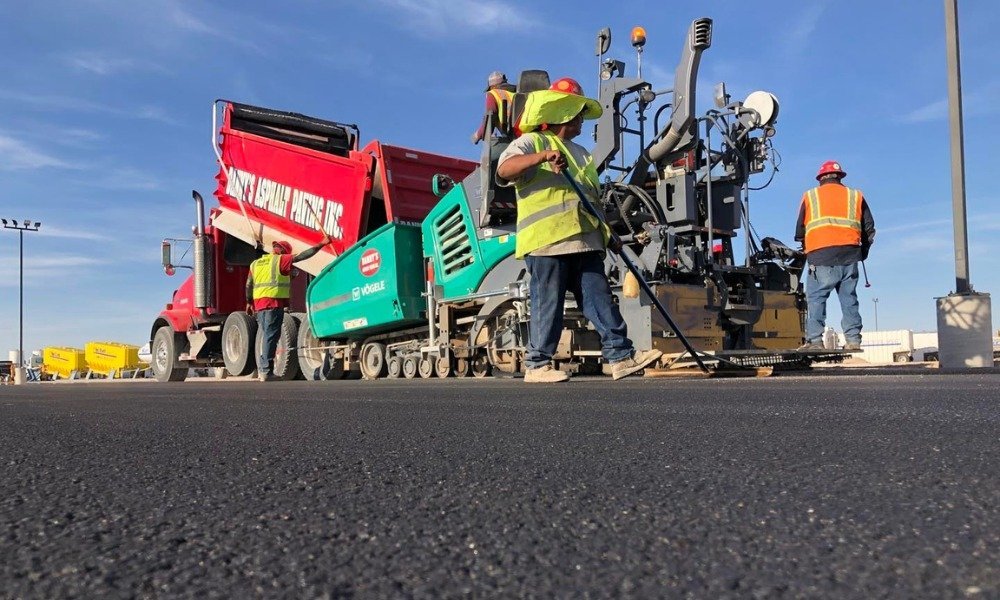
8. Why Work With a Professional?
Choosing a professional contractor ensures you get a surface that lasts. DIY might seem appealing, but it often leads to costly mistakes. My article on the benefits of hiring paving contractors explains why expertise matters (source).
Final Thoughts
Paving a driveway or parking lot is an investment in your property’s functionality and appearance. With the right contractor and a clear understanding of the process, you can enjoy a seamless experience and a long-lasting result.
Ready to get started? Contact me to discuss your project—I’d love to help bring your vision to life!