Estimated reading time: 5 minutes
Setting up a home studio is exciting, but let’s be honest—nothing kills the vibe faster than external noise or your neighbors complaining about your late-night jam sessions. That’s where soundproofing comes in. It’s not just about keeping sound in; it’s about keeping unwanted noise out, so you can focus on making your best music (and staying on good terms with the neighbors).
What You’ll Learn
- The difference between soundproofing and acoustic treatment.
- The four principles of effective soundproofing.
- Step-by-step tips for walls, floors, and ceilings.
- Solutions for doors, windows, and other problem areas.
- Affordable hacks and expert advice for a professional-quality studio.
Let’s dive into the details.
Soundproofing vs. Acoustic Treatment
Before we get into the nitty-gritty, it’s important to understand what soundproofing actually means. Soundproofing focuses on blocking sound—keeping noise from entering or leaving a space. Acoustic treatment, on the other hand, is about improving sound quality within the room by reducing echoes and reverberation. While both are important, soundproofing should be your first priority. After all, you can’t fix sound quality if your recordings are full of background noise.
The Four Principles of Soundproofing
Effective soundproofing follows these four key principles. Think of them as your foundation for creating a noise-free environment:
Add Mass
The more mass a surface has, the better it can block sound. Materials like dense drywall or concrete are your best friends here.
Damping
Damping reduces vibrations by absorbing energy. Specialized materials like acoustic damping mats or green glue work wonders for this.
Decoupling
Decoupling prevents vibrations from traveling between connected surfaces. This means separating walls, ceilings, and floors wherever possible.
Seal Air Gaps
Sound travels through even the smallest openings. Sealing gaps around doors, windows, and vents is essential.
Step-by-Step Soundproofing Tips
Build a Room Within a Room
The most effective (but labor-intensive) way to soundproof a studio is to create a “room within a room.” This involves building separate walls and floors that don’t touch the existing structure. By isolating the studio from the rest of the house, you can drastically reduce vibrations.
Add Mass to Walls and Ceilings
If rebuilding walls isn’t in your budget, you can still add mass to existing walls. Layering drywall, especially with a damping material like green glue between layers, can significantly reduce noise transfer. For ceilings, consider adding mass-loaded vinyl (MLV) or acoustic panels.
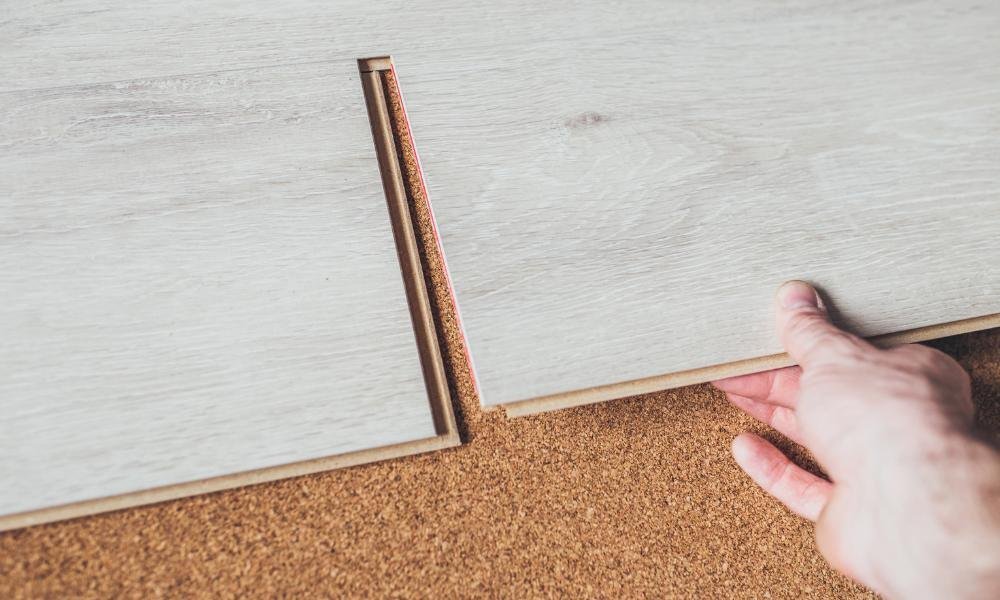
Create a Floating Floor
Floors are often overlooked, but they can be a major source of noise transfer. A floating floor—where the floorboards are separated from the subfloor using rubber isolators or neoprene strips—can prevent vibrations from traveling to other rooms.
Seal Doors and Windows
Doors and windows are weak points when it comes to soundproofing:
- Doors: Opt for a solid-core door, and install weatherstripping or acoustic door sweeps to block gaps.
- Windows: If you can’t replace windows with double-glazed glass, use thick curtains or window inserts to block noise.
Address Small Details
It’s the little things that can make or break your soundproofing:
- Use acoustic sealant to close gaps around electrical outlets and vents.
- Place rubber pads under equipment to minimize vibrations.
- Use rugs or carpets to dampen floor noise.
Soundproofing on a Budget
If a complete studio overhaul isn’t in the cards, here are some affordable tricks to reduce noise:
- Use bookshelves filled with books to add mass to walls. They’re practical and decorative!
- Hang moving blankets or quilts on walls to absorb sound.
- Repurpose old rugs to create a DIY floating floor.
- Use door draft stoppers to block sound leaks under doors.
Mistakes to Avoid
Here are a few common pitfalls I’ve seen (and learned from):
Over-relying on Foam Panels: Acoustic foam is great for reducing echoes, but it doesn’t block sound from entering or leaving your studio.
Forgetting Ventilation: A soundproof room needs proper ventilation. Use duct silencers to prevent noise from traveling through air vents.
Skipping Small Gaps: Even the tiniest crack can let noise in. Don’t overlook sealing outlets, light fixtures, and baseboards.
Other Considerations for Your Studio
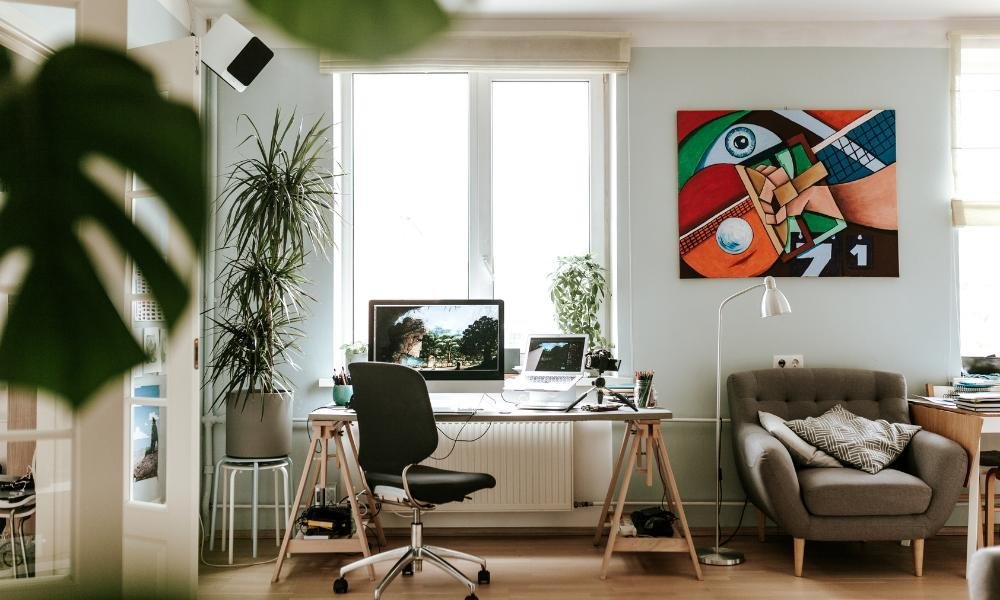
Room Size and Location
Choose a room that’s large enough for comfort but isolated from noisy areas like kitchens or busy streets. Remember, a tiny room may feel cramped once you start adding soundproofing materials.
Natural Lighting
While windows aren’t ideal for soundproofing, natural light can make your studio feel less like a cave. If you’re using a room with windows, invest in thick, noise-blocking curtains or inserts.
Benefits of Soundproofing
Soundproofing isn’t just about noise; it’s about creating a better work environment. Here’s how:
- Privacy: Keep your creative sessions private without disturbing others.
- Focus: Eliminate distractions to stay in the zone.
- Professional Quality: Produce recordings free from interference or background noise.
Final Thoughts
Soundproofing your home studio doesn’t have to be overwhelming or break the bank. By focusing on the basics—adding mass, sealing gaps, and isolating surfaces—you can achieve professional results without building a recording studio from scratch. Whether you’re a musician, podcaster, or content creator, the right setup can make all the difference in your work.