Estimated reading time: 5 minutes
When it comes to building a home, framing is one of those processes that often stays behind the scenes but holds everything together—literally. I’ve spent years in the framing business, and if there’s one thing I know, it’s that understanding the framing process can make a world of difference for homeowners. Let’s demystify the process and give you the insights you need to feel confident as you watch your future home take shape.
What You’ll Learn in This Guide
What framing is and why it matters for your home.
The step-by-step process involved in framing.
Tips to ensure your project stays on track and within budget.
Common mistakes and how to avoid them.
How to choose the right materials and professionals for your project.
1. What Is Framing and Why Is It Important?
Framing is like your home’s skeleton—it provides structure, shape, and support for the walls, floors, and roof. Without a strong frame, a house wouldn’t stand a chance against time, weather, or use. Think of it as the bones of your dream home. And trust me, those bones need to be sturdy.
Framing also determines the layout of your home. From room dimensions to window placements, the framing phase is where your blueprints start turning into reality.
2. The Step-by-Step Framing Process
Framing might look straightforward, but there’s a method to the madness. Here’s how it typically unfolds:
Step 1: Foundation Preparation
Every solid frame starts with a level foundation. This step ensures your home doesn’t develop issues like sagging floors or crooked walls down the line.
Step 2: Building the Floors
The floor framework is the first piece of the puzzle. Joists are carefully placed to create a level surface for your home’s flooring.
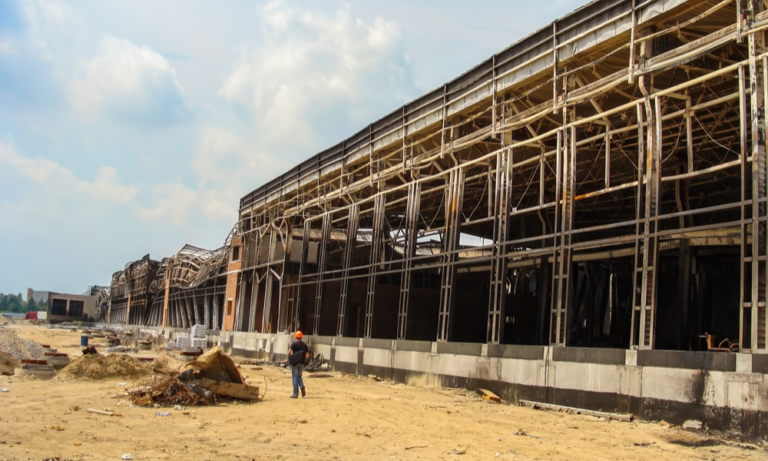
Step 3: Erecting the Walls
This is where things get exciting. Walls are framed using either wood or steel, depending on the design and materials chosen. It’s the moment when your home starts taking shape—literally.
Step 4: Adding Roof Trusses
Roof trusses are installed to provide support for the roof. This step is crucial for protecting your home from the elements.
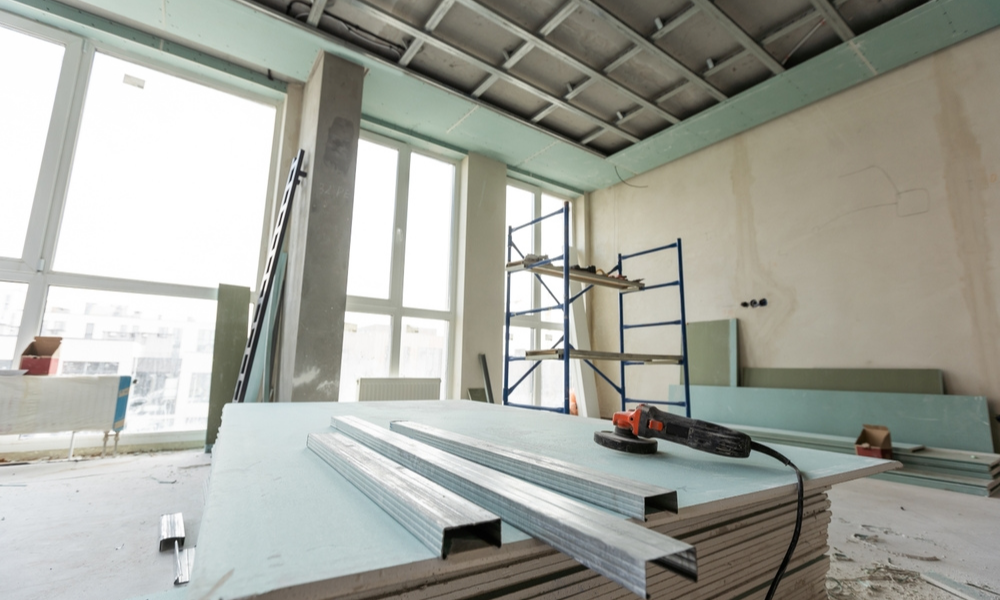
Step 5: Securing the Structure
After the frame is assembled, it’s inspected and reinforced to ensure it’s solid and ready for the next construction phases.
For more details on the importance of this stage, check out my article on How Framing Affects the Strength of Your Building.
3. Materials: Choosing Between Wood and Steel
Wood and steel are the two most common materials used in framing. Each has its perks:
Wood: Affordable and versatile, wood is a traditional favorite. It’s easy to work with but requires treatment to prevent pests and rot.
Steel: Durable and resistant to fire, steel offers modern advantages. However, it’s pricier and requires specialized skills.
Not sure which is right for your project? Read my detailed comparison on Wood vs. Steel Framing.
4. Common Framing Mistakes to Watch For
Even experienced builders can slip up during framing. Here are some common pitfalls:
Improper measurements: A few inches off can lead to uneven walls or doors that don’t fit.
Skipping inspections: This can result in costly corrections later.
Using subpar materials: Cheap materials can compromise your home’s integrity.
Avoid these issues by learning from my guide on Common Mistakes in Framing Projects.
5. How Long Does Framing Take?
Framing timelines vary depending on your home’s size and complexity. For a standard single-family home, framing can take anywhere from 1 to 3 weeks. Factors like weather, crew size, and design intricacies can speed things up or slow them down.
6. Budgeting for Framing
Framing costs are influenced by materials, labor, and your home’s design. On average, you can expect framing to account for 15-20% of your overall construction budget. To get a clearer picture of costs, I’ve broken it all down in Framing Costs Explained.
7. Tips for Choosing the Right Framing Contractor
Picking the right professional is as important as the framing itself. Here are some tips:
Look for someone with a proven track record.
Ask for references and check their previous projects.
Don’t just focus on price—quality matters most.
For more advice, check out my article on Choosing the Right Framing Contractor.
8. Inspections: Your Secret Weapon
Before moving to the next construction phase, your frame must pass inspections. These ensure your home meets local building codes and is safe for future use. I’ve covered everything you need to know about inspections in Inspections 101: Ensuring Your Framing Meets Building Codes.
9. The Role of Energy Efficiency in Framing
A well-framed home doesn’t just look good—it performs better too. Proper framing can improve insulation and reduce energy costs over time. Curious how? Take a look at How Proper Framing Boosts Energy Efficiency in Homes.
Conclusion
Framing is more than just hammering nails into wood or steel—it’s about creating a strong, safe, and efficient structure that will support your dream home for years to come. By understanding the process, choosing quality materials, and hiring the right professionals, you can ensure your project starts on the right foot.
If you’re ready to dive into your next framing project, or just have questions, feel free to explore more of my resources or reach out. Your dream home deserves the best start, and framing is where it all begins.