Estimated reading time: 5 minutes
If you’re gearing up for a paving installation, congratulations! You’re taking a big step toward enhancing your property’s curb appeal and functionality. But before the first scoop of dirt is moved, preparation is essential. Without a solid foundation, even the most beautiful paving job can lead to frustration down the road—literally.
Here’s what you’ll learn in this guide:
- Assessing your property and identifying problem areas.
- Clearing the area and getting rid of obstacles.
- Preparing a strong base for long-term durability.
- Ensuring proper drainage and slope.
- Tips for choosing the right materials and tools.
- Why proper edge restraint matters.
- Avoiding common paving mistakes.
Let’s get started so you can pave your way to success (pun intended)!
1. Assess Your Property
Before any work begins, I always assess the property. This means walking around the area and noting cracks, uneven spots, or drainage issues. Is there a spot where water pools after rain? That needs fixing. Trust me, skipping this step is like trying to bake a cake without preheating the oven—it’s bound to backfire.
If your driveway or patio has pre-existing damage, you might want to read about the 7 Signs Your Asphalt Driveway Needs Repairs Now. You’d be surprised how much fixing these issues upfront can save you in the long run.
2. Clear the Area
Time to roll up your sleeves (or hire someone to do it). Remove vehicles, furniture, debris, and any plants encroaching on the space. Overgrown roots are notorious for ruining perfectly good paving jobs. I once saw a project fail because someone underestimated a sneaky tree root—it had its own agenda.
A clear workspace isn’t just about safety; it’s about efficiency. Plus, a clean slate makes it easier to visualize the finished product.
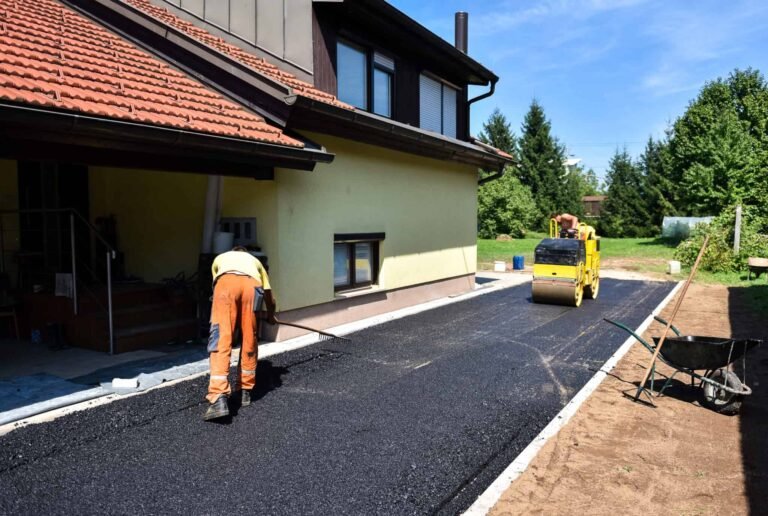
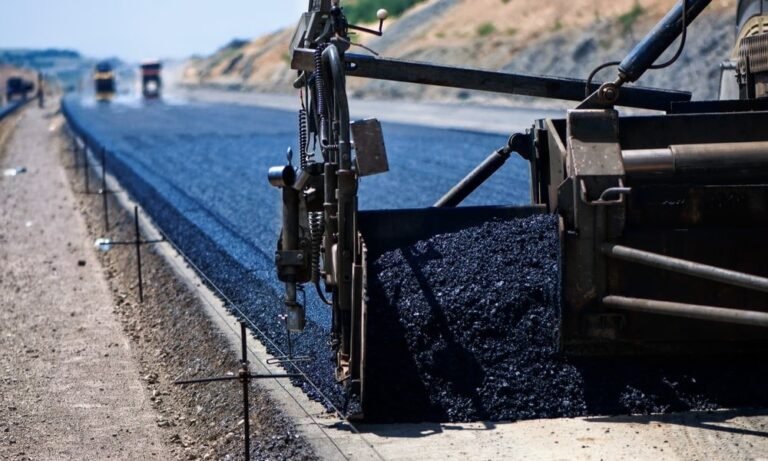
3. Prepare a Strong Base
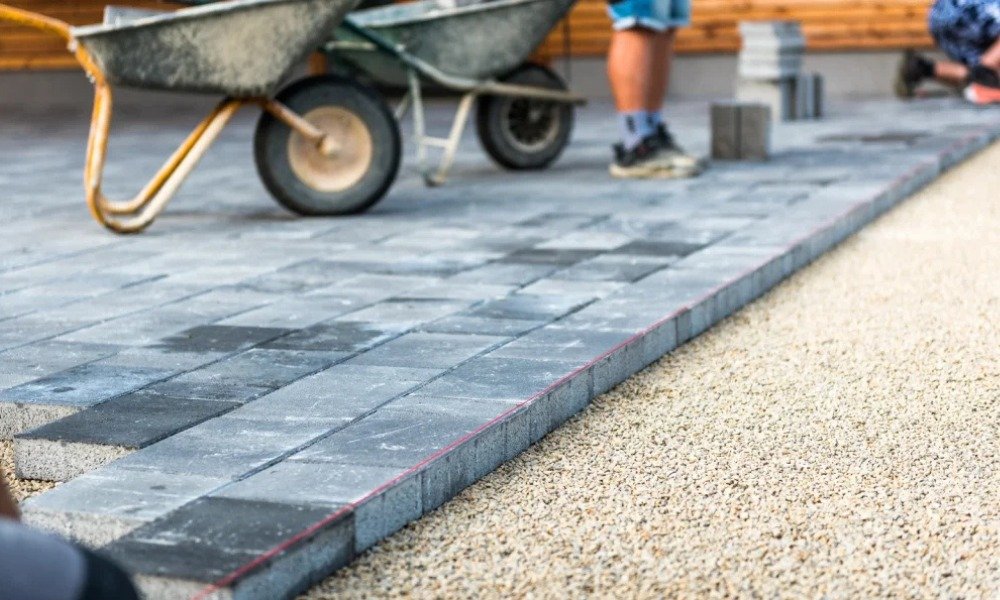
Here’s where things get serious. The base is the backbone of any successful paving project. Without it, you’re essentially building a castle on quicksand.
- Excavate Enough Dirt: Don’t skimp on digging. A shallow base won’t hold up under the weight of vehicles or heavy foot traffic.
- Gravel Matters: Use the right amount of gravel and compact it thoroughly. This step keeps the surface from settling unevenly over time. For context, gravel that isn’t compacted is like wearing socks with holes—you might not notice at first, but it’ll cause discomfort later.
If you’re unsure how deep to go, reference the manufacturer’s guidelines or consult a pro. The article What to Expect During a Professional Paving Project explains the process professionals follow to avoid mistakes.
4. Check Drainage and Slope
Water has a sneaky way of finding weak points. Trust me, you don’t want puddles forming or water washing out the sand between your pavers. I recommend a slight slope of around 2% to help water flow away from your paving. Remember: gravity is your friend.
If you’re considering eco-friendly options like permeable pavers, check out Eco-Friendly Asphalt: Is It Right for Your Project?.
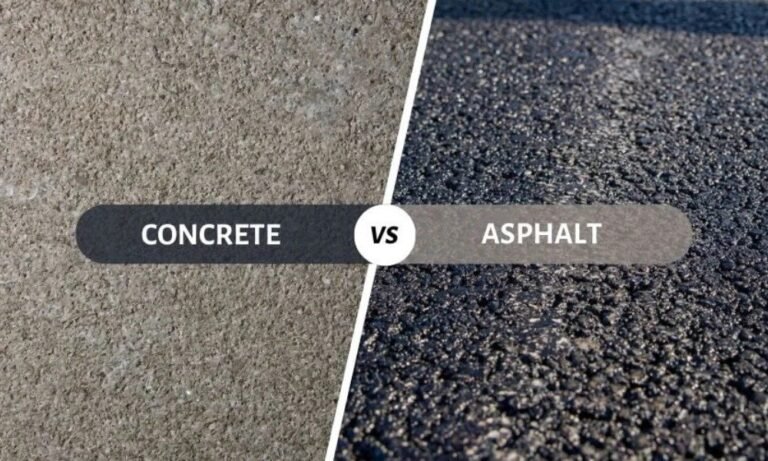
5. Choose the Right Materials and Tools
Here’s where you decide if your project will stand the test of time or crumble under pressure—literally. Always go for high-quality materials. Subpar materials might save you a few bucks upfront but could cost you double in repairs later.
And tools? The right ones make all the difference. Invest in a tamper or plate compactor to ensure everything is secure. Pro tip: renting tools is a great way to save money if you’re not planning on becoming a full-time paving contractor.
For help deciding between materials, read Asphalt vs Concrete: Which is Best for Your Driveway?. It breaks down the pros and cons of each option.
6. Proper Edge Restraint is a Must
Think of edge restraints as the unsung heroes of paving. Without them, pavers can shift over time. Make sure the edge restraint is secured directly to the ground, not just floating on top of the sand or gravel. Skipping this step is like leaving the lid off a coffee cup—you’ll regret it when things start spilling.
7. Avoid Common Paving Mistakes
Mistakes during preparation can haunt your paving project. Here are the big ones to avoid:
- Skipping the gravel base: A weak foundation leads to shifting and cracking.
- Ignoring compaction: Loose gravel settles unevenly, creating dips and bumps.
- No slope: Poor drainage can wash out the base material.
- Wrong paver pattern: Some patterns can’t handle heavy loads. Stick to interlocking designs like herringbone for driveways.
If DIY feels daunting, hiring a pro is worth considering. Top 7 Benefits of Hiring Professional Paving Contractors explains why experts are a great investment.
8. Final Checklist Before Installation
Before laying that first paver, here’s what I always check:
- Is the area free of obstacles?
- Has the base been compacted properly?
- Is there a slight slope for drainage?
- Are permits in place?
Double-checking now saves headaches later.
Conclusion
Preparing your property for a paving installation isn’t rocket science, but it does require attention to detail. From clearing the area to ensuring proper drainage, every step counts. With a solid foundation, you’ll have a beautiful, durable paved surface that lasts for years.
Need more tips? Check out How to Maintain Your Asphalt for Long-Lasting Results to keep your new surface looking great.
So grab your shovel (or your phone to call a contractor) and start preparing your property like a pro!