Estimated reading time: 6 minutes
Tiling can elevate a space, adding both durability and style. But let’s be real—one wrong move, and your project can go from a Pinterest dream to a DIY disaster. I’ve seen enough crooked lines, peeling surfaces, and rushed finishes to know that certain mistakes should be avoided at all costs.
If you’re planning to update your home with new flooring, backsplashes, or shower walls, take a moment to learn from the most frequent errors homeowners make. A little preparation now will save you frustration (and extra trips to the store) later.
Quick Look: What You’ll Learn
Why buying extra materials is always a smart move
The biggest prep mistakes that lead to uneven surfaces
What happens when you use the wrong bonding agent
Why grouting in a hurry can backfire
How a simple layout check prevents wonky results
Now, let’s dive into the key missteps that can turn your upgrade into a headache.
Not Buying Enough Material
It’s tempting to purchase just enough to cover your space—after all, why waste money on extra? But here’s the thing: mistakes happen. Pieces break, cuts go wrong, and dye variations exist between batches.
I always recommend ordering at least 10% more than your measurements suggest. If you’re working with patterns or diagonal layouts, increase that buffer to 15% just in case.
Running out halfway through and struggling to find an exact match later? That’s a nightmare no one wants. If you’re planning a larger project, it’s also worth considering budget-friendly tile options to make sure your extra tiles don’t break the bank.
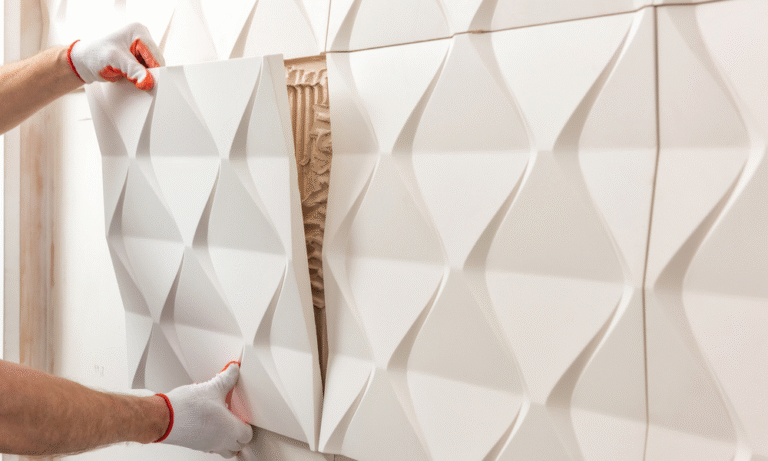
Skipping Surface Preparation
Laying down flooring or wall panels over a bumpy or unclean surface is like painting without priming—it just won’t last. I’ve seen people stick materials onto uneven, dusty, or damp areas, only to watch them shift, crack, or completely detach over time.
Before starting, always:
Check for levelness. Fill gaps, smooth ridges, and ensure a stable foundation.
Clear away dust and debris. A clean base helps the bonding agent do its job.
Prime porous areas. Some surfaces, like drywall or concrete, absorb moisture and may need a primer.
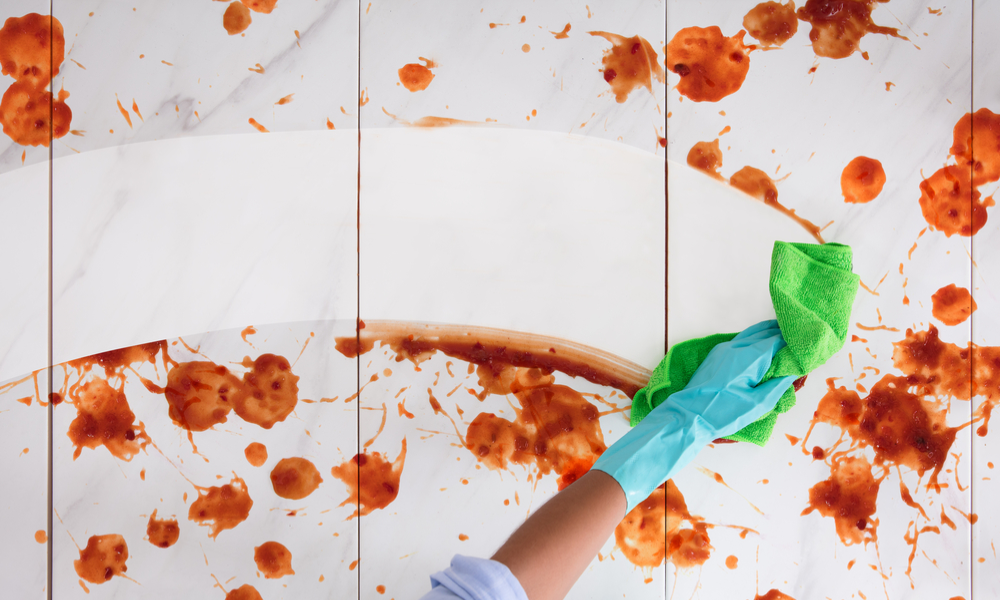
Skipping this step almost guarantees issues down the road. And once your project is complete, proper tile maintenance and cleaning will help ensure it stays in top shape for years to come.
Choosing the Wrong Bonding Material
Not all bonding products work the same way. I’ve had to fix jobs where homeowners picked the wrong type, leading to loose flooring, water damage, and even complete detachment.
Here’s a quick rundown:
Water-resistant formulas → Ideal for showers, kitchens, and outdoor areas.
Heat-resistant options → Required for fireplaces or spaces near stoves.
Flexible compounds → Needed for wood subfloors that might expand or shift.
Fast-setting varieties → Great for heavy pieces that need extra support.
Using the right one isn’t just about longevity—it’s about preventing costly fixes later. If you’re unsure which to choose, working with a professional tiling service can help avoid costly mistakes.
The “Dot & Dab” Application Mistake
Some believe applying small dots of bonding material to the back of each piece saves time and resources. It doesn’t. This creates gaps where moisture can sneak in, leading to lifting, cracking, and eventual failure.
The right approach? Use a notched trowel to spread material evenly across the entire surface. This ensures proper grip and long-term durability.
If you want your project to last, skip the shortcuts and apply material properly.
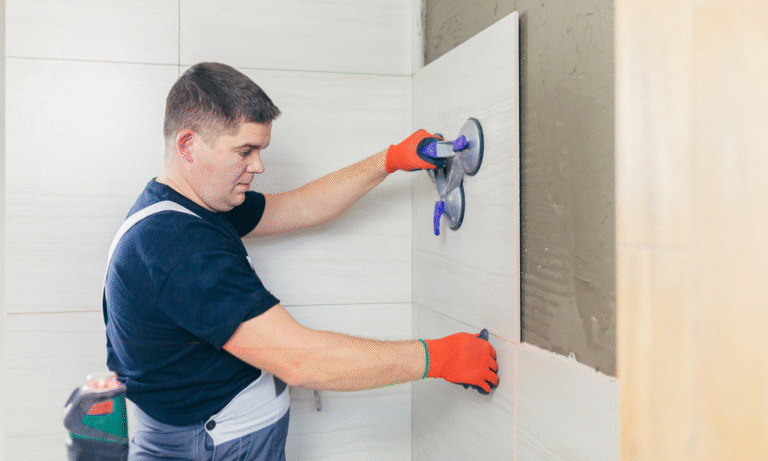
Trusting Your Eyes Instead of Measuring
I’ve walked into many DIY jobs and immediately noticed alignment issues. The culprit? Relying on eyesight instead of proper measuring tools.
Since floors and walls are rarely perfectly straight, using them as a guide can backfire. Instead:
Mark guidelines with a chalk line for precision.
Keep a level handy to check each section.
Dry-fit pieces before applying anything permanent.
A few extra minutes of planning saves hours of frustration. If you’re hiring help, asking the right questions before the project begins can make all the difference.
Rushing the Grouting Process
Grout isn’t just for aesthetics—it seals and protects against moisture and dirt. Doing it too soon or too fast can result in cracks, stains, or even gaps where water can seep in.
Here’s how to do it right:
Wait for the bonding material to fully cure (usually 24 hours).
Work in small sections, pressing filler deep into the spaces.
Wipe excess off quickly with a damp sponge to prevent hazing.
Seal the filler after it cures for extra protection.
Rushing this step is one of the quickest ways to shorten the lifespan of your project. Learn why proper grouting is essential before tackling this stage.
Forgetting Expansion Gaps
Materials need a little room to breathe. Without expansion gaps, they can crack, buckle, or even pop off over time due to temperature and moisture changes.
To prevent this:
Leave a ¼-inch gap around the edges of flooring and walls.
Use caulking instead of grout in these areas to allow for movement.
This simple step can prevent long-term damage.
Sloppy Cutting & Poor Finishing
Making precise cuts takes patience, but I’ve seen plenty of rushed projects with jagged edges, chipped corners, and uneven fits.
For cleaner cuts:
Use a wet saw for thicker materials to prevent breakage.
A snap cutter works well for straight edges on standard ceramic.
A diamond file can smooth out rough edges.
Good cuts make a huge difference in the final look of any project.
Final Thoughts: Getting It Right the First Time
DIY projects can be rewarding, but they also come with risks. Rushing through key steps or skipping proper techniques can lead to costly, frustrating mistakes. Whether you’re tackling a small backsplash or a full bathroom upgrade, following these guidelines will help you achieve results you’ll be proud of.
Not sure if DIY is the best option for your project? You may want to check whether it’s better to hire a professional or go solo. If you’re curious about what working with a specialist looks like, see what to expect from an expert.The bottom line? A little extra effort now saves a lot of headaches later. Happy upgrading!