Estimated reading time: 5 minutes
Getting new flooring or wall finishes is an exciting upgrade—until you start wondering how the process works. If you’ve never hired professionals for a home improvement project like this, you probably have a few questions.
How long does it take? What should I do before they arrive? Will they handle surface prep?
I’ll break it all down for you. This guide walks through what to expect when working with professional installers, so there are no surprises along the way.
Quick Overview: What Happens During Professional Tile Installation?
Pre-installation prep – Selecting materials, measuring the space, and planning the layout.
Surface preparation – Making sure the base is level and ready for work.
Placing the tiles – Cutting, positioning, and securing them in place.
Grouting and sealing – Filling in gaps, ensuring a strong finish, and sealing for longevity.
Curing and drying – Allowing time for materials to settle before use.
Final cleanup and inspection – Checking for quality, removing residue, and polishing the surface.
Now, let’s go over each stage in detail.
Step 1: Selecting the Right Materials
Before any work begins, I help clients choose the best materials for their space. The right choice depends on:
Foot traffic – High-use areas need durable surfaces.
Moisture exposure – Bathrooms and outdoor spaces require water-resistant options.
Aesthetic goals – Size, texture, and color all impact the final look.
Popular choices include:
Porcelain – Strong, water-resistant, and ideal for high-traffic spots.
Ceramic – Lightweight and versatile for both walls and floors.
Glass – Adds a sleek touch, best for backsplashes and decorative accents.
Mosaic – Small, arranged pieces that create eye-catching patterns.
Not sure which option is best for your home? Take a look at these budget-friendly choices before deciding.
Step 2: Measuring and Planning the Layout
Once we settle on materials, I measure the area and plan the layout. This prevents waste and ensures proper alignment.
Here’s how professionals calculate the amount needed:
Measure the length and width of the space for total square footage.
Add 10% extra to cover cuts, breakage, and future replacements.
Arrange a test layout to balance patterns and avoid awkward cuts.
Pro Tip: If you’re hiring a contractor, ask to review the layout before installation starts. This ensures the final look matches your expectations.
Step 3: Prepping the Surface for Installation
No matter how stylish your selection is, it won’t last if the foundation underneath is uneven or unstable. Proper preparation is key.
A professional will:
Level the surface – Any dips or bumps can cause instability.
Check for moisture – Waterproofing may be needed in kitchens and bathrooms.
Apply underlayment – Some floors need a base layer for extra support.
Skipping this stage is one of the biggest mistakes people make when tackling home projects themselves. If you want to avoid other common errors, this guide is worth a read.
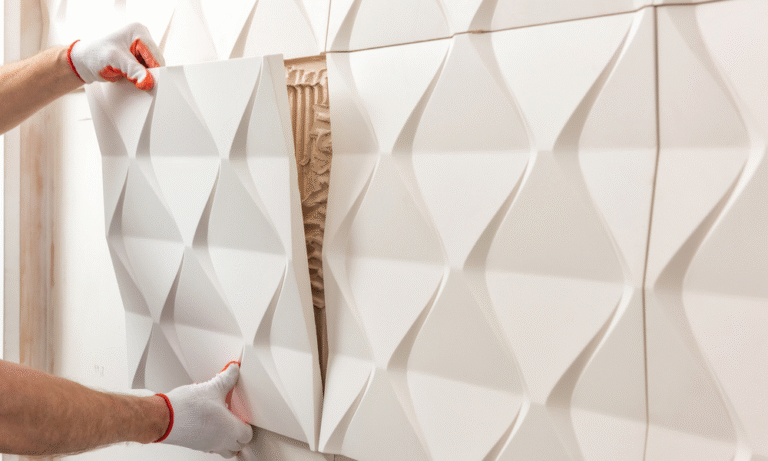
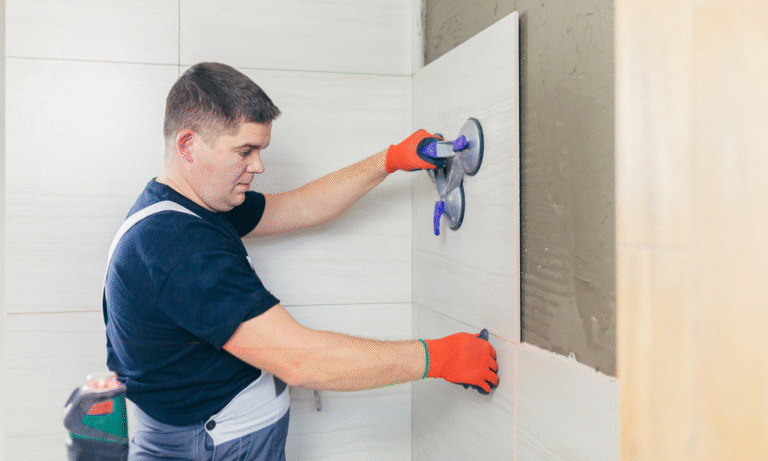
Step 4: Laying Out and Setting the Tiles
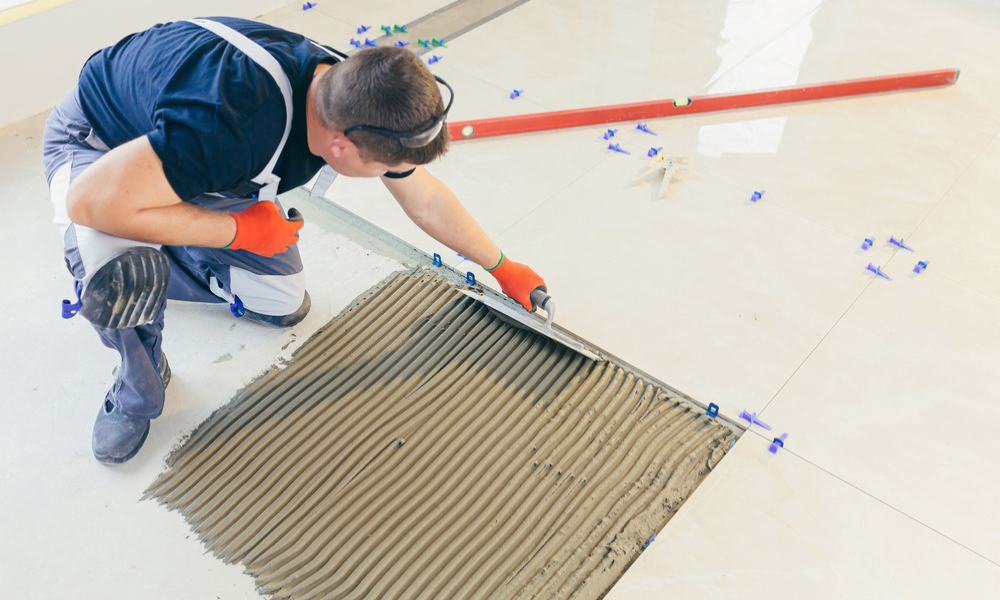
Once the prep work is done, it’s time to arrange and place each piece carefully. This part of the process requires precision.
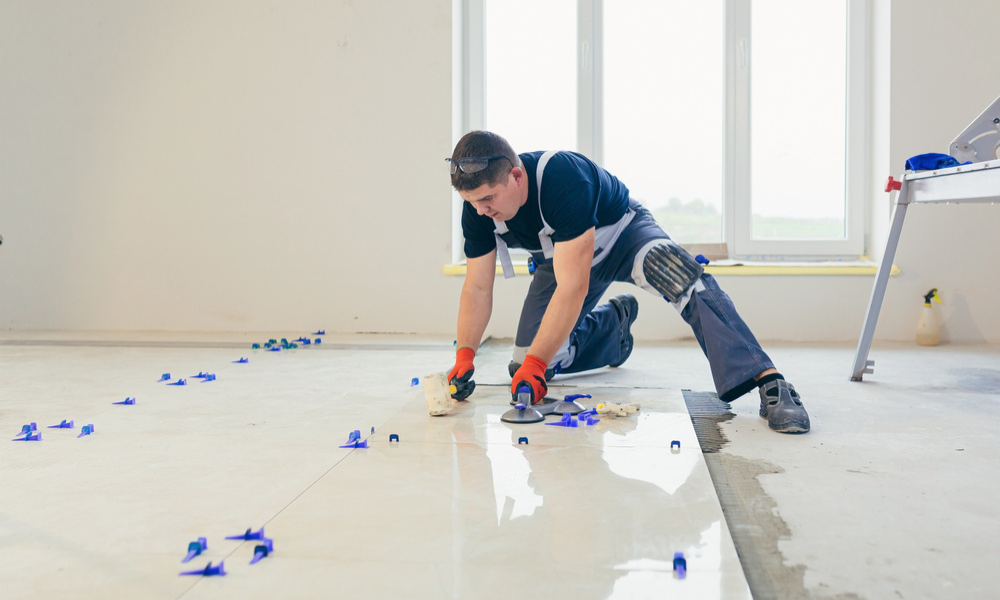
How experts get it right:
Arrange a dry layout first to check alignment.
Use spacers for consistent grout lines.
Cut edges with specialized tools to fit tight corners.
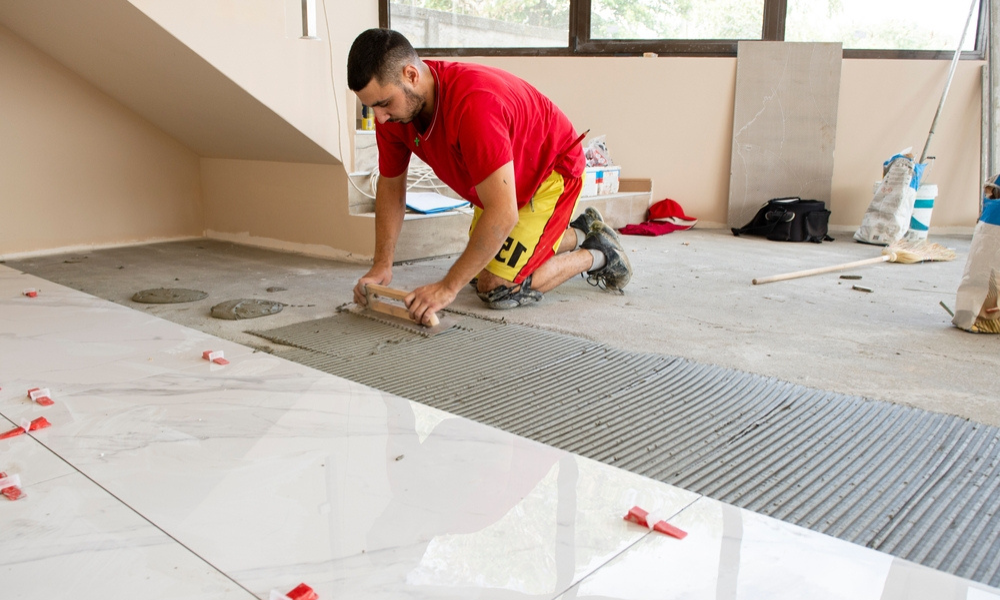
Apply adhesive evenly for a solid, long-lasting bond.
Getting these details right makes all the difference in a professional-looking result.
Thinking about tackling the project yourself? This comparison can help you decide if hiring a pro is the way to go.
Step 5: Grouting & Sealing for a Durable Finish
Once everything is in place, gaps are filled using grout to lock everything in and prevent moisture penetration.
This step is essential because:
It strengthens the structure by holding everything together.
It keeps moisture out, reducing mold risks.
It adds to the overall polished look of the space.
After grouting, a sealant may be applied depending on the type of material used. This helps protect against stains and makes upkeep easier.
Pro Tip: Sealing is particularly important in high-moisture areas like bathrooms. Want to know why proper grouting makes a difference? This article explains it well.
Step 6: Curing & Drying – The Waiting Period
Once the work is complete, patience is key.
Most surfaces need at least 24 hours to set before they can be walked on.
Full curing takes up to 72 hours, depending on the materials and environment.
During this time, I always advise clients to:
Keep the area clear of furniture and heavy objects.
Avoid using water or cleaners until fully dry.
Skipping this step can cause major problems. No one wants loose or cracked sections because they moved things too soon!
Step 7: Final Inspection & Cleanup
The last phase is quality control and cleanup. I carefully check for:
Uneven or misaligned pieces.
Residual grout haze that needs buffing.
Any minor adjustments required for a flawless result.
Afterward, I go over maintenance tips with clients to help them keep their new floors or walls looking great. Need advice on long-term care? This guide is full of useful tips.
Final Thoughts – What to Expect from Professional Tile Installation
Hiring professionals takes the guesswork out of home improvement. Here’s a recap of what to expect:
Every step is carefully planned, from material selection to finishing touches.
Proper installation prevents costly repairs and keeps your space looking great.
A well-executed job lasts for years, adding value to your home.
Thinking about starting your own project? Make sure you’re asking the right questions before hiring anyone. This resource can help you choose the best contractor.
A well-installed floor or wall does more than enhance aesthetics—it improves durability and function. When done right, it transforms a space and lasts for decades.
Ready to get started? Let’s bring your vision to life!