Estimated reading time: 8 minutes
Last updated on August 21st, 2025 at 06:41 am
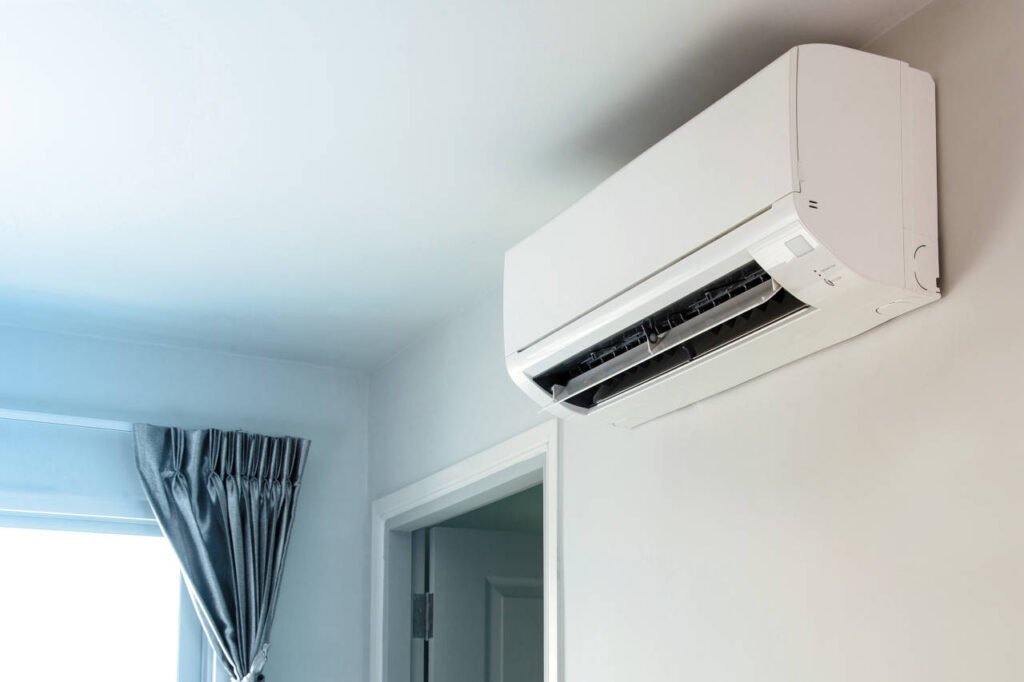
Split ACs are becoming more popular because of their energy efficiency, sleek design, and easy maintenance. It requires technical expertise and precision. Any mistake during the process can lead to high energy bills, reduced cooling efficiency, and the need for AC repair.
This post will discuss some important guidelines for split AC installation that you should follow to ensure seamless and effective installation to enjoy the benefits of your split AC.
Pre-Installation Checklist
Before installing your new split AC, follow some steps to ensure a successful and safe installation. Here are some important things to consider:
- Understanding the type of wall: Different types of walls may require different installation methods. For example, drywall, concrete, brick, and wood walls may have different levels of strength, thickness, and insulation. Know the type of wall you are working with so you can choose the appropriate hardware and tools for installation.
- Selecting the right location for installation: You need to find a suitable spot for your device that meets your needs and preferences. Consider the visibility, accessibility, functionality, and aesthetics of your device. Avoid locations that interfere with other devices, wires, pipes, or vents.
- Ensuring adequate space for installation: You need to measure the dimensions of your device and the space available for installation. Ensure enough clearance around your device for ventilation, maintenance, and operation. Account for any additional accessories or components attached to your device.
- Preparing the necessary tools and equipment: You must gather all the necessary tools and equipment for installation. This may include a drill, a level, a tape measure, a pencil, a stud finder, screws, anchors, brackets, and a ladder. Read the instruction manual carefully and follow the safety precautions.
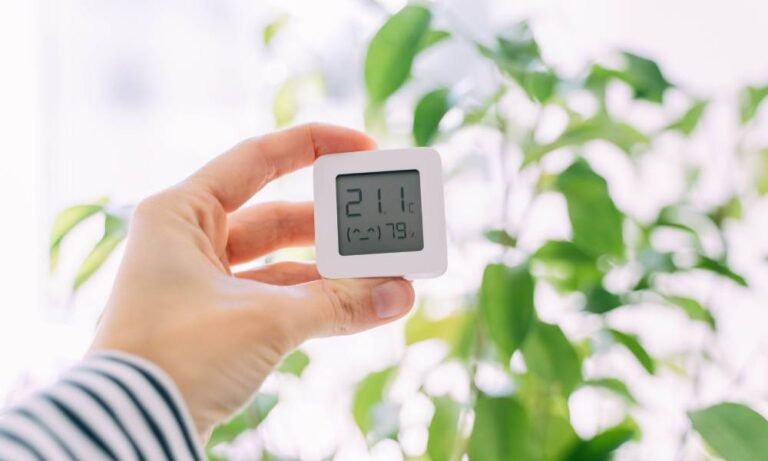
Choosing the Right AC Capacity
One of the most critical factors to consider when looking for an air conditioner is its capacity. The AC’s capacity is measured in tons, which refers to the amount of heat it can remove from space in one hour. A ton of cooling equals 12,000 British thermal units (BTUs).
To choose the right capacity for your air conditioner, you need to consider several factors, such as:
- Size and layout of your room
- Number and type of windows
- Insulation level, the climate zone
- The number of people and appliances in the room
Choosing the wrong capacity can negatively affect your comfort and energy bills. If you choose a too-low capacity, your air conditioner will struggle to cool your room and run longer than necessary, wasting energy and reducing lifespan.
If you choose a too-high capacity, your air conditioner will cool your room too quickly and cycle on and off frequently, causing temperature fluctuations and humidity problems. It will also consume more energy and wear out faster than a properly sized unit.
The Split AC Installation Process
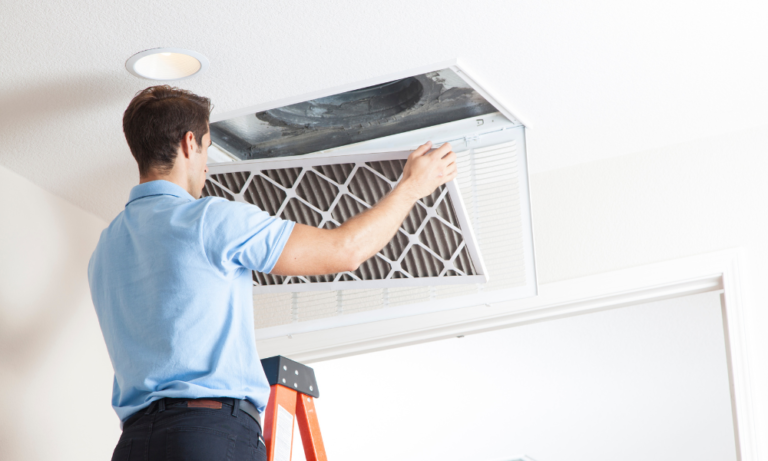
Step 1. Unpacking and inspecting the components
Check the indoor and outdoor units for damage or defects. Contact the manufacturer or supplier immediately.
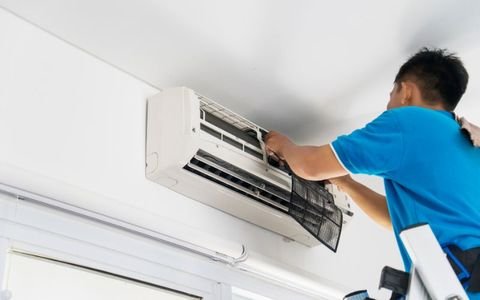
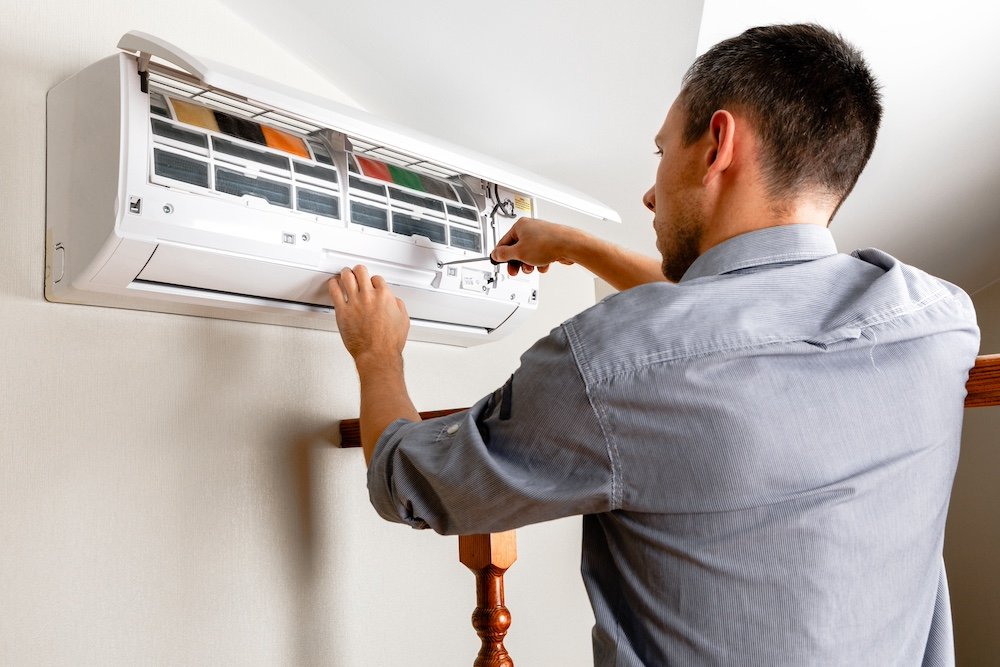
Step 2. Mounting the indoor unit
Choose a suitable location for the indoor unit that is close to an electrical outlet and has enough clearance for air circulation. Use a level to mark the position of the mounting plate on the wall. Drill holes and insert anchors for the screws. Attach the mounting plate securely to the wall. Hang the indoor unit on the mounting plate and connect the drain hose.
Step 3. Connecting the indoor and outdoor unit
Create a hole through the wall for the refrigerant pipes and electrical wires. Insert a wall sleeve or pipe cover. Connect the refrigerant pipes and electrical wires between the indoor and outdoor units. Seal the hole with caulking or foam.
Step 4. Proper refrigerant handling
The AC unit comes pre-charged with refrigerant, but you may need to add or remove some depending on the length of the pipes. Use a vacuum pump and a manifold gauge to evacuate air and moisture from the system. Then, open the valves on both units to release the refrigerant into the system. Check for any leaks using a leak detector or soap bubbles.
Step 5. Electrical connections
Connect the power supply cord of the outdoor unit to an appropriate circuit breaker or disconnect switch. Make sure the voltage and frequency match the AC unit. Turn on the power and check whether the indoor and outdoor units work properly.
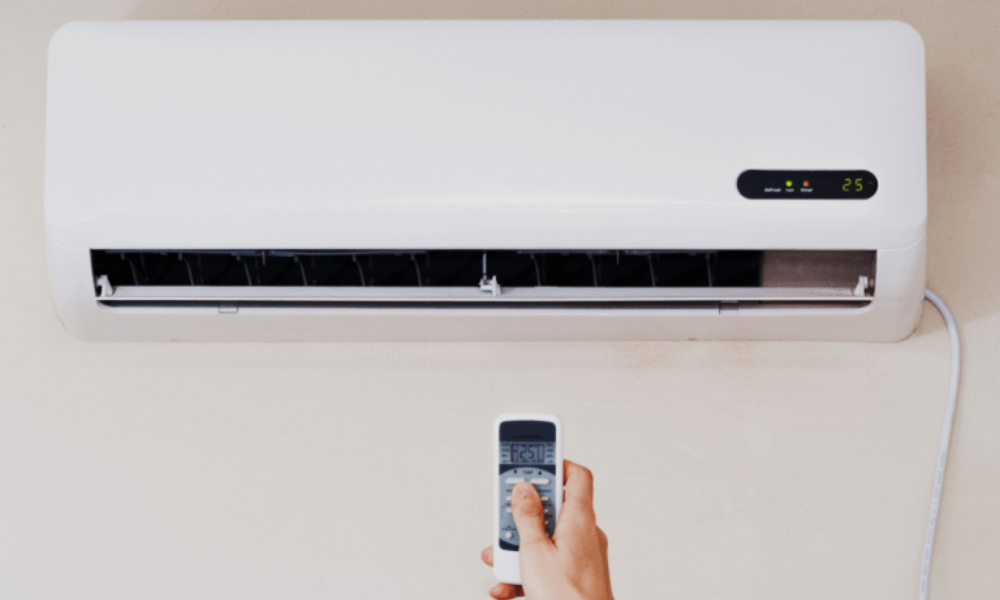
Step 6. Testing the AC unit
Set the thermostat to cooling mode and adjust the temperature and fan speed settings. Check if cool air is coming out of the indoor unit and warm air is coming out of the outdoor unit. Monitor the system for abnormal noises or vibrations. If you encounter any problems, refer to the troubleshooting guide or contact a professional technician.
Ensuring Safety During Split AC Installation
Safety is a top priority when installing an AC system, as many potential hazards can cause injury or damage. Some of the common hazards associated with AC installation are:
- Electrical shocks or burns from high voltage and current
- Chemical exposure from refrigerants, solvents, and cleaners
- Cuts or lacerations from sharp objects like sheet metal and glass
- Falls or slips from ladders, roofs, or slippery floors
- Extreme temperatures from hot or cold components
The following precautions should be taken during installation to avoid these risks:
- Put on your gloves, goggles, respirator, hard hat, and earplugs, and you’ll be ready.
- Use the right tools for the job and keep them in good condition
- Shut down the power to the circuit before working on electrical components
- Follow lockout and tag procedures to ensure no one turns on the power while working
- Test the circuit with a meter before touching it to verify it is de-energized
- Handle chemicals with care and follow the manufacturer’s instructions for storage and disposal
- Avoid contact with skin, eyes, and respiratory system
- Use a cart or hand truck to transport heavy or bulky items
- Do not drag or roll cylinders
- Install the AC unit at a suitable height and distance from the wall and other obstacles.
- Ensure safety measures such as caps or guards are securely installed
Hiring a Professional Installer
If you plan to install a new appliance, flooring, or window treatment in your home, you may want to consider hiring a professional installer. A professional installer can offer many benefits, such as saving time and money, ensuring quality and safety, and providing warranty and support.
When hiring a professional installer, some factors are their experience, credentials, reviews, and rates. You should look for an installer with relevant experience in the type of project you need, who has proper licenses and insurance, which has positive feedback from previous customers, and who charges reasonable fees for their services.
When you hire a professional installer, you can expect them to perform the following steps:
- Assess your needs and preferences.
- Provide you with a written estimate and contract.
- Prepare the installation site and materials.
- Install the product according to the manufacturer’s instructions and specifications.
- Clean up the installation site and dispose of any waste.
- Test the product and demonstrate its features and functions.
- Answer any questions you may have and address any issues or concerns.
- Provide you with warranty and support information.
Cost of Split AC Installation
If you plan to install a split AC in your home or office, you may wonder how much it will cost. The cost of split AC installation depends on several factors, such as:
- The size and capacity of the AC unit.
- The type and quality of the AC unit.
- The location and layout of the installation site.
- The length and complexity of the wiring and piping.
- The labor charges of the installer.
Depending on these factors, the estimated installation cost can vary from $300 to $1500. However, you can reduce the installation costs by following some tips, such as:
- Comparing different quotes from different installers.
- Choosing an energy-efficient and reliable AC unit.
- Installing the AC unit in a shaded and well-ventilated area.
- Avoiding unnecessary modifications or alterations to the installation site.
- Maintaining and servicing the AC unit regularly.
Conclusion
To sum it up, installing a split AC unit may seem like a daunting task, but following these crucial guidelines can make all the difference. You can maximize your unit’s performance, energy efficiency, and safety by ensuring proper installation. Remember to steer clear of common mistakes and take note of the tips we’ve covered to make your split AC installation a breeze.
We hope that this blog post has been helpful and informative for you. If you plan to install a split AC in your home or office, we recommend hiring a professional and experienced technician who can ensure a smooth and hassle-free installation.
About the author
Shelby Bartz is the new Content Editor of Precision Air & Plumbing, a full-service HVAC, plumbing, and home performance contractor operating in Chandler, Arizona. Shelby is a devoted bookworm but when she isn’t reading, you’ll find her cruising around town with her beloved ginger husky, Maxxy.