Estimated reading time: 3 minutes
Last updated on August 24th, 2025 at 04:59 am
Dealing with a clogged drain can be a frustrating experience for any homeowner. Whether it’s a kitchen sink, bathroom drain, or shower, a clog can disrupt your daily routine and lead to unpleasant odors and potential water damage.
While there are various methods to tackle a clogged drain, using a drain snake is one of the most effective and budget-friendly options.
In this comprehensive guide, we will walk you through the process of clearing a clogged drain with a drain snake, helping you restore proper drainage and peace of mind.
1. Gather the Required Tools:
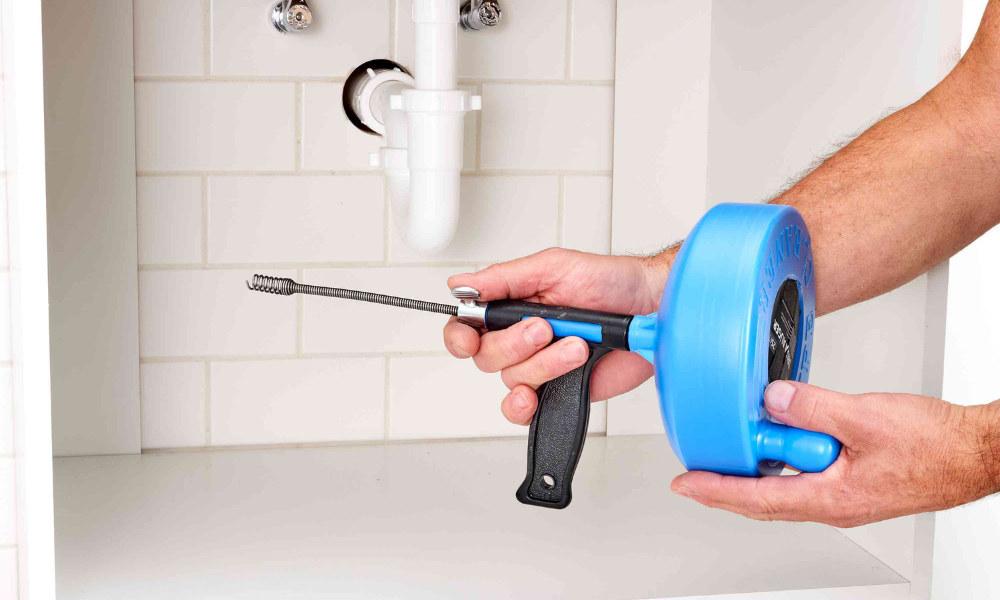
Before you begin, make sure you have all the necessary tools. You’ll need a drain snake, also known as a plumber’s snake or auger, which is a flexible, long metal cable with a coiled end. Additionally, you may require protective gloves and a bucket to collect debris.
2. Identify the Problem Area:
Determine the location of the clog. Different drains may require varied approaches. Once you’ve located the affected drain, remove any visible debris or hair from the surface.
3. Prepare the Drain Snake:
Extend the drain snake’s cable fully and insert it into the drain opening. For sinks with a P-trap, you might need to remove the trap to access the clog. Insert the coiled end of the drain snake gently, and be cautious to avoid any damage to the pipe.
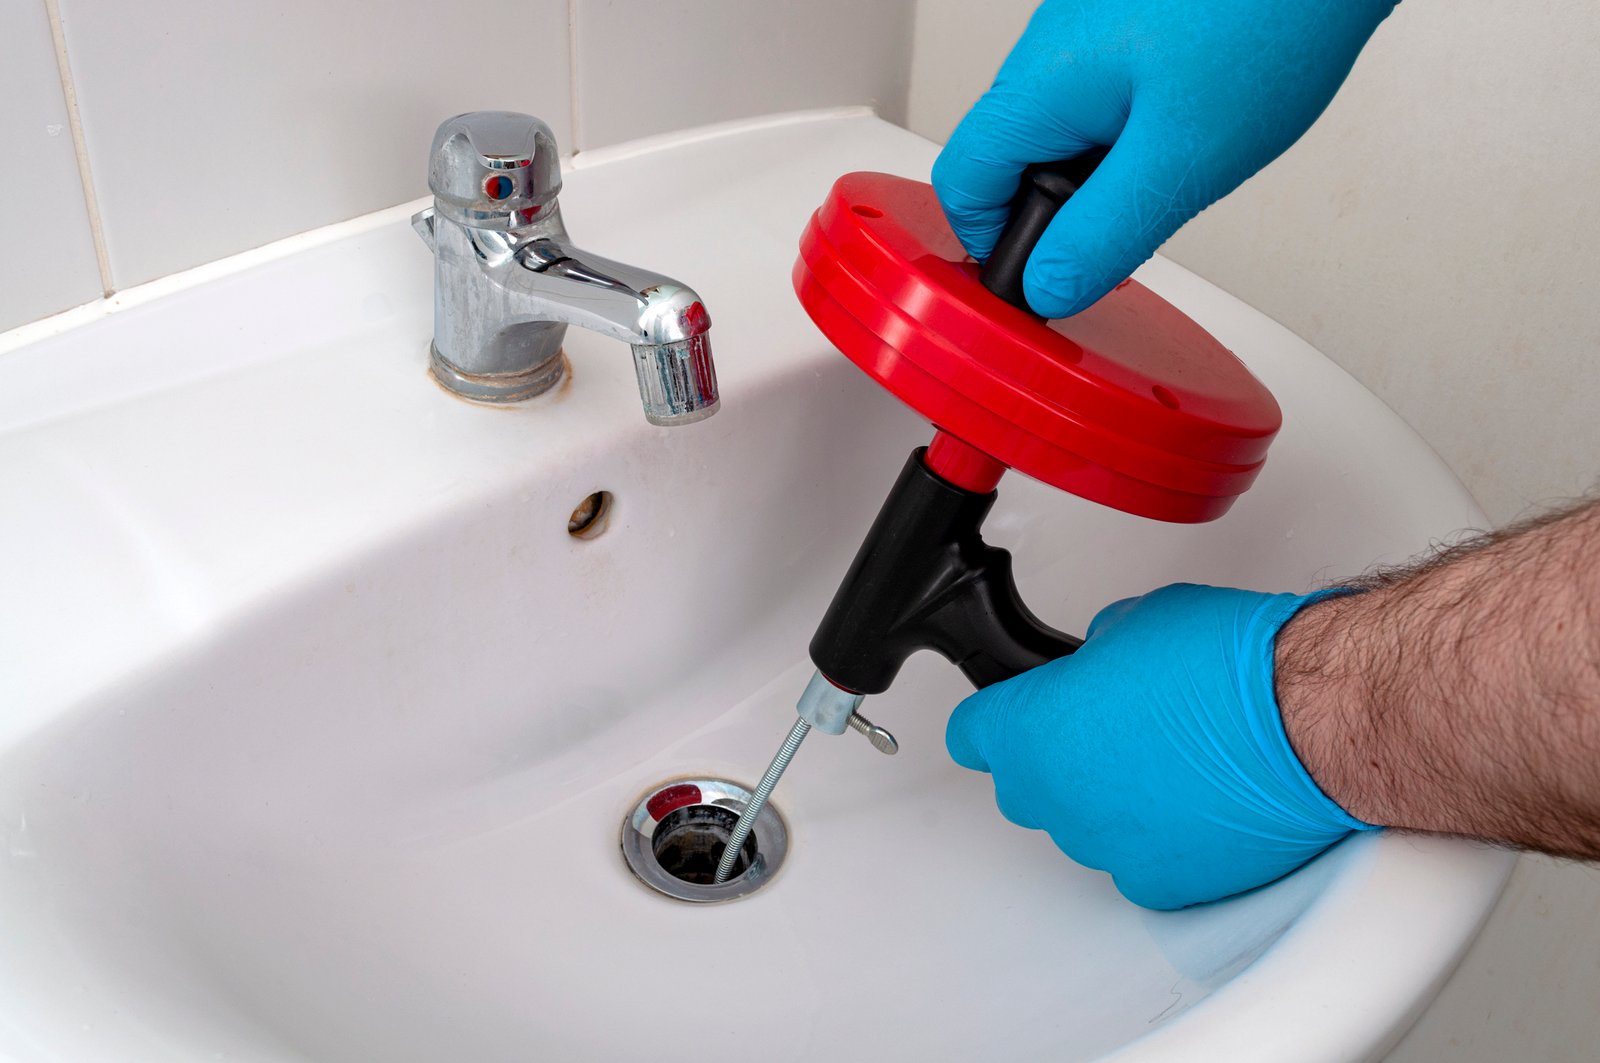
4. Snake the Drain:
With the drain snake inserted, start turning the handle clockwise. The coiled end of the snake will move further into the drain, gradually encountering the clog. Keep pushing the snake until you feel resistance from the clog.
5. Break the Clog:
Once you reach the clog, apply steady and gentle pressure to break it apart. Avoid using excessive force, as it could damage the pipe. The design of the snake’s coiled end helps it latch onto and break the debris, allowing it to be pulled back up.
6. Retrieve the Debris:

Carefully pull the snake back up, bringing the dislodged debris with it. Have a bucket nearby to collect the gunk, ensuring it doesn’t create a mess on your floor.
7. Test the Drain:
After removing the clog, run water through the drain to check if the blockage is entirely cleared. If the water flows smoothly, congratulations – you’ve successfully cleared the clogged drain!
8. Clean the Drain Snake:
Thoroughly clean the drain snake after use to prevent any lingering debris from causing future clogs. Rinse it with water and mild detergent, then let it dry before storing it away.
Conclusion:
Clearing a clogged drain with a drain snake is a straightforward and effective solution that saves you from calling a plumber and spending money on professional services. By following this step-by-step guide, you can tackle minor clogs and maintain the smooth operation of your drains.
However, if you encounter stubborn or frequent clogs, it might indicate a more significant plumbing issue that requires professional attention.
Regular maintenance and preventive measures, such as using drain covers and avoiding pouring grease down the drain, can help prevent clogs and keep your plumbing in top condition.
Remember, with the right tools and knowledge, you can be the master of your home’s plumbing and bid farewell to stubborn clogs for good.