Washing Machine Drum Guide Types Care & Cleaning Tips (1)

Washing Machine Drum Guide: Types, Care & Cleaning Tips 

Estimated reading time: 10 minutes

Last updated on June 23rd, 2026 at 05:18 am

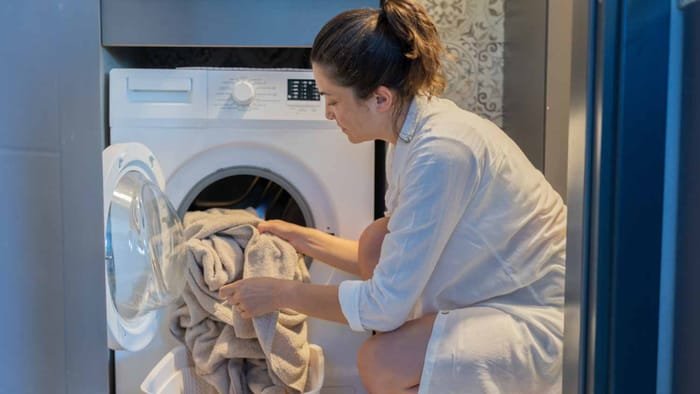
You pull a load of “clean” laundry out of the washer, and it smells… off. Not dirty exactly, but musty. Like a damp basement got into your towels somehow. If that’s happened to you, your washing machine drum probably needs a proper clean—and you’re definitely not alone in this.

The good news is how to clean a washing machine drum isn’t complicated, and you probably already have most of what you need in your kitchen cabinet. The bad news is that a lot of the advice floating around online treats every method as equally good, which isn’t really true. Some approaches work better for some problems than others, and there’s one spot almost everyone forgets that’s usually the actual source of the smell.

The Quick Answer

For most smelly-washer situations, run a hot empty cycle with 1 cup of white vinegar and 1 cup of baking soda in the drum, then manually wipe down the rubber door seal, detergent drawer, and any visible gunk with a damp cloth or old toothbrush. Leave the door open afterward so it can dry out completely.

If that doesn’t fully fix it, or if you’re dealing with visible mold rather than just odor, a commercial cleaner like Affresh or OxiClean is worth adding to your monthly routine—but it’s not usually the first thing you need to reach for.

Why Your Washer Smells Like This in the First Place
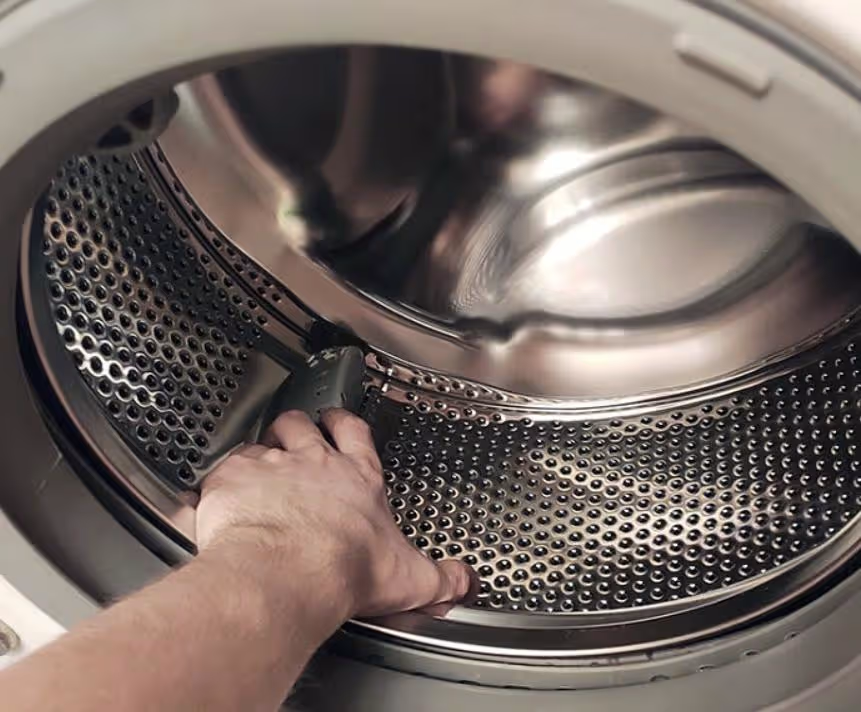
Cleaning the Drum

Here’s the thing nobody really explains: your washing machine is basically a wet, dark, warm box that sits closed most of the day. That’s a pretty ideal setup for mold and bacteria, especially around the rubber gasket on front-load washers, in the detergent drawer, and inside the drum itself where detergent and fabric softener residue builds up over time.

High-efficiency washers actually make this worse in some ways. They use less water, which sounds great for your water bill, but it also means there’s less rinsing happening, so soap residue can stick around longer than it would in an older top-loader that just sloshes everything around with way more water.

None of this means your machine is broken or that you’re doing laundry wrong. It’s just what happens over time, and it’s fixable.

The Vinegar and Baking Soda Method (Start Here)

This is genuinely the best starting point for most people, and here’s how to do it properly:

  1. Set your washer to the hottest water temperature and the longest cycle—usually labeled “cotton,” “heavy duty,” or sometimes there’s a “clean washer” or “tub clean” setting if your machine has one.
  2. Pour 1 cup of white vinegar directly into the drum.
  3. Add 1 cup of baking soda to the drum as well. It’ll fizz a bit when it hits the vinegar—that’s normal and that’s actually part of what helps loosen grime.
  4. Run the full cycle with nothing else in the machine. No clothes, no towels.
  5. Once it’s done, leave the door open for a few hours so the drum can dry out. A damp, closed drum is exactly how you end up back here in a few weeks.

For anything that’s stuck on—soap scum rings, dark spots, that kind of thing—grab an old toothbrush or a small scrub brush and go at it directly while the drum is still damp from the cycle. It comes off a lot easier than when it’s dried on.

Quick note on whether vinegar is safe for the rubber seals: yes, in the amounts used here, it’s fine. White vinegar is mild enough that one cup diluted in a full cycle of water isn’t going to degrade rubber gaskets over time. Where people run into trouble is using vinegar at full strength repeatedly directly on the rubber, or using it constantly instead of as an occasional deep clean. As part of a monthly routine, it’s not a concern.

Do this every 3 to 6 months for general maintenance, more often (every month or so) if you’ve got hard water, a front-load washer, or you’ve noticed smells creeping back faster than that.

What About Commercial Cleaners Like Affresh or OxiClean?

These products definitely work, and they’re not a scam or just repackaged vinegar—they’re formulated specifically to break down the kind of residue that builds up in washer drums, including the stuff in places water doesn’t always reach well.

Here’s the honest verdict though: if your main issue is a musty smell and your washer hasn’t been cleaned in a while, start with the vinegar and baking soda method first. It’s free (or close to it), it works well for most odor problems, and it gives you a baseline to work from.

Once you’ve done that initial deep clean, commercial cleaners are great for ongoing monthly maintenance—they’re convenient (just drop a tablet in and run a cycle), and a box of Affresh tablets typically runs around $10-12 for a few months’ worth. OxiClean’s washing machine cleaner is similarly priced and works well for both standard and HE machines.

Where commercial cleaners really earn their keep is if you’re dealing with visible mold buildup rather than just a smell, or if you want a simple monthly routine you don’t have to think much about. Both Affresh and OxiClean are safe for HE washers and are generally septic-safe, which matters if that applies to your home.

A quick word on bleach: you’ll see bleach suggested sometimes, and it can work for killing mold, but it’s not the first thing to reach for. Bleach can be harsh on rubber seals and gaskets with repeated use, and it doesn’t actually break down the residue buildup the way vinegar or commercial cleaners do—it just kills what’s growing on top of it. If you use it, dilute it properly and don’t make it your go-to monthly cleaner.

The Part Everyone Skips: Seals, Drawer, and Filter

Here’s where most “my washer still smells” situations actually live, and it’s the step that gets glossed over in a lot of advice.

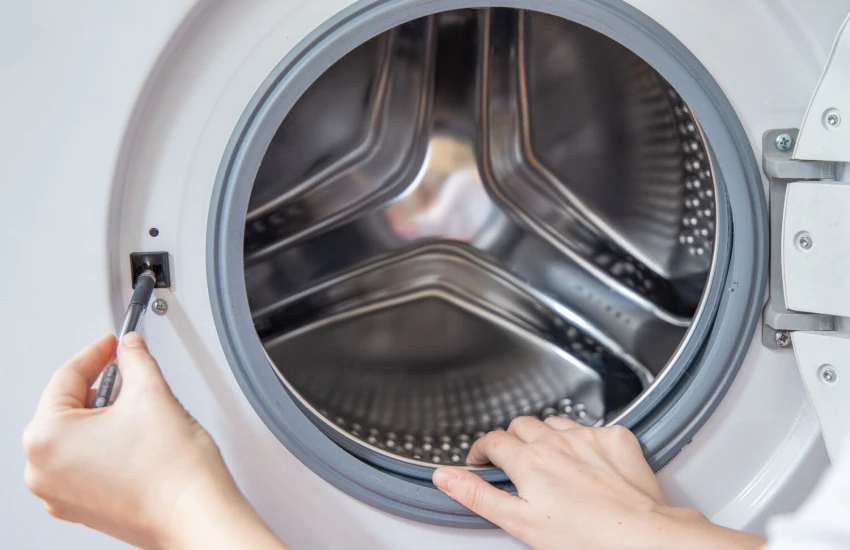
The rubber door seal (front-load washers especially): Pull back the rubber gasket around the door and look inside the fold. This is where water collects after every wash, and it’s an incredibly common spot for mold to grow—often before you can even smell it from outside. Wipe this out with a damp cloth or an old toothbrush, working all the way around the fold. You might be surprised what’s been hiding in there.
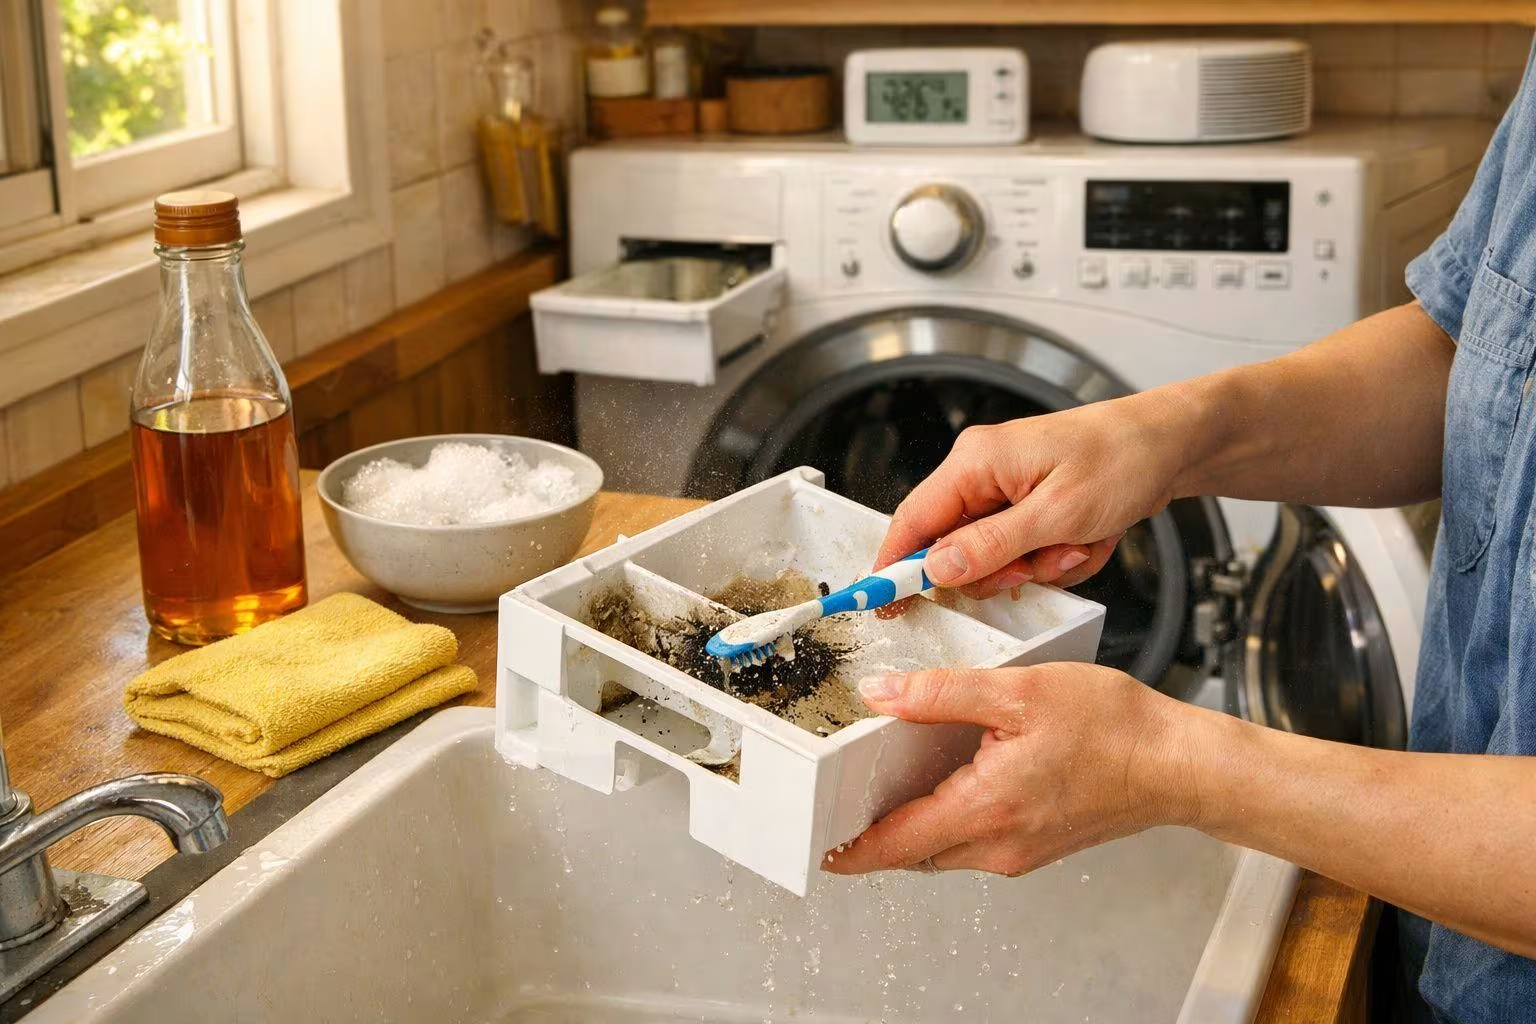
Detergent Drawer Maintenance

The detergent drawer: Most drawers slide or pop out completely. Take it out, rinse it under hot water, and scrub any caked-on detergent or fabric softener residue with a toothbrush. This stuff hardens over time and becomes its own little odor source, separate from whatever’s happening in the drum.

The filter (if your machine has one): A lot of front-load washers have a small drain pump filter, usually behind a little door near the bottom front of the machine. These trap lint, coins, and other debris, and they can hold standing water that gets stagnant and smelly. Check your manual for the exact location—it varies by brand—but it’s worth checking every few months.

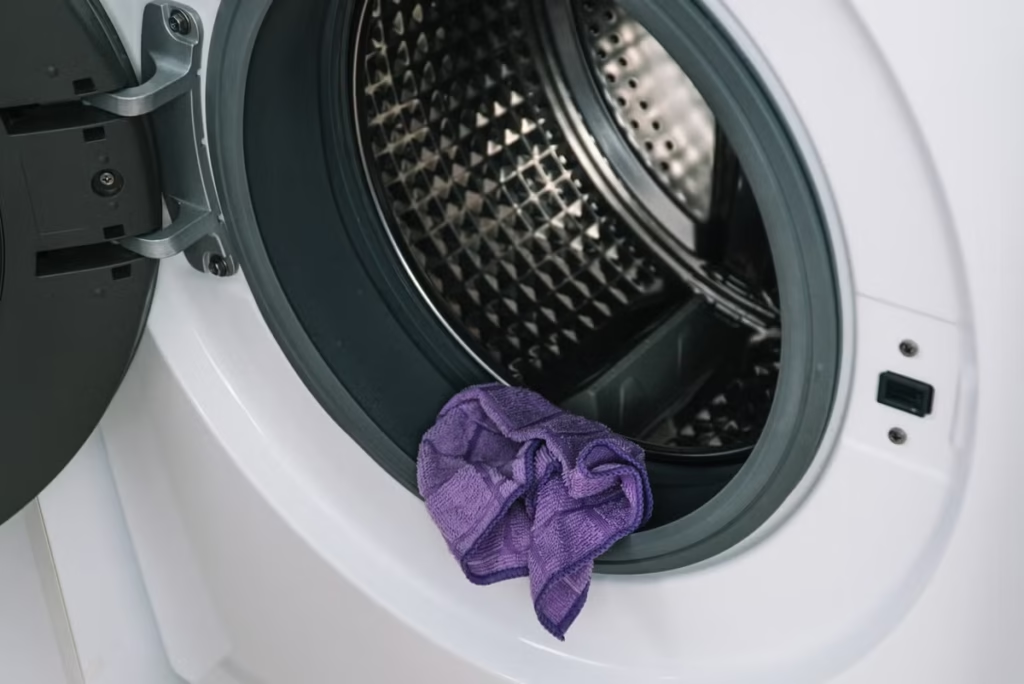
Wiping down the drum and these areas with a damp microfiber cloth after a wash, especially if you’re doing back-to-back loads, makes a noticeable difference over time. It takes maybe two minutes and it’s the kind of small habit that prevents the bigger problem from building up again.

Front-Load vs. Top-Load: Does It Change Anything?

Yes, somewhat. Front-load washers are more prone to mold and odor issues because of that rubber door seal—it’s a perfect trap for moisture, and it’s not something top-loaders really have in the same way. If you have a front-loader, the seal-cleaning step above isn’t optional; it’s probably the single most important thing you can do.

Top-load washers (especially older agitator-style ones) tend to have fewer odor issues overall because there’s more water flow and less standing moisture. That said, newer high-efficiency top-loaders without an agitator behave more like front-loaders in terms of residue buildup, so the same vinegar-and-baking-soda routine still applies—you just might be able to space it out a bit more.

What If the Smell Won’t Go Away?

If you’ve done a full vinegar and baking soda cycle, cleaned the seal, drawer, and filter, and the smell is still there, a few things are worth checking:

  • The drain hose: If it’s kinked, too long, or sitting in standing water at the bottom, that can cause odors that have nothing to do with the drum itself.
  • Towels and gym clothes left sitting too long: Damp items left in the drum for hours (or overnight) before washing are a major contributor to ongoing smell issues—it’s less about the machine and more about what’s been sitting in it.
  • Hard water buildup: If you’re in an area with hard water, mineral buildup inside the machine’s components can hold onto odors in a way that’s harder to clean with vinegar alone. In this case, a dedicated washing machine cleaner formulated for hard water deposits (some Affresh and OxiClean lines address this) tends to work better than vinegar.

If none of that helps after a couple of cleaning cycles, it might be worth checking your washer’s manual for a dedicated “tub clean” or “self-clean” cycle, which some machines have built in but don’t always get used. And if the smell is coming with actual visible mold that keeps returning despite cleaning, that’s usually a sign the gasket needs a deeper look—possibly worth a quick call to a washing machine maintenance specialist if it’s persistent enough.
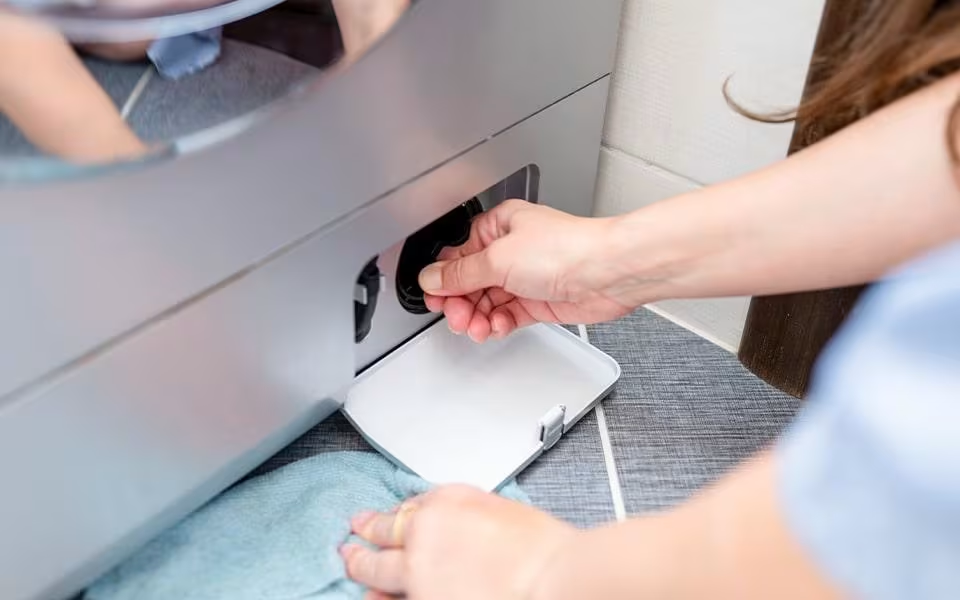
Washing Machine Filter Cleaning

For the bigger picture on keeping your laundry area mold-free in general, our guide on removing mold from bathroom and laundry areas covers some related spots worth checking, especially if you’ve got a damp laundry room.

FAQ

How often should I clean my washing machine? 

Run a full vinegar and baking soda cycle every 3 to 6 months for general maintenance, and more often—closer to monthly—if you have hard water, a front-load washer, or notice odors returning quickly. A quick wipe-down of the seal and drawer after heavy use weeks is a good habit on top of that.

Can I use bleach instead of vinegar? 

You can, but it’s not the best first choice. Bleach can kill mold but doesn’t break down residue buildup the way vinegar does, and repeated use can be harsh on rubber seals. If you use it, dilute it properly and don’t rely on it as your regular cleaner.

Why does my washer still smell after cleaning? 

The most common reason is the rubber door seal on front-load washers—mold often grows in the fold where it’s not visible from outside. Other culprits include a clogged drain filter, a kinked drain hose, or leaving damp clothes sitting in the drum too long before washing.

Is vinegar safe for washing machine rubber seals? 

Yes, in the amounts used for regular cleaning (about 1 cup per cycle), white vinegar is safe for rubber gaskets and won’t degrade them over time. It only becomes a concern if used at full strength repeatedly directly on the rubber.

What should I avoid putting in my washing machine to clean it? 

Avoid dishwasher tablets—they’re formulated differently and can damage washing machine components. Also avoid overusing fabric softener, as residue from it is one of the main contributors to drum buildup and odor over time.


Washing Machine Drums

The Ultimate Guide to Washing Machine Drums: Everything You Need to Know

Estimated reading time: 13 minutes

Last updated on June 23rd, 2026 at 05:40 am

Drums for washing machines are essential parts that ensure our clothing is cleaned effectively. These drums, which are located inside the washing machine, were carefully constructed to offer the best performance and care for our clothes. We can realize the significance and operation of washing machine drums and how they contribute to the production of clean, fresh clothing. In this introduction, we will examine the salient characteristics and advantages of washing machine drums, emphasizing the importance of these components in contemporary laundry equipment.

What is a Washing Machine Drum?

Washing Machine Drum

Photo Credit: onsitego

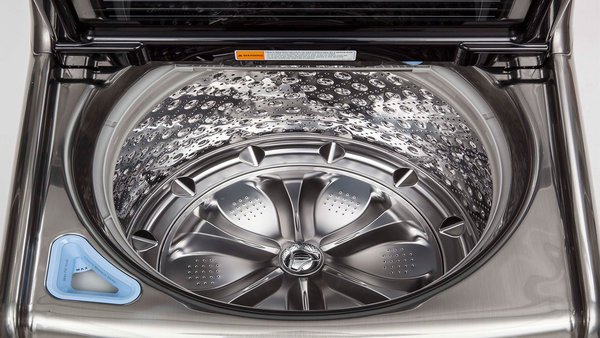
A washing machine’s drum, which holds and agitates the garments while they are being washed, is a crucial part of the appliance. It is a space within the washing machine that is formed like a cylinder. Although certain types may employ plastic or porcelain-enamel, the drum is normally constructed of stainless steel.

Small perforations or holes are incorporated into the drum’s construction to facilitate unrestricted water flow in and out. The tumbling movement produced when the washing machine is running helps to clean the clothing. The drum revolves in a circular manner. The clothes are cleaned of dirt, stains, and odors with the assistance of the rotating drum, detergent, and water.

The drum’s inner surface is covered with paddles or lifters in addition to holes. These paddles aid in the movement of the clothing during the wash cycle, guaranteeing complete cleaning and efficient detergent and water distribution.

The size of a washing machine drum is normally determined by how much laundry it can contain; for example, in kilos or pounds. The number of items that may be washed in a single load depends on the size of the drum.

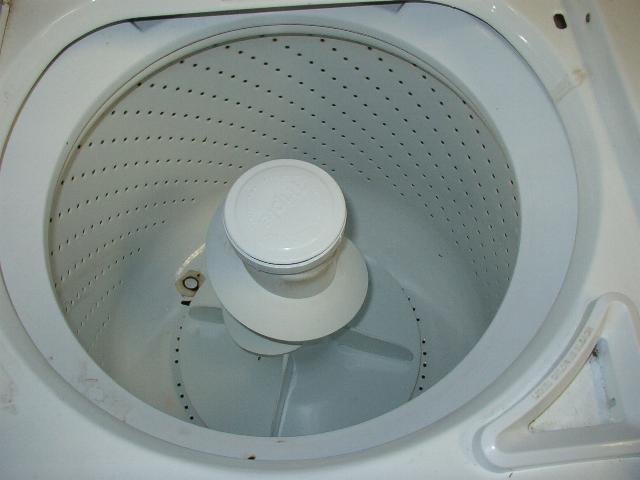
The drum differs from the agitator found in certain conventional top-loading washing machines, which is a crucial distinction to make. The agitator is a central column with fins or vanes that vigorously agitates the clothing while it cleans it. The contemporary washing machine’s drum, in comparison, delivers a gentler washing action by using rotation and tumbling to clean the clothes.

Overall, the washing machine drum is an essential part that is important to the washing process and ensures effective cleaning while preserving the quality of the clothing.

Types Of Washing Machine Drum

Types Of Washing Machine Drum

Photo Credit: reliancedigital

Stainless Steel Drums:

Pros:

Durability: Stainless steel drums are highly durable and resistant to rust, chipping, and cracking.

Effective Cleaning: They offer a smooth surface that makes it easier to get rid of smells and stains.

High Spin Speeds: Drums made of stainless steel can withstand high spin rates, which reduces the time it takes for clothes to dry.

Durability: These drums last longer than those made of conventional materials.

Cons:

– Cost: Washing machines with stainless steel drums tend to be more expensive than those with other drum types.

– Noise: During the spin cycle, the stainless steel drums may become louder, resulting in increased vibration and noise in the laundry room.

– Heat Conductivity: During the washing process, stainless steel drums can heat up fast, which could result in more energy being used.

Porcelain-Coated Drums:

Pros:

– Gentle on materials: The porcelain coating offers a smooth, soft surface that guards against wear and tear on sensitive materials.

– Stain Resistance: Drums with porcelain coatings often resist stains and are simple to clean.

– Quieter Operation: When compared to stainless steel drums, they typically make less noise and vibration.

– Affordability: Washing machines with stainless steel drums tend to be more expensive than ones with porcelain-coated drums.

Cons:

– Sturdiness: Over time, porcelain coatings may crack or wear away, revealing the underlying metal, which may rust or harm textiles.

– Limited Color Options: Consumer design options are constrained by the prevalence of white or light-colored porcelain-coated drums.

– Lower Spin Speeds: They can have lower maximum spin speeds, which causes clothes to dry more slowly.

Plastic Drum

Pros:

– Economical: When compared to washing machines with stainless steel or porcelain-coated drums, those with plastic drums are frequently less expensive.

– Quiet Operation: When in use, plastic drums often make less noise and vibration.

– Lightweight: Because plastic barrels are lightweight, handling them during installation or maintenance is simpler.

– Rust Resistance: Plastic drums do not rust or corrode easily.

Cons:

– Durability: Plastic drums are more prone to cracking or breaking than stainless steel or porcelain-coated drums. They are also less durable than other materials.

– Stain Retention: They are more likely to retain stains than other types of drums, which may necessitate more thorough cleaning.

– Restrictions on Spin Speeds: Plastic drums may have lower maximum spin speeds, which causes drying periods to take longer.

– Environmental Issues: Because plastic is difficult to recycle, it is less environmentally friendly than alternative materials like stainless steel.

It’s crucial to remember that different washing machine manufacturers and models may have a varied selection of drums available.

What Is Drum Sizes and Capacities

Drum Sizes and Capacities

Photo Credit: thespruce

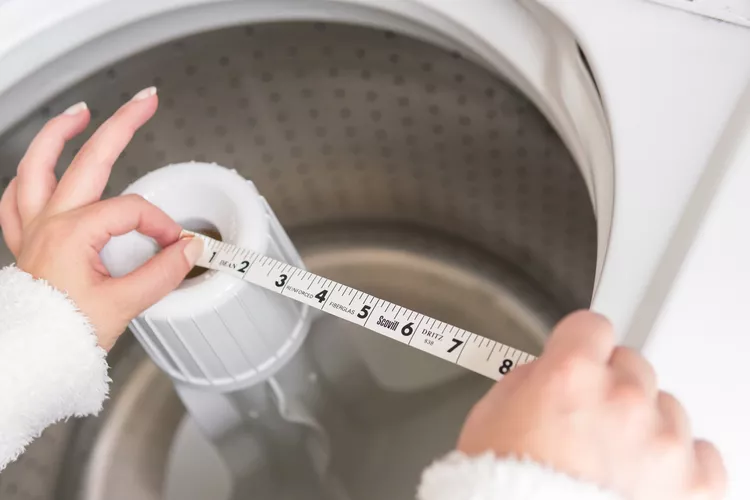
The volume of the washing machine’s drum is measured to determine how much laundry it can store and wash in a single cycle. This is referred to as drum sizes and capacities. The following are some essential details concerning drum sizes and capacities:

Drum Size

The actual dimensions of the washing machine drum are referred to as the drum size. Typically, it is expressed in cubic feet or cubic liters. Small to big drum sizes are typical, with variations in between. Greater capacity and the ability to accept larger loads of laundry are often indicated by larger drum sizes.

Capacity

The amount of laundry that a washing machine can successfully clean in one cycle is referred to as its capacity. Usually, it is expressed as a weight, such as pounds or kilograms. A washing machine’s capacity and drum size are intimately correlated. Larger drum sizes often have higher capacities, enabling more washing to be done at once.

Recognizing the Capacity Range:

The capacity of a washing machine might change based on the type and brand. The minimum and maximum load sizes advised for optimum operation are often indicated by the capacity range. For instance, the capacity range of a washing machine may be 8 to 12 pounds, suggesting that the suggested load size should fall within this range for effective and efficient cleaning.

Considerations for Drum Size and Capacity:

– Household Size: Take into account how many people live in your home and how much laundry is produced on a regular basis. Larger drum sizes and higher capacity may be needed for washing machines in larger homes to manage heavier loads.

– Frequency of Use: If you do laundry regularly, a washer with a greater capacity can help you save time and money by allowing you to do fewer loads at once.

– Space Restrictions: Make sure the washing machine’s overall dimensions and drum size fit in your laundry room or utility room.

Performance and Efficiency:

While higher drum sizes and capacities make it easier to wash larger loads, it’s crucial to also take the washing machine’s water and energy efficiency into account. Even with lesser loads, efficiency is promoted by certain washing machines’ customizable settings that optimize water use dependent on the load size.

It’s critical to comprehend the capacity and drum size of a washing machine before selecting a model that works for your family. In order to make an informed choice, take into account variables like load size, usage frequency, and available space.

Common Washing Machine Drum Problems

Common Washing Machine Drum Problems

Photo Credit: manwithawrench

Different issues that impact washing machine drum performance and efficiency might occur. The following are some typical problems with washing machine drums:

Load Unbalance:

When the laundry is spread unevenly inside the drum, it frequently leads to an imbalanced load. As a result, the washer may vibrate excessively and make loud noises when spinning. Additionally, it can cause the washing machine to shut off automatically or display error messages. Overloading the washer, washing large items simultaneously, or poorly dispersing the clothes in the drum can all result in an uneven load.

Drum agitator problems

The drum agitator in top-loading washers is in charge of rearranging the clothes to achieve complete cleaning. When the drum agitator is malfunctioning, the cleaning of the garments may be inadequate or uneven. The agitator might break down, get separated, or become loose, making it unable to efficiently agitate the wash. Wear and tear, damage or inappropriate use are all potential causes of this.

Drum Blockage:

When tiny particles like pennies, buttons, or other objects get wedged in the gap between the drum and the outer tub, drum blockage can result. During the washing cycle, some items may make noise, rattling, or scraping sounds. If not immediately removed, they can also cause harm to the drum or other parts. Blockages can also interfere with the drainage system, leading to water buildup in the drum or obstructing normal water flow.

Drum Leaks:

Leaking is a frequent issue that may result from problems with the drum. It could be brought on by gaskets, seals, or hoses attached to the drum that are faulty or worn out. Water may drop or collect around the washing machine while it is in use if there are leaks. To prevent water damage to the equipment or the surrounding region, leaks must be fixed very away.

Failure of the drum bearing

The drum’s ability to revolve smoothly is due to the drum bearings. These bearings may deteriorate or break down over time, creating a number of problems. Excessive noise, especially during the spin cycle, and a loose or wobbling drum are signs of drum bearing failure. To fix this issue, drum bearings often need to be replaced or repaired.

Corrosion or rust on a drum:

Rust or corrosion may form over time if the drum is composed of materials that are not resistant to rust, such as porcelain-coated or plastic drums. This could harm the drum structure and discolor the laundry. Rust or corrosion can develop as a result of moisture exposure, poor cleaning practices, or strong cleaning agents.

It is advised to refer to the owner’s handbook, get in touch with customer service, or hire a qualified technician for assistance if you have any of these drum problems or any other difficulties with your washing machine in order to ensure appropriate diagnosis and repair.

Maintaining Your Washing Machine Drum

cleaning-washing-machine-1661452684

Photo Credit: bestproducts

Maintaining the drum of your washing machine is essential for ensuring its durability, effective operation, and clean clothes. Here are some pointers to keep your washing machine drum in good shape:

Clean the Drum Regularly:

To prevent a buildup of dirt, lint, detergent residue, or other debris, regularly clean the drum. Running an empty hot water cycle with a cup of white vinegar or a washing machine cleanser made exclusively for drum cleaning can clean the drum. This maintains the freshness of the drum and helps to get rid of smells and mold or mildew growth.

Wipe Down the Drum and Door Seal:

To eliminate any apparent dirt or moisture, wipe out the drum and the rubber door seal with a wet cloth after each cycle of washing. This avoids the buildup of dirt and lowers the possibility of mold or mildew formation. Pay close attention to the rubber seal’s folds and crevices since they might trap moisture and dirt.

Leave the Door Open:

Keep the washing machine door slightly ajar after each use to promote airflow and drum drying. This assists in halting the development of mold or mildew, both of which like moist settings. Any offensive scents are also reduced by leaving the door open.

Avoid Overloading:

Don’t fill the washing machine drum more than the manufacturer recommends. In addition to imbalances, increased wear and tear, and potential machine damage, overloading can put undue strain on the motor and the drum. To maintain peak performance, adhere to the load capacity recommendations provided by the manufacturer.

Remove Objects from Pockets:

Make sure all pockets are empty before placing any clothing in the drum. Coins, keys, and other tiny things might clog the drum during the wash cycle, damage it, or produce noise. Taking items out of pocket might assist to avoid these problems.

Use the Detergent Suggested:

Use the suggested detergent quantity and type from the manufacturer. Too much detergent might clog the drum with extra suds and buildup, reducing its effectiveness and cleanliness. Follow the directions on the detergent container and modify the amount according to the size of the load and the local water hardness.

Examine for Leaks:

Check the connections, hoses, and drum often for any leaks. Check the area around the washing machine for any water puddles or moisture. If there are any leaks, fix them right away to limit future damage and water-related problems.

Organize expert maintenance:

Consider planning routine professional washing machine repair. To make sure everything is in good working condition, a professional expert may examine and service the drum, bearings, seals, and other parts.

You can assure clean and fresh laundry while extending the life of your washing machine drum by following these maintenance suggestions. For precise maintenance instructions for your individual washing machine model, always consult the manufacturer’s handbook.

Conclusion

As a result, the drums of our washing machines are essential to the thorough cleaning of our clothes. They are made to be soft on our clothing while enduring the rigors of the washing process. Durability and corrosion resistance are ensured by the materials employed, such as porcelain enamel or stainless steel. The shape of the drum, with its different patterns and holes, also contributes to improving the washing activity by enabling better dispersion of water and detergent, which produces cleaner and fresher clothing. To maximize performance and extend the drum’s lifespan, regular maintenance and cleaning are required. Modern washing machine drums also have features like antibacterial treatments or self-cleaning choices, further boosting cleanliness and ease thanks to technological improvements. Drums for washing machines are essential parts that help our machines function effectively and last a long time while also streamlining our laundry processes and giving us clean, well-maintained clothing.

Frequently Asked Questions

1. How frequently should I clean the drum of my washing machine?

According to use, cleaning the washing machine drum should be done every one to three months.

2. Can I clean the drum of my washing machine with bleach?

You may use bleach to clean a washing machine drum, but only if you properly diluted it and followed the manufacturer’s instructions.

3. Is the noise a washing machine drum makes when running normal?

Answer: While some noise is natural, excessive noise may be a sign of a deeper problem. For solutions, see the article’s troubleshooting section.

4. Are you able to change the drum in your washing machine by yourself?

– Response: Changing a washing machine drum might be difficult. It is preferable to get advice from a qualified technician or to study the manufacturer’s instructions.

5. How long do drums for washing machines normally last?

– Response: A washing machine drum’s lifespan varies based on usage, upkeep, and quality. They can endure from 10 to 15 years on average.

Scroll to Top