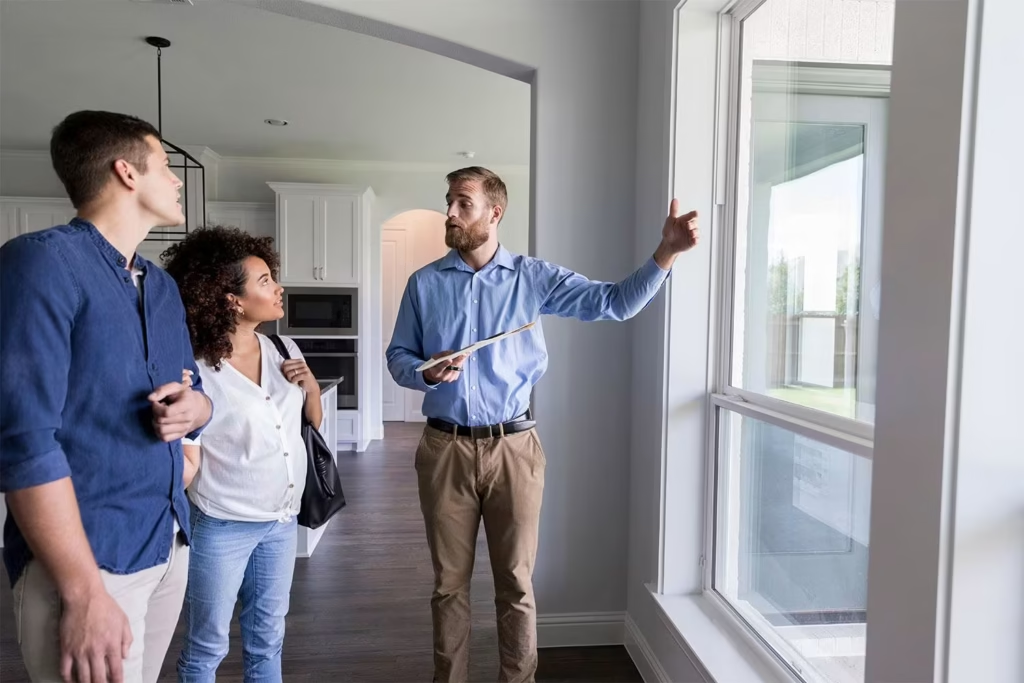
Estimated reading time: 14 minutes
A friend once skipped attending her home inspection. She trusted the report, skimmed the summary, and moved in two months later. The first winter, her heating bill was $400 a month. Turned out the furnace was 22 years old and barely functioning — something a two-minute conversation with the inspector would have flagged immediately.
That’s the thing about home inspections. They’re not a formality. They’re one of the few moments in the entire buying process where you get to genuinely look under the hood before you commit to one of the largest purchases of your life.
A solid home inspection checklist doesn’t just help you spot problems. It helps you understand what you’re buying, what questions to ask, and — when the time comes — how to negotiate confidently based on real findings rather than assumptions.
What a Home Inspection Actually Covers (and What It Doesn’t)
A standard home inspection is a visual assessment of a property’s major systems and structural components. A licensed inspector — ideally certified through organisations like InterNACHI or ASHI (American Society of Home Inspectors) — will typically spend two to four hours going through the property from roof to foundation.
What’s included in a standard inspection
Most general inspections will cover:
- Roofing materials, gutters, and drainage
- Foundation and structural elements
- Exterior walls, grading, and drainage patterns
- Attic insulation and ventilation
- Electrical panels, wiring, and safety devices
- Plumbing supply lines, drains, and water heater
- HVAC systems — heating, cooling, and ductwork
- Interior rooms, walls, ceilings, floors, windows, and doors
- Basement and crawl space conditions
- Kitchen appliances (sometimes, depending on the inspector)
What inspectors aren’t required to check
Here’s where a lot of buyers get tripped up. A general home inspection won’t include radon testing, mould sampling, sewer scoping, pest inspections, or chimney assessments. Those are separate, specialist services — and depending on where you’re buying, some of them are absolutely worth the extra cost.
More on that below. For now, know that the inspection report you receive is a starting point, not the full picture.
The Home Inspection Checklist, Area by Area
This is the practical part. Use this as your reference during the inspection — not just something to read afterward.
Exterior and Roof
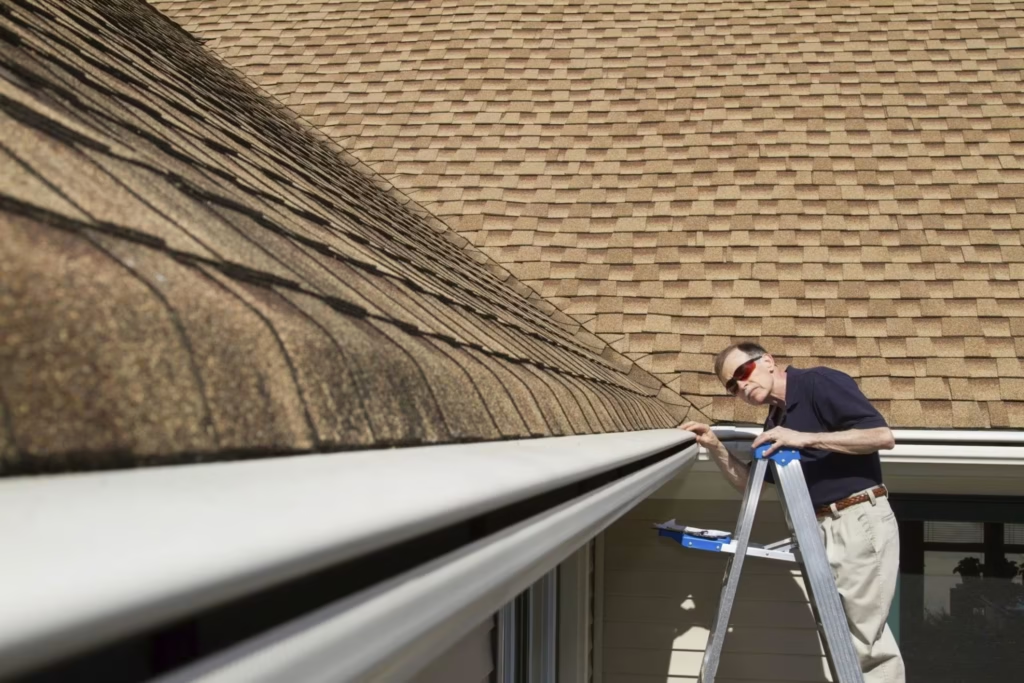
The outside of the house tells you a lot before you even open the front door.
- Roof condition: Look for missing, curling, or damaged shingles. Ask the inspector how many layers of roofing are on the structure and estimate the remaining lifespan. A full roof replacement typically runs $8,000–$20,000+ depending on size and materials. Understanding the different types of roofing services can help you make sense of any repair recommendations that come back in the report.
- Gutters and drainage: Clogged or detached gutters push water against the foundation. Check that downspouts direct water away from the house — at least six feet out.
- Driveways and walkways: Cracks or uneven settling aren’t always cosmetic. Heaving concrete near the house can signal drainage problems or root intrusion.
- Exterior walls: Bubbling paint, soft wood, or dark staining can all indicate moisture getting in somewhere it shouldn’t.
- Grading: The ground around the home should slope away from the foundation, not toward it. Poor grading is a surprisingly common issue that leads to basement water intrusion over time.
Poor exterior drainage also tends to create prime conditions for pests. If you notice standing water or soft ground near the foundation, that’s worth flagging — and it’s the same environment that attracts mosquitoes and other outdoor nuisances once you move in.
Foundation and Structure
This is the one area where you don’t want to minimise findings. Foundation issues range from minor settling (normal in older homes) to active structural movement that requires serious intervention.
- Hairline cracks in poured concrete foundations are usually cosmetic. Horizontal cracks, stair-step cracks in block foundations, or cracks wider than a quarter inch deserve a closer look.
- Water stains along the base of basement walls suggest past or ongoing moisture intrusion.
- Uneven floors or doors that don’t close properly upstairs can sometimes indicate foundation movement — not always, but worth noting.
If your inspector flags foundation concerns, ask directly: is this monitoring-level or repair-level? If it’s the latter, bring in a structural engineer before closing. Their assessment costs a few hundred dollars and can save you from a five-figure surprise.
Attic and Insulation
The attic is easy to overlook and often reveals more than expected.
- Proper insulation coverage matters for energy efficiency. Under-insulated attics drive heating and cooling costs up significantly. If you’re thinking about eco-friendly upgrades or energy-efficient remodelling down the line, the attic is often the most impactful place to start — this guide on eco-friendly remodelling covers what’s worth prioritising.
- Check for adequate ventilation. Poor attic ventilation traps heat in summer and moisture in winter, which accelerates roof deterioration from the inside.
- Dark staining on rafters can indicate past or current roof leaks. Even if there’s no active drip, moisture damage to wood structure needs to be assessed.
- Any sign of vermiculite insulation (common in homes built before the 1980s) should be flagged — it sometimes contains asbestos and requires specialist testing.
Electrical System
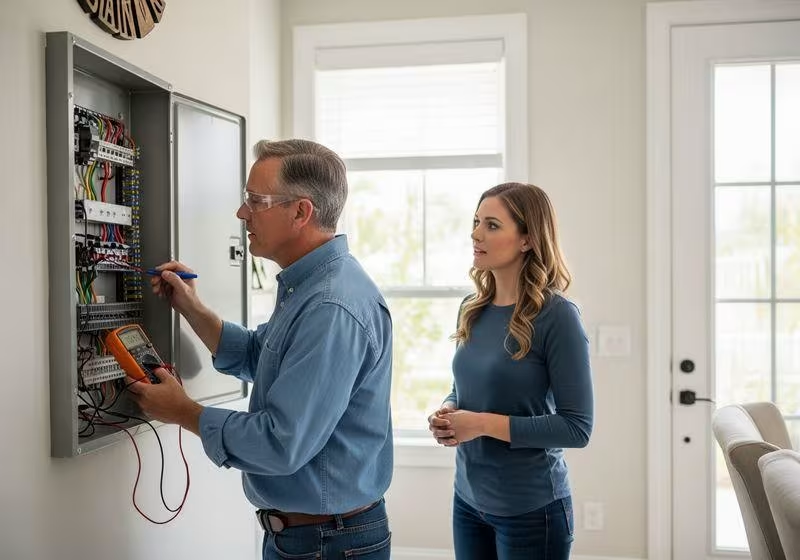
Electrical problems are among the most dangerous and, unfortunately, among the most commonly missed by buyers doing their own walkthroughs.
- The main electrical panel should be clearly labelled, properly grounded, and free of any signs of scorching or burning.
- Aluminium wiring (found in many homes built between 1965–1973) requires special outlets and connections. It’s not necessarily a dealbreaker, but it needs to be handled correctly.
- Every room should have working GFCI outlets in wet areas — kitchens, bathrooms, garages, and outdoor outlets. Test them.
- Smoke detectors and carbon monoxide detectors should be present, functional, and appropriately placed. This is basic — but it matters. Understanding the broader role of fireproofing in building safety gives you helpful context on why these systems matter in the overall safety picture.
- Ask about the age of the panel and whether it’s been updated. Older fuse boxes or known-problematic brands (Federal Pacific, Zinsco) can present insurance and safety challenges.
Plumbing
A few things to check yourself during the walkthrough, even before the inspector starts:
- Turn on multiple faucets simultaneously and watch water pressure. A significant drop suggests pressure issues in the supply lines.
- Check under sinks for moisture, soft cabinet floors, or staining — signs of past or ongoing leaks.
- Flush toilets and check for rocking or staining at the base.
- Ask about the age and type of supply pipes. Galvanised steel (common in pre-1960 homes) corrodes from the inside and can dramatically reduce water flow over time. Polybutylene pipes (found in 1970s–90s homes) have a known failure history.
- Water heater age matters. Most last 10–15 years. A unit over 12 years old is worth factoring into your negotiation.
HVAC — Heating and Cooling
The HVAC system is one of the most expensive to replace and one of the most neglected in inspection conversations.
- Ask the inspector to run both the heating and cooling systems, even if you’re visiting in mild weather. You want to know they actually work.
- Check the age of the furnace and air conditioner. A furnace older than 20 years or an AC unit past 15 years is likely near the end of its lifespan. Replacement costs range from $4,000 for a furnace to $15,000+ for a full central air system.
- Look at the filter. If it’s black, it hasn’t been changed in years — which says something about how the whole system has been maintained.
- Ductwork should be intact and properly connected. Disconnected or leaking ducts are an energy efficiency and air quality issue.
- If the home has a boiler system, radiators, or mini-split units, verify each zone works and that the inspector tests them all.
Good winter home maintenance habits — including HVAC upkeep — are far easier when you know the condition of the system going in.
Interior — Rooms, Walls, Floors, Windows
Walk every room slowly. Look up, down, and along the walls.
- Water stains on ceilings, especially below bathrooms or near exterior walls, should be explained. Fresh paint over a stain is a red flag, not a fix.
- Check window operation. Broken seals in double-pane windows create permanent fogging between the panes. It’s not structural, but replacing them adds up quickly across a whole house.
- Test every light switch, outlet, and ceiling fan.
- Look at the flooring. Soft spots in hardwood or tile can indicate subfloor moisture damage.
- Doors that stick, don’t latch, or have visible gaps at the frame can be simple settling — or something worth investigating further.
Basement and Crawl Space
These areas are where moisture problems hide.
- Efflorescence (white, chalky residue on concrete) indicates water has been moving through the walls.
- Any signs of active standing water, even small amounts in corners, need to be explained.
- Check sump pump operation if present — pour a bucket of water into the pit and verify it activates.
- Crawl spaces should have proper vapour barriers in place and no signs of wood rot or pest damage to floor joists.
Kitchen and Bathrooms
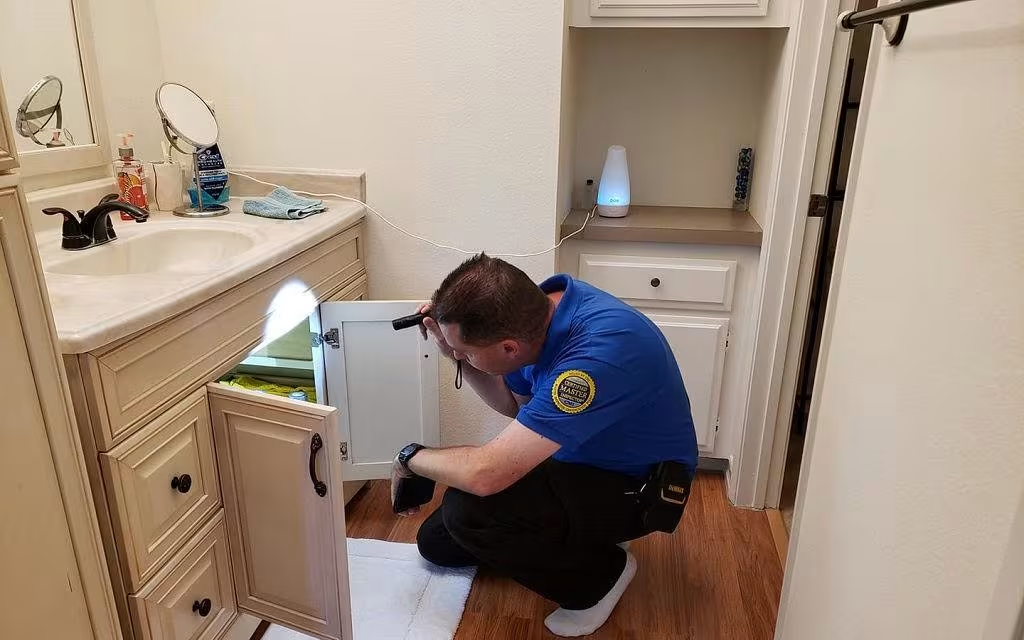
Give these rooms extra time. They’re the two areas where deferred maintenance is most often hidden by cosmetic updates.
- Test all appliances that convey with the sale.
- Check grout and caulk in showers and around tubs. Cracked or missing grout allows water into the wall structure behind tile.
- Under-sink cabinets in both the kitchen and bathrooms are worth opening and pressing on the cabinet floor — soft or discoloured wood means there’s been a leak.
- Bathroom exhaust fans should vent to the outside, not just into the attic. Condensation in the attic from improperly vented bathrooms causes real damage over time.
Red Flags That Should Make You Pause
Not every issue is a reason to walk away. But these ones deserve serious attention before you proceed:
- Active foundation movement — not old cracks, but evidence of current shifting
- Major roof failure — multiple layers, significant structural sagging, or end-of-life materials with no negotiation offered
- Knob-and-tube or aluminium wiring not properly addressed — insurance complications alone can be significant
- Evidence of mould behind walls or in the HVAC system — not surface mould on grout, but systemic issues
- Sewer line problems — a sewer scope (separate from the standard inspection) that shows root intrusion or collapsed lines
- Water damage patterns throughout multiple areas — one stain is a repair; water stains in the basement, attic, and master bedroom ceiling suggest ongoing building envelope issues
Any of these warrants either a price renegotiation, a repair credit, or in some cases, a conversation about whether to proceed at all. Your agent should help you read the situation — but the inspection report gives you the leverage.
When to Order Specialist Inspections
The general inspection is your foundation. These specialist services are worth adding in the right situations.
Structural engineer
If the general inspector flags foundation concerns or structural anomalies, bring in a licensed structural engineer. They provide repair recommendations with actual cost estimates — which you’ll need for negotiations.
Mould and air quality testing
Especially relevant in older homes, homes with known water damage history, or properties in humid climates. A general inspector can identify visible mould but can’t test hidden mould or air quality.
Radon testing
Radon is a colourless, odourless radioactive gas that enters homes through the foundation — and it’s the second-leading cause of lung cancer in the US. Testing is inexpensive (around $150–$300) and mitigation systems, if needed, typically run $800–$2,500. Highly recommended in high-radon regions regardless of what the general inspection shows.
Sewer scope
A camera inspection of the sewer line from the house to the municipal connection. It costs around $100–$300 and can save you from discovering a $5,000–$15,000 problem after closing. Highly recommended for homes over 30 years old.
Pest and termite inspection
Required by many lenders for FHA and VA loans, but worth ordering regardless. Termite damage is often hidden inside walls and can be extensive before it becomes visible. In warmer, more humid regions, this should be treated as non-optional.
How to Use the Inspection Report in Negotiations
Most buyers treat the inspection as a binary — either the house passes or it fails. In reality, the report is a negotiation tool.
You generally have three options after receiving a report with significant findings:
- Ask for repairs to be completed before closing
- Request a price reduction reflecting the estimated cost of issues
- Ask for a repair credit at closing, which gives you cash to handle the work yourself after moving in
Most experienced agents recommend option two or three over actual repairs, since seller-completed work can vary in quality and creates less friction in the timeline.
When deciding what to negotiate, focus on safety issues, major systems (roof, HVAC, electrical, plumbing), and anything that affects insurability. Cosmetic items — unless they’re severe — are usually better addressed after closing rather than used as negotiation points, which can feel petty and slow things down.
If you’re also thinking ahead to the selling side, it’s worth noting how inspection findings affect listing readiness too — this home selling checklist shows the other side of that coin.
Questions to Ask Your Home Inspector
Don’t just follow the inspector around silently. These questions will get you more useful information than any checklist alone:
- “How old do you estimate the roof to be, and how many years does it have left?”
- “Is this crack something to monitor or something to repair now?”
- “Would you buy this house?” (Some inspectors will answer honestly — it tells you something if they won’t.)
- “What’s the single most expensive issue you’ve seen today?”
- “Are there any areas you couldn’t fully access or assess?”
- “Which findings do you consider urgent versus minor?”
- “Should I consider any specialist inspections based on what you’ve seen?”
That last question alone is worth asking. An experienced inspector will tell you when something is outside their scope and warrants a second opinion. If they don’t mention specialist options when there are clear concerns, that’s worth noting too.
FAQs
How long does a home inspection typically take?
Most residential inspections take two to four hours, depending on the size and age of the property. Larger homes or those with multiple issues can run longer. Plan to be present for the full inspection — reading the report alone doesn’t give you the same information as being there in person.
What are the biggest red flags in a home inspection?
Foundation movement, active roof failure, electrical system problems (especially ungrounded wiring or unsafe panels), evidence of systemic water intrusion, and major HVAC issues are generally the most costly and consequential findings. Mould, pest damage, and sewer line problems also belong on that list.
Can a buyer attend a home inspection?
Yes — and you should. Following the inspector through the property gives you direct, real-time explanations of every finding. The written report is useful, but hearing “this crack has been here for years and isn’t moving” versus “this looks recent” makes a significant difference in how you respond.
What happens after a home inspection?
You’ll typically receive a written report within 24 hours. Review it carefully, flag anything that concerns you, and discuss your options with your real estate agent. From there, you’ll decide whether to request repairs, negotiate a price reduction, accept the home as-is, or — in serious cases — exercise your inspection contingency to exit the contract.
Do new construction homes need inspections?
Yes, and many buyers skip this under the assumption that a brand-new home is problem-free. New builds often have construction defects, incomplete work, or code compliance issues that a fresh set of independent eyes will catch. A pre-drywall inspection (before walls are closed up) and a final walkthrough inspection are both worth scheduling on new construction.
The inspection is one of the most powerful moments in the entire home-buying process. Use it. Show up, ask questions, and don’t dismiss anything that gives you pause just because you’re excited about the house. The right property will still be the right property after a thorough inspection — and if it’s not, that’s exactly the kind of information you need before signing.