Estimated reading time: 12 minutes
Last updated on June 23rd, 2026 at 07:12 am
Most people picture a wrecking ball. Maybe an implosion clip they saw on the news. The reality of the commercial demolition process is far less dramatic — and far more complex.
Here’s something that surprises most first-timers: the actual teardown is often the shortest phase. A mid-size commercial building might take two to three weeks to bring down mechanically, but the planning, abatement, and site clearance surrounding that teardown can stretch the total project timeline to three or six months. Sometimes longer if permits hit delays.
If you’re planning a demolition project — whether you’re a developer clearing a site, a contractor scoping a bid, or a project manager navigating compliance — this guide breaks down exactly what happens, in order, and what to watch for at each stage.
What Commercial Demolition Actually Involves
Commercial demolition is the regulated, multi-phase process of safely dismantling a commercial structure, managing the resulting debris, and preparing a cleared site for its next use. It covers everything from pre-demolition engineering surveys and hazardous material removal to mechanical teardown, debris recycling, grading, and final permit closeout.
It’s not just knocking a building down. It’s a sequenced operation with legal, environmental, and structural checkpoints at every stage.
Phase 1: Planning, Permits, and Site Assessment

This is where the work actually starts — well before any machinery rolls onto the site.
Engineering Surveys and Structural Audits
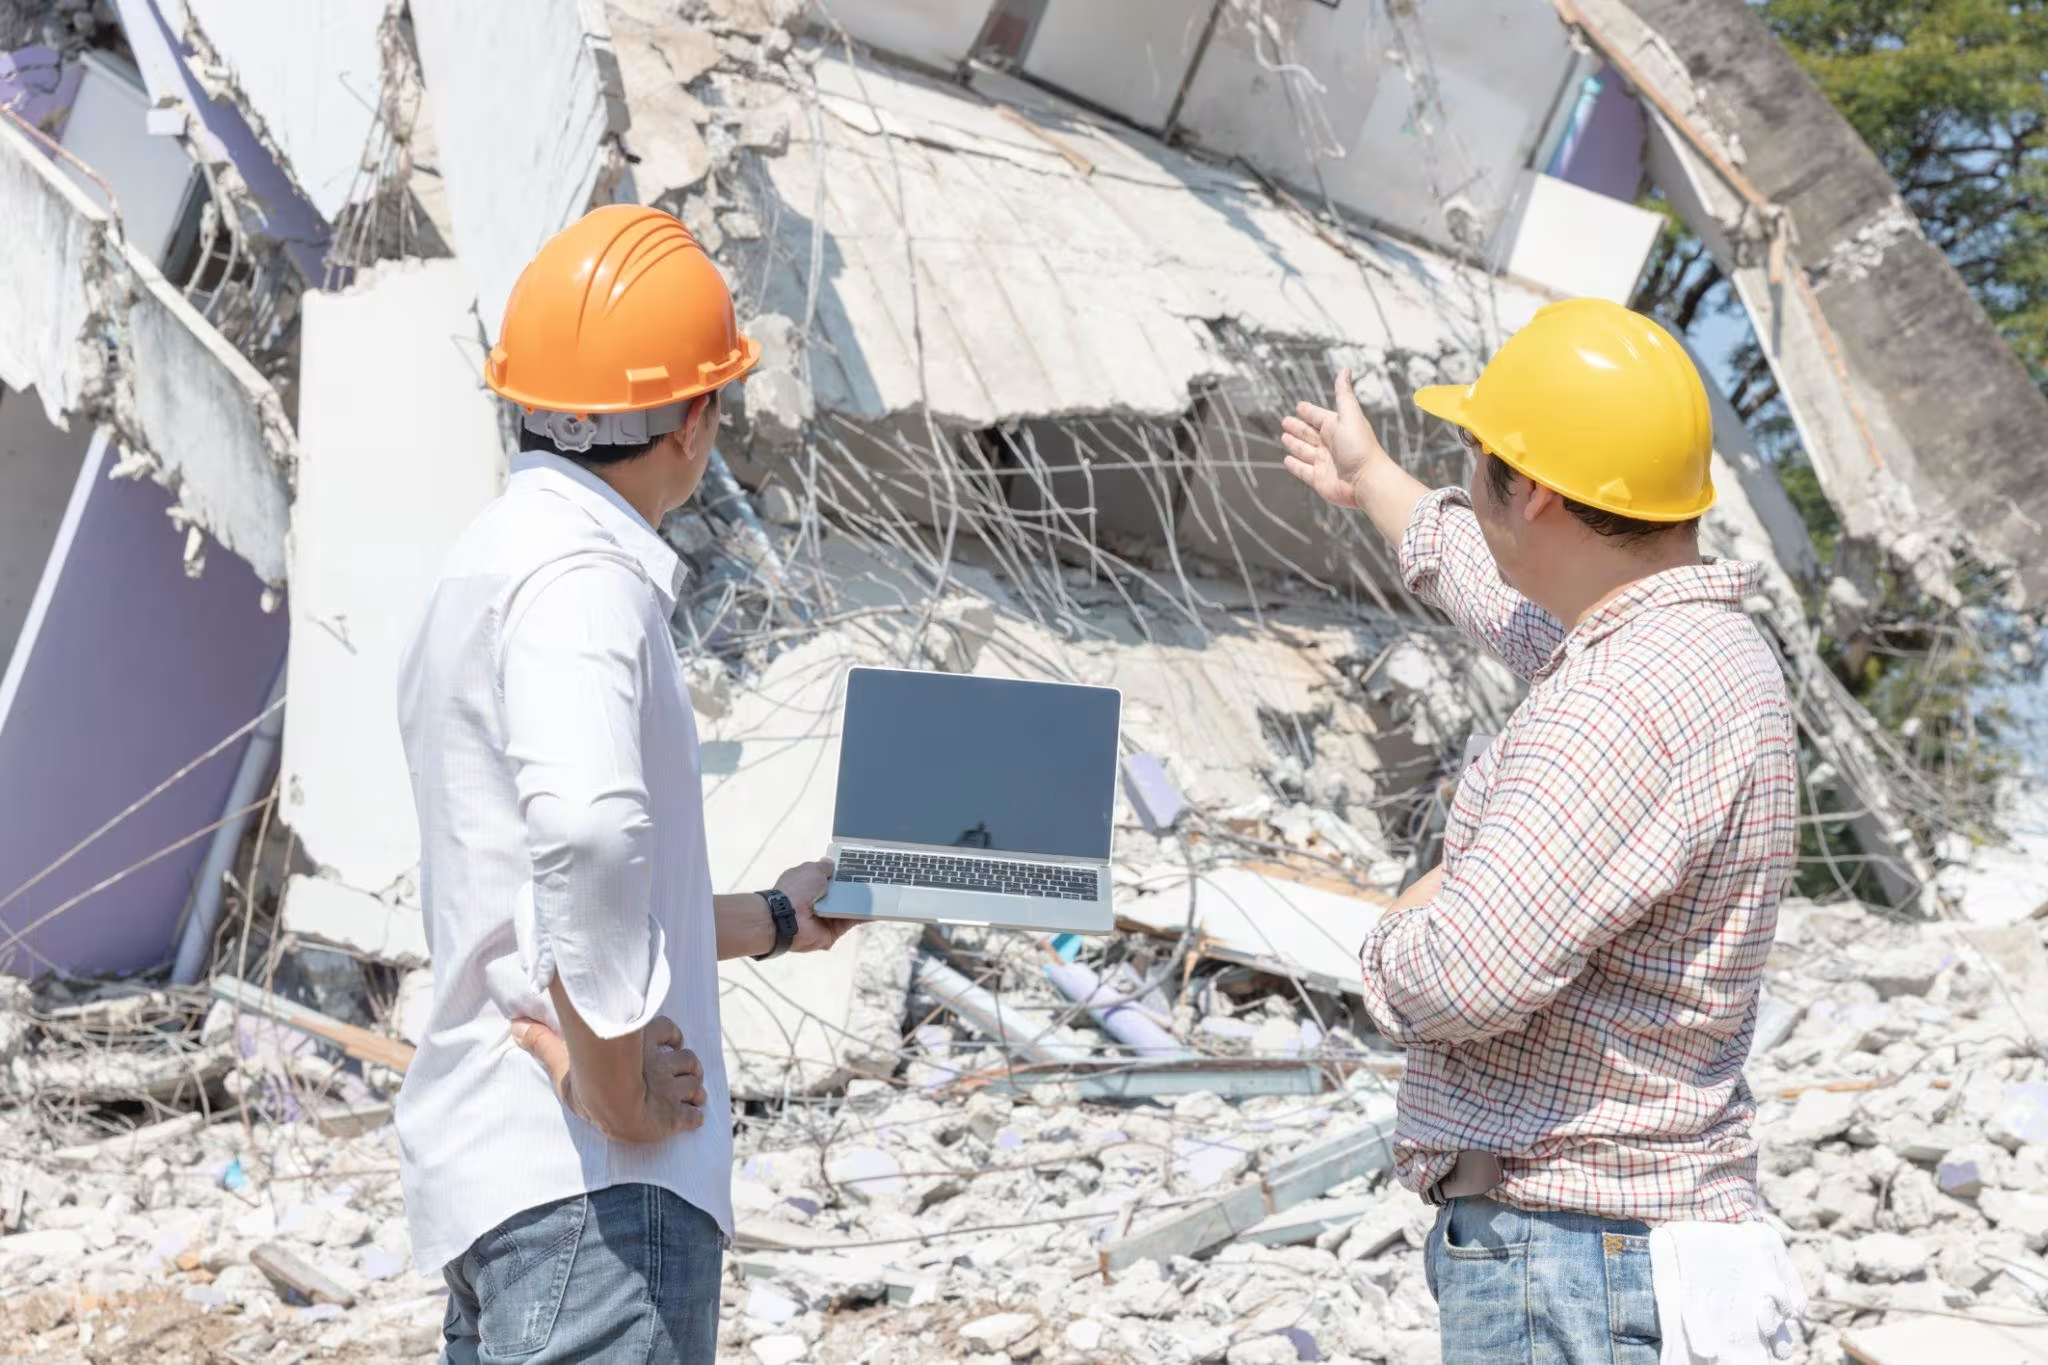
A licensed structural engineer needs to assess the building before anything else. They’re looking at load-bearing walls, existing structural weaknesses, and how the building is likely to behave when it comes down. On older or larger commercial structures, you might also bring in a geotechnical engineer to assess soil conditions, particularly if you’re demolishing in a dense urban area where adjacent foundations are a concern.
This pre-demolition structural audit shapes everything that follows — the method you choose, the equipment you need, and the safety exclusion zones required on site.
Permits: More Than Just Paperwork
Every commercial demolition requires permits. What specifically you need varies by municipality, but you’ll typically be dealing with a combination of building department demolition permits, environmental permits (especially if the site has any contamination history), and sometimes separate utility disconnection sign-offs.
Permit timelines vary significantly. In some areas, a straightforward permit comes back in two to three weeks. In others — particularly busy metro areas or projects with environmental complexity — you might be waiting two to three months. Factor that into your project schedule, not as an afterthought.
Utility Disconnection
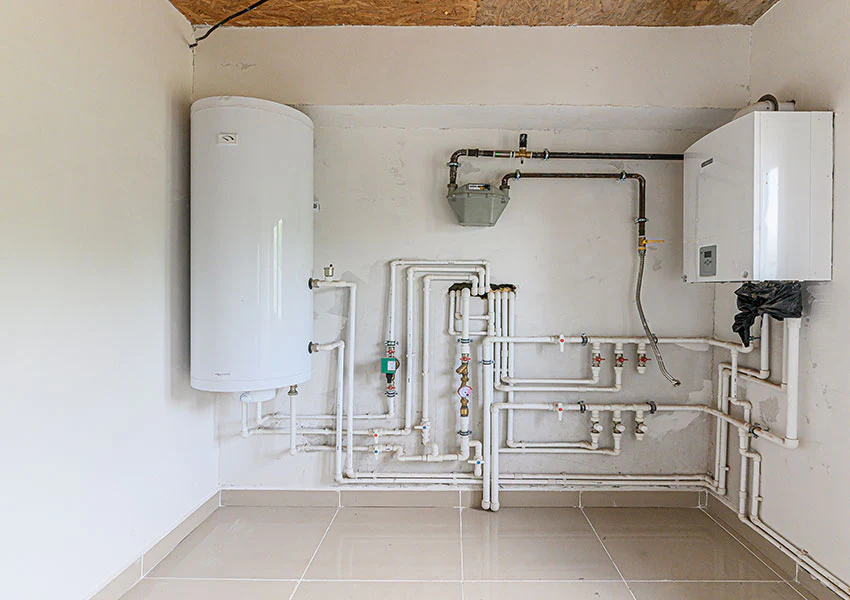
Before any demo work starts, all utilities need to be permanently disconnected and capped at the street — not just turned off, but physically severed by the relevant utility providers. This means water, gas, electricity, and sewer. Each provider has its own process and scheduling window.
This step seems administrative until something goes wrong. A live gas line hit during excavation, or an energised cable that wasn’t properly disconnected, is a serious incident. It’s worth verifying utility disconnections in writing before groundwork begins.
Phase 2: Hazardous Material Abatement
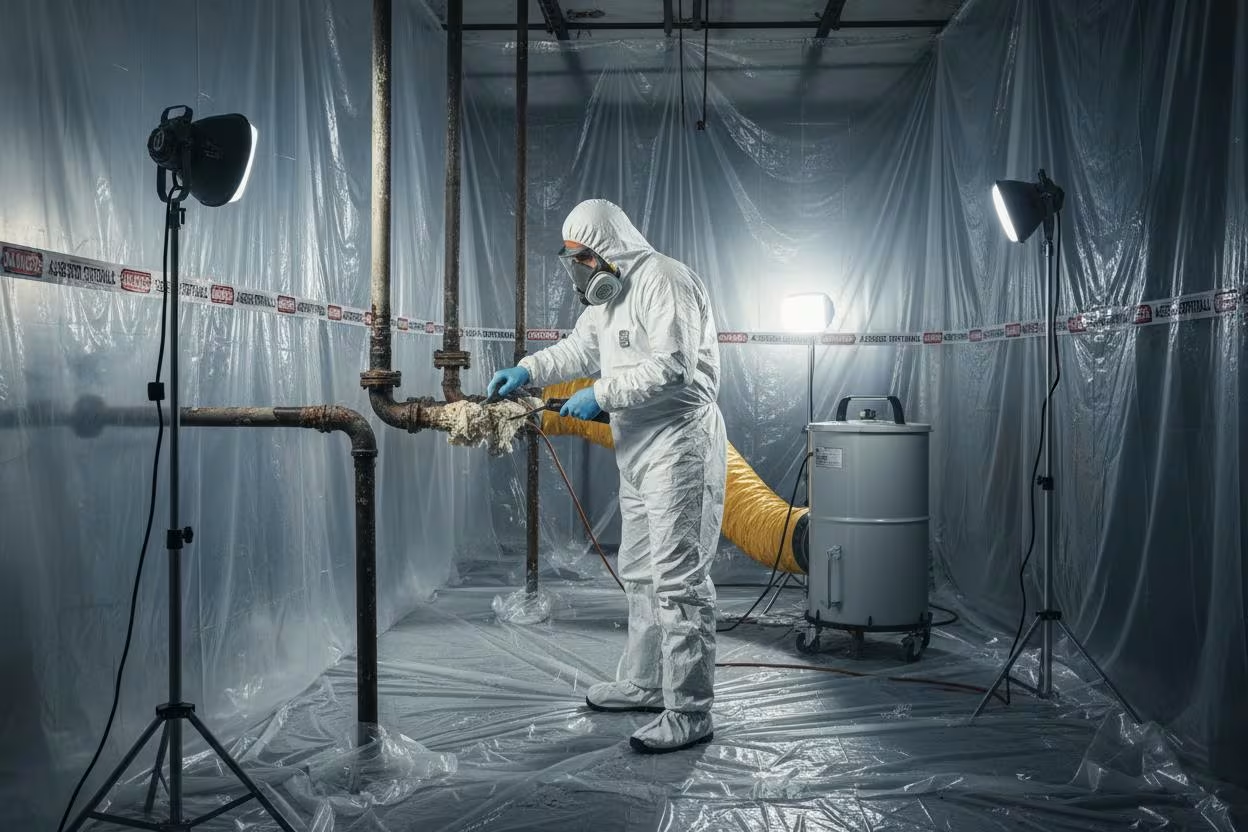
The phase most owners underestimate — both in cost and in time.
Any commercial structure built before the mid-1980s should be treated as a potential hazardous materials site until proven otherwise. Asbestos was widely used in insulation, floor tiles, ceiling tiles, pipe lagging, and roofing materials. Lead-based paint was standard on most interior and exterior surfaces until it was phased out. PCBs were used in older electrical equipment and some caulking materials.
Asbestos Testing and Removal
Before any demolition work, a certified asbestos inspector needs to conduct a survey. If asbestos-containing materials are found — and in older buildings, they usually are somewhere — licensed abatement contractors must remove them before general demolition can begin.
This isn’t optional, and it’s not a grey area. Under EPA and OSHA regulations, disturbing asbestos without proper abatement is a serious violation. Beyond the regulatory exposure, it creates genuine liability if workers or neighbouring properties are affected.
Abatement costs vary based on the type and extent of materials, but ballpark figures for commercial buildings typically run from $2 to $10 per square foot depending on the complexity and your location. A 10,000 sq ft building with widespread asbestos could see abatement costs in the $30,000–$80,000 range before demolition even begins. For more on this, see our guide on home construction fundamentals and what property owners need to know.
Lead Paint and PCBs
Lead paint abatement follows a similar process — inspection, containment, removal, and documented disposal through approved waste facilities. PCB-containing materials require specialised disposal that follows strict environmental guidelines.
All hazardous waste transport and disposal must be handled by licensed contractors and documented through a chain of custody. This documentation matters during permit closeout.
Phase 3: Choosing Your Demolition Method
Once the site is clear of hazardous materials, you’re into the teardown phase. The method depends on the building’s size, location, structural type, and what’s around it.
| Method | Best For | Equipment Used | Typical Cost Factor |
| Mechanical demolition | Most commercial buildings | Excavators, hydraulic shears, crushers | Standard baseline |
| Selective deconstruction | Buildings with reusable materials or partial demo | Manual labour + lighter equipment | Higher labour cost, offset by salvage |
| Controlled implosion | Large high-rises in open or urban settings | Explosive charges, engineering precision | Premium cost, strict conditions |
Mechanical Demolition
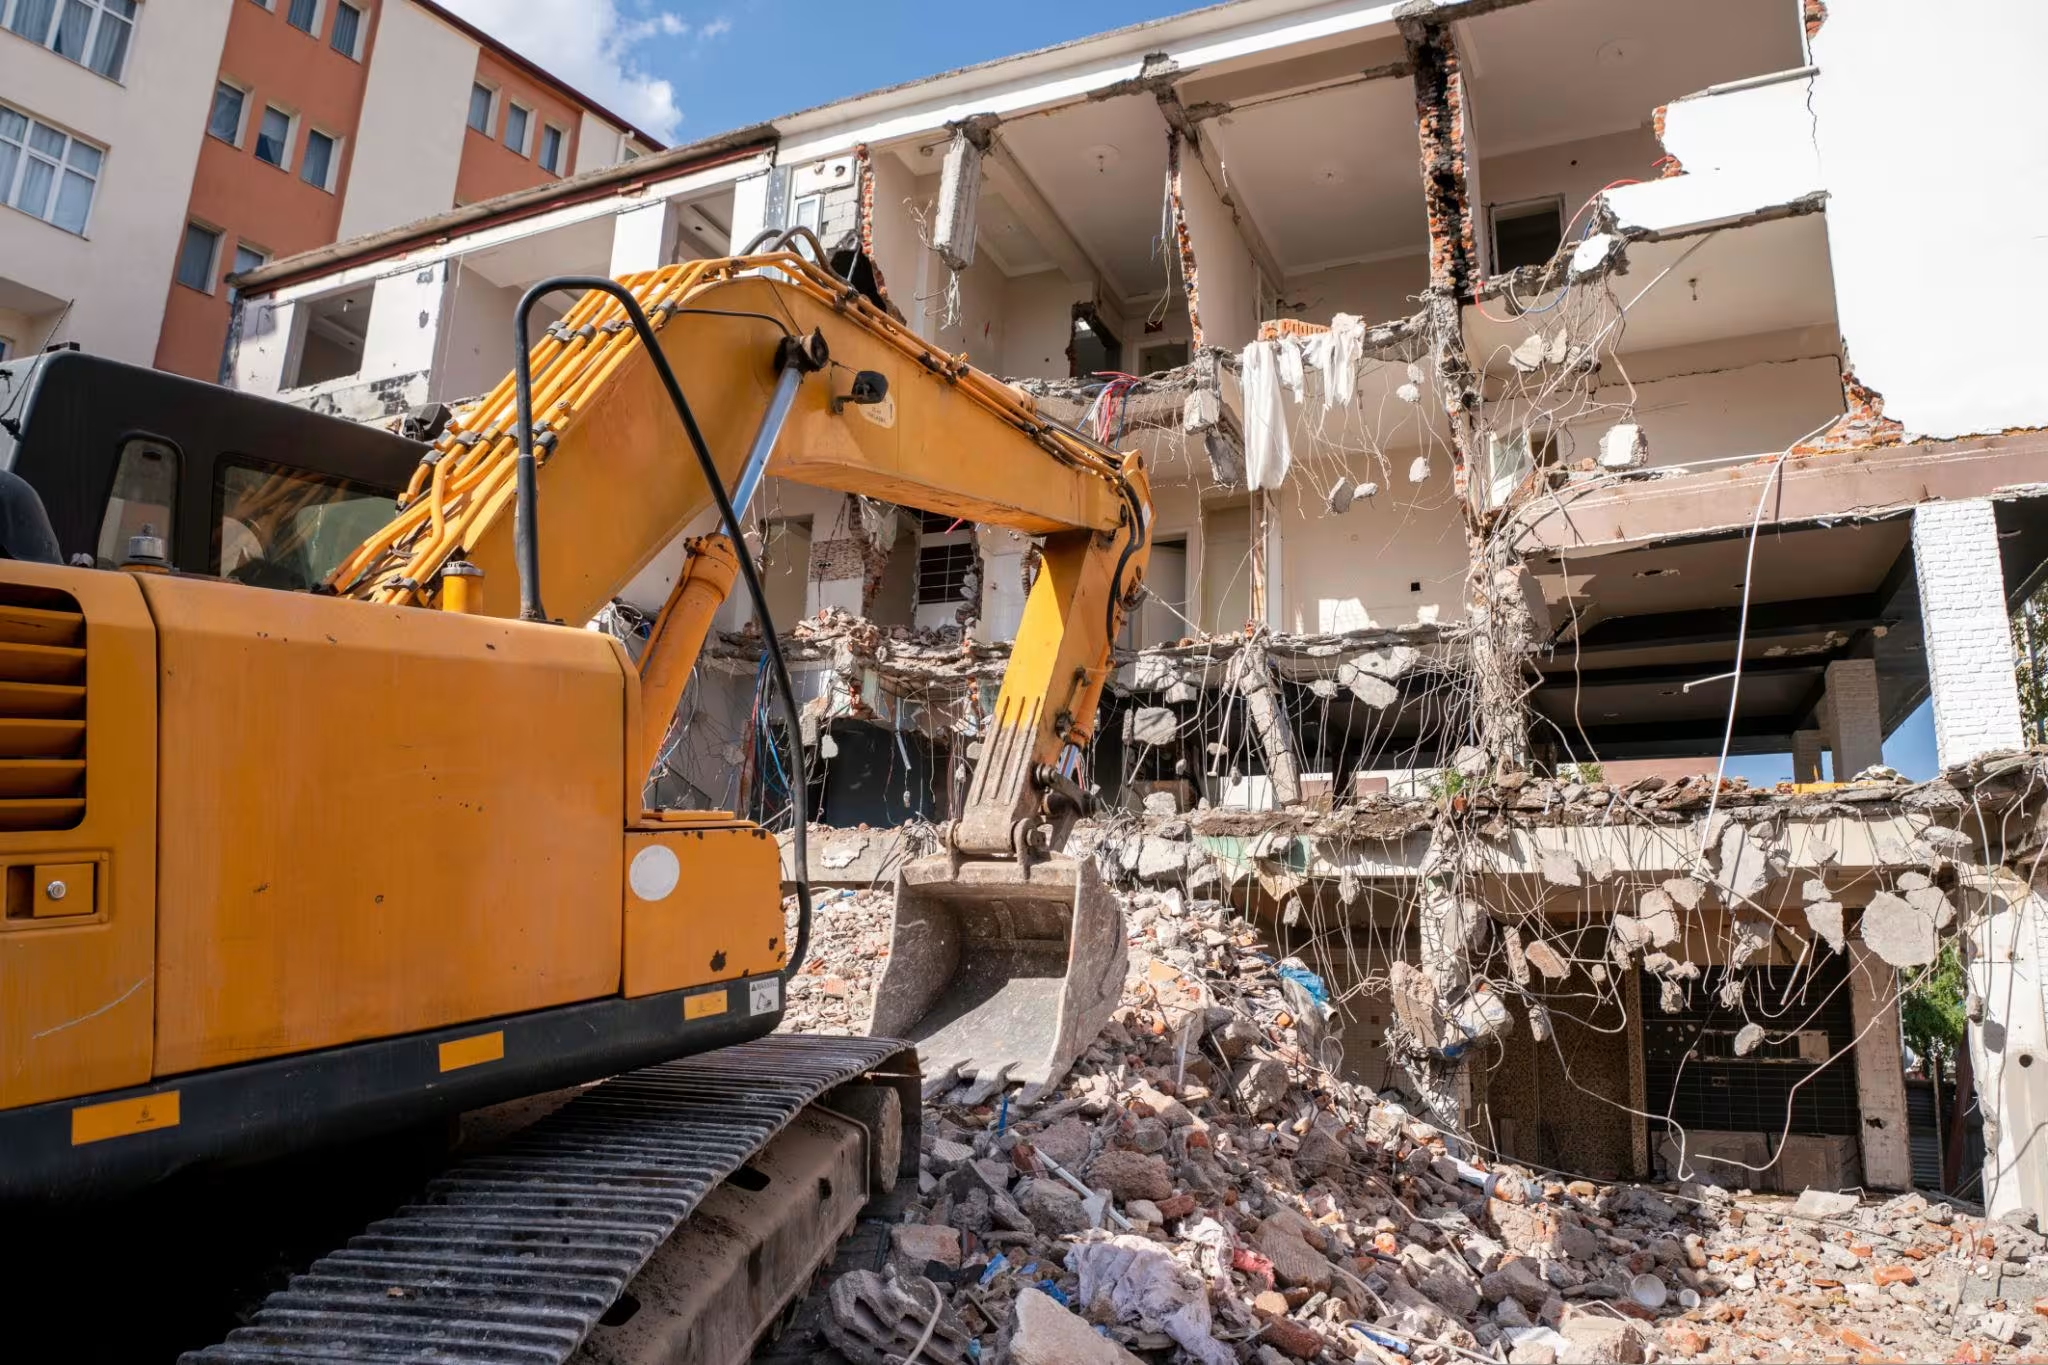
This is by far the most common approach for commercial structures. A high-reach excavator — often a Liebherr or Caterpillar 390 with a hydraulic attachment — works systematically through the building, using different tool heads for different materials. Hydraulic shears cut structural steel. Pulverisers crush concrete. The machinery is more surgical than it looks from street level.
Mechanical demolition is fast, cost-effective, and controllable. On a typical 20,000–30,000 sq ft commercial building, the structural teardown phase often runs two to four weeks.
Selective Demolition (Deconstruction)
This method involves carefully dismantling specific sections of a building to salvage reusable materials — structural timber, brick, steel, flooring, and fixtures that can be resold or repurposed. It takes longer and costs more in labour, but the salvage value can partially offset those costs.
It’s worth asking about this option if you’re demolishing an older commercial building with quality masonry or timber framing. Reclaimed brick alone can fetch $1–2 per brick in some markets. Steel scrap from a larger commercial demo can run into thousands of dollars in recoverable value.
Controlled Implosion
Implosion gets disproportionate coverage relative to how often it’s actually used. It’s reserved for large, multi-storey structures — think decommissioned hotels, office towers, or industrial silos — in situations where mechanical demo would be impractical or where the footprint needs to collapse inward rather than outward.
It requires months of engineering preparation, explosive placement, and coordination with local authorities. It’s not a shortcut; it’s a specialised solution for a specific problem.
Phase 4: Debris Management and Recycling
Once the structure is down, you’re not done — you’re just in a different kind of work.
A large commercial demo generates a significant volume of mixed debris. Managing it efficiently affects both your project timeline and your disposal costs. Most experienced contractors sort debris on-site into distinct categories: concrete and masonry, scrap metal, wood and timber, and general waste. That separation matters because the disposal routes — and the costs — are very different.
Concrete and asphalt can be crushed on-site or sent to a recycling facility to create sub-base aggregate material for road construction and grading. It’s often free or very low cost to dispose of because there’s strong demand for recycled aggregate. Steel and other metals go directly to scrap dealers and generate a return — the value fluctuates with commodity prices, but on a larger commercial structure, scrap metal recovery can meaningfully offset disposal costs.
Dust suppression runs throughout this phase. Water suppression systems keep airborne concrete and masonry particles down during demolition and debris processing. This matters both for worker safety and for compliance with air quality regulations, particularly in urban or residential-adjacent sites.
Phase 5: Site Clearing and Final Sign-Off
The final phase prepares the site for whatever comes next — whether that’s new construction, landscaping, or simply a clean, level lot.
Grading and Backfill
Slabs and foundations are either removed entirely or crushed in place depending on what the site’s future use requires. If new construction is planned, the foundation usually comes out. The site is then backfilled with clean, compacted material to achieve a stable, level surface.
Getting the grading right is more important than it looks. Poor compaction at this stage creates settling problems for whatever comes next. Specify compaction testing if you’re handing the site to a construction team.
Permit Closeout
The final step is coordinating a closeout inspection with the local building department. An inspector verifies that all demolition work has been completed as permitted, all hazardous material disposal documentation is in order, and the site meets local code requirements. Once that’s signed off, your permits are officially closed.
Keep copies of all abatement documentation, utility disconnection confirmations, and waste disposal manifests. If there’s ever a question later about site contamination or improper disposal, that paperwork is your protection.
How Long Does Each Phase Take?
This is the question most guides skip entirely. Timeline varies heavily — a 20,000 sq ft warehouse is different from a 5-storey office block — but here’s a realistic framework:
| Phase | Typical Duration |
| Engineering surveys and assessment | 1–2 weeks |
| Permit approval | 2–10 weeks (highly variable by location) |
| Utility disconnection | 1–4 weeks (dependent on utility providers) |
| Hazardous material abatement | 1–6 weeks (depending on extent of materials) |
| Structural demolition | 2–4 weeks (mechanical, medium commercial) |
| Debris sorting and removal | 1–3 weeks |
| Grading, backfill, and site clearance | 1–2 weeks |
| Final inspection and permit closeout | 1–2 weeks |
Total realistic range for a mid-size commercial project: 3 to 6 months from project start to cleared site. Larger or more complex structures, or projects in jurisdictions with slow permitting, can run longer.
If you’re planning construction to follow immediately, build a buffer into your timeline. Permit delays and abatement surprises are the two most common causes of schedule overrun.
What Can Go Wrong (And How to Avoid It)
Experience on commercial demolition projects teaches you to watch for a handful of predictable surprises. They’re not inevitable, but they’re common enough to plan for.
Undocumented asbestos. Building records aren’t always complete, and prior renovation work sometimes means hazardous materials were added or disturbed without documentation. A thorough pre-demolition survey helps, but unexpected discoveries during demolition do happen. Budget a contingency for additional abatement if you’re working with a pre-1985 structure.
Utility conflicts. Old utility maps are often wrong or incomplete. Buried lines that aren’t on any plan, conduits from previous tenants, and informal connections from prior building uses all create risk. Always have utilities positively located before any ground disturbance begins. A utility locator service is cheap insurance.
Permit delays. In many cities, building department timelines have stretched significantly. If your project depends on breaking ground by a certain date, start the permit process as early as possible — before finalising contractor selection if you can.
Neighbour and community relations. Commercial demolition in or near populated areas generates noise, dust, and disruption. Notify adjacent property owners early, communicate your dust and noise control measures proactively, and have a point of contact for complaints. Problems here can trigger stop-work orders, which are far more disruptive than a few neighbourly conversations would have been.
Underestimating abatement scope. The inspection identifies what’s accessible and visible. Once demolition starts, more asbestos-containing materials sometimes emerge. Build a contingency — 15–20% of your abatement budget is a reasonable buffer.
If you’re also thinking about how this fits into a broader renovation or rebuild, our home renovation checklist is worth a read before you finalise your project scope.
Frequently Asked Questions
Do you need a permit to demolish a commercial building?
Yes, in virtually all jurisdictions. Commercial demolition requires permits from the local building department and, depending on the project, environmental permits as well. Some projects also require separate sign-offs from utility providers before work can begin.
How long does commercial demolition take?
A mid-size commercial building typically takes 3 to 6 months from project start to fully cleared site when you account for permitting, abatement, teardown, and site clearance. The structural demolition itself is often just 2 to 4 weeks — it’s the phases around it that drive the overall timeline.
Is asbestos removal required before commercial demolition?
Yes. Under EPA regulations, any asbestos-containing materials must be identified and removed by licensed abatement contractors before general demolition begins. This applies to pre-demolition renovations as well. Skipping this step is a regulatory violation with significant liability implications.
What happens to debris after commercial demolition?
Debris is sorted on-site into categories — concrete and masonry, scrap metal, timber, and general waste. Concrete is typically recycled as sub-base aggregate material. Metals go to scrap facilities and can generate some recovery value. General waste goes to licensed landfill.
How much does commercial demolition cost?
Costs vary significantly by building size, construction type, location, and extent of hazardous materials. As a rough ballpark, commercial demolition typically runs $4 to $15 per square foot for the teardown itself, but that figure can shift substantially once you add abatement costs, permit fees, and site clearance. Getting multiple contractor quotes with a clear scope is the only reliable way to budget accurately.
Who is responsible for asbestos removal on a commercial demolition project?
The property owner holds ultimate responsibility for ensuring hazardous material abatement is completed before demolition begins. In practice, this is contracted to certified abatement specialists, but the liability sits with the owner if proper procedures aren’t followed.
Can you reuse materials from a commercial demolition?
Yes — and it’s worth exploring. Through selective deconstruction, materials like structural steel, brick, timber, and certain fixtures can be salvaged, resold, or repurposed. This approach costs more in labour but can offset some of that through salvage value and reduced disposal costs. For a related read, check out our guide to eco-friendly remodelling for how material recovery fits into sustainable building practices.