Estimated reading time: 12 minutes
That honey-oak vanity staring back at you every morning? Yeah. It’s not doing your bathroom any favours.
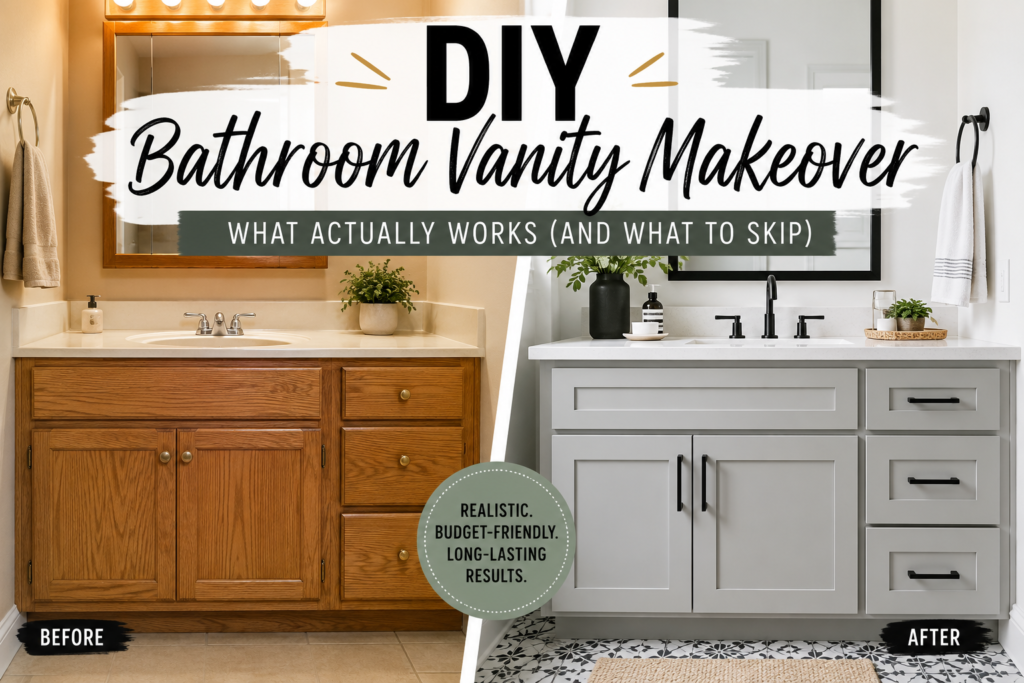
The good news is you don’t need to rip it out, hire a contractor, or spend thousands to make a real difference. A proper DIY bathroom vanity makeover — done right — can genuinely transform how your bathroom looks and feels. The key word there is done right. Because there’s a lot of advice out there that glosses over the parts that actually matter, and that’s where most people get into trouble.
This isn’t a “slap some chalk paint on it and call it a day” article. It’s the honest version — what works, what doesn’t, what your specific vanity type needs, and how to keep costs realistic without ending up with a peeling mess six months later.
First, Figure Out What You’re Actually Working With
Before you buy a single thing, look at your vanity properly. Run your hand along the surface. Knock on a door front. This matters more than most guides let on, because the material your vanity is made from changes everything about how you prep and paint it.
Solid wood or oak: The most forgiving surface to work with. Takes paint and stain beautifully. Light sanding, a good bonding primer, and you’re in solid shape.
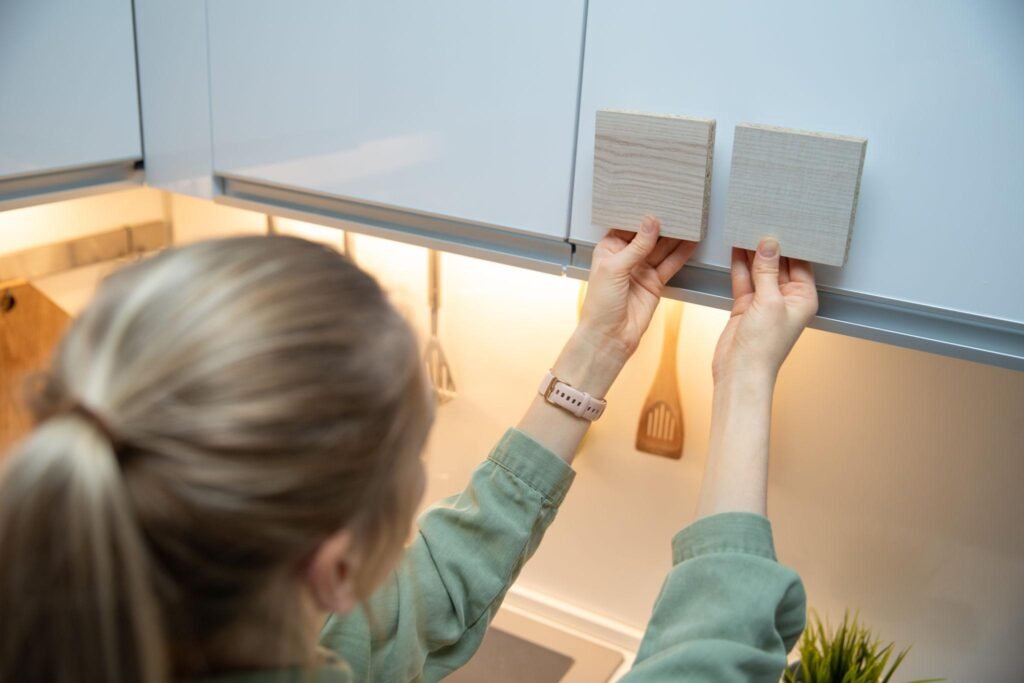
MDF (medium-density fibreboard): Very common in modern flat-pack vanities. Paintable, but the edges absorb moisture like a sponge if you don’t seal them properly. Prime the edges twice — not once.
Laminate or thermofoil: Trickier. Laminate can be painted, but it needs a serious adhesion primer (something like Rust-Oleum’s bonding primer or Zinsser BIN). Skip this step and your paint will peel within weeks. Thermofoil — that smooth plastic-wrapped MDF — is genuinely difficult. If it’s already peeling at the edges, painting it is a temporary fix at best.
If you’re not sure what your vanity is made of, check the underside of a drawer or the inside of a cabinet door. MDF has a smooth, dense grey edge. Solid wood has visible grain throughout. Laminate has a plastic feel and often a printed wood pattern that’s identical on every door.
The Painting Process: Where Most People Go Wrong
Painting a bathroom vanity isn’t hard. But it is unforgiving if you rush the prep. The bathroom is a humid, wet environment — paint that would last years in a living room can bubble and peel in a bathroom within months if it’s not applied correctly.
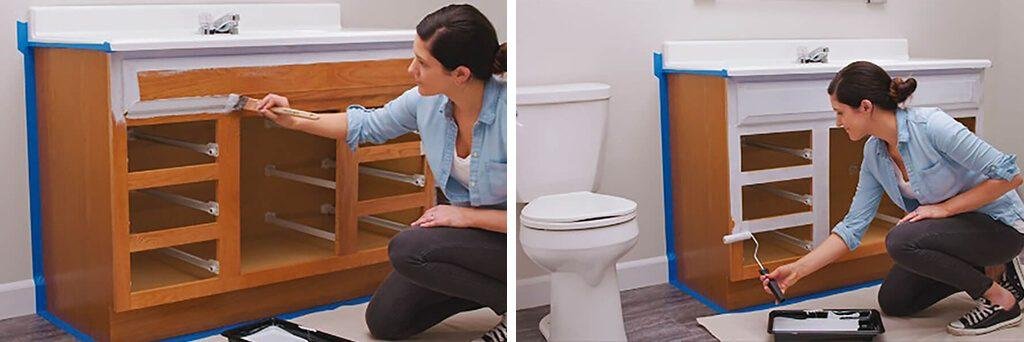
Here’s what actually works:
Step 1 — Clean properly. Not just a wipe-down. Use a degreaser or TSP substitute to remove any built-up soap residue, oils, and grime. This stuff is invisible but it absolutely prevents paint adhesion. Give it time to dry fully before moving on.
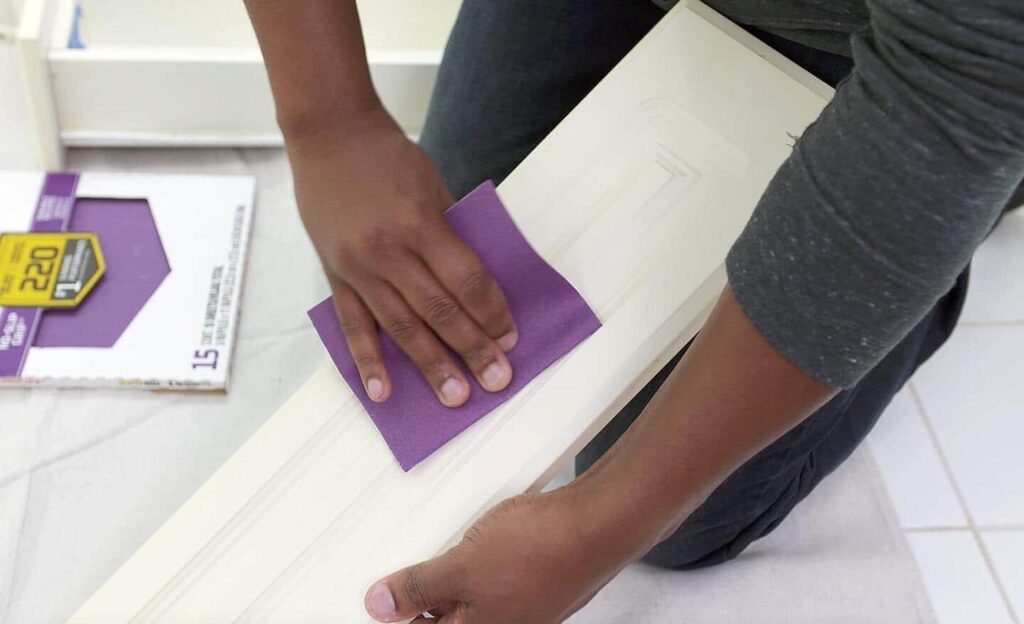
Step 2 — Sand lightly. You’re not stripping the finish — you’re just scuffing the surface so the primer has something to grip. 120-grit sandpaper is fine for most surfaces. For laminate, be careful not to sand through the surface layer.
Step 3 — Prime. Seriously, prime. I’d go as far as saying this is the single most important step. For solid wood or MDF, a shellac-based primer like Zinsser BIN works exceptionally well. For laminate or glossy surfaces, use a dedicated adhesion primer. Sherwin-Williams Extreme Bond is genuinely good if you can get it. Don’t skip this because you think the paint will stick anyway. It won’t. Not long-term.
Step 4 — Choose the right paint. Here’s an honest take on the chalk paint debate: chalk paint has a lovely matte finish and is easy to apply, but in a bathroom it must be sealed with a durable wax or water-based polyurethane top coat. Otherwise humidity will destroy it. A high-quality satin or semi-gloss latex paint formulated for kitchens and bathrooms is more practical and more durable without the extra sealing step. Benjamin Moore Advance and Sherwin-Williams Emerald Urethane are both excellent options, though they cost more upfront.
Step 5 — Apply in thin coats with a foam roller. A foam mini roller gives you a smoother finish than a brush on flat surfaces. Brush work is fine for edges and corners. Two to three thin coats beats one thick coat every single time.
And here’s the part most guides bury: allow proper cure time before use. Paint can feel dry to the touch in a few hours, but it takes 21–30 days to fully cure and reach its final hardness. In the first week especially, be gentle. Don’t put heavy items back on shelves too soon.
Hardware: The Cheapest Makeover You Can Make
If painting feels like too much right now, just swap the hardware. It sounds almost too simple, but new knobs and pulls genuinely change the feel of a vanity — sometimes dramatically.
The catch is you need to match your existing hole drilling, or be prepared to fill and re-drill. Most standard single-hole knobs are interchangeable. For bar pulls, the centre-to-centre measurement (the distance between the two screw holes) needs to match — 96mm and 128mm are the most common. Measure before you buy anything.
For budget hardware, IKEA and Amazon have a surprisingly decent range. If you want something that feels more premium without the premium price, check out Etsy sellers who stock solid brass and brushed nickel options — often the same quality as designer brands at half the price.
Brushed gold and matte black are both having a long moment right now and work well against painted vanities. If your vanity is going white or soft grey, brushed brass hardware finishes the look in a way that feels current without being too trendy.
Adding Trim: For When You Want More Drama
If your vanity has completely flat, featureless doors, adding fluted trim or simple decorative moulding is one of the more satisfying upgrades you can do. It turns a basic door into something that looks genuinely custom.
Fluted trim (narrow vertical strips) is the most popular right now and you can buy it pre-made at most home improvement stores or cut your own from thin hobby wood. Attach it with construction adhesive and a few small brad nails. Sand the edges flush, prime the entire door including the new trim, then paint as normal. The result looks like a door that cost three times what it did.
This works best on solid or MDF doors. If your doors are heavily textured or already have raised panel details, it can look cluttered. Less is more here.
Countertops and Sinks: Worth It If the Budget Stretches
Repainting a vanity while keeping a stained, dated countertop is like putting new shoes on a worn-out outfit. The countertop doesn’t have to change, but if yours is particularly dated or damaged, even a small upgrade makes a big difference.
A basic cultured marble replacement is often cheaper than people expect — sometimes $150–$300 for a standard bathroom size. A new vessel sink with a simple faucet can completely reframe how the whole vanity looks. If plumbing changes are minimal (like-for-like replacement), it’s a manageable DIY job. If you’re moving drain locations or dealing with anything structural, that’s where a plumber’s time becomes worth the cost.
The Dresser Conversion: Ambitious But Genuinely Rewarding
Turning a vintage dresser into a bathroom vanity is a legitimate approach, and the results can be genuinely stunning. But go in with clear eyes — it’s not a weekend project for a first-timer.
You’ll need to cut an opening for the sink basin, deal with plumbing connections, and make sure the piece is solid enough to handle daily moisture exposure. Seal every internal surface with a moisture-resistant primer or paint before installing anything. The legs are another consideration — most dressers sit higher than standard vanity height, which can actually be a nice ergonomic improvement, but check the dimensions against your existing plumbing rough-in before committing.
If you’re comfortable with basic plumbing and woodworking, this is a rewarding project. If not, it’s worth getting a tradesperson in for the plumbing element specifically.
What Does a DIY Vanity Makeover Actually Cost?
Here’s a realistic breakdown rather than an optimistic one:
| Project Type | Approximate Cost | Time Required |
| Paint only (primer + paint + supplies) | $50–$120 | 1–2 days + cure time |
| Paint + new hardware | $80–$200 | 1–2 days |
| Paint + hardware + trim | $120–$280 | Weekend |
| Paint + countertop replacement | $200–$500 | Weekend |
| Dresser conversion (full) | $150–$600+ | 2–4 days |
These are honest ranges. You can come in under $100 if you’re painting a small vanity with budget supplies. You’ll spend more if you choose premium paint brands, quality hardware, or tackle countertop work.
Mistakes That Derail the Whole Project
A few things that catch people out regularly — worth knowing before you start:
Skipping the degreaser. Soap scum and product residue are invisible. They’re also a reliable way to end up with paint that won’t stick.
Using the wrong primer for the surface. Standard interior primer on laminate doesn’t bond properly. Get the right product for the right surface — it’s worth the extra few dollars.
Painting in thick coats to “save time.” Thick coats drip, sag, and take forever to dry properly. Thin coats build a more durable finish.
Putting everything back too soon. Paint that looks dry isn’t cured. Coming back in a week and finding a ring mark from a soap dish is deeply annoying.
Buying hardware without measuring first. Always check hole spacing before ordering online. Returns are a headache you don’t need.
For a broader look at what tends to go sideways on bathroom projects, this rundown of DIY bathroom mistakes homeowners regret is genuinely worth reading before you start.
A Note on Lighting — It Changes Everything
One thing that’s easy to overlook: how your vanity looks has a lot to do with the light above it. A refreshed vanity under a harsh or dim old light fitting can still look underwhelming. If you’re investing time in a makeover, updating the light at the same time makes the whole thing land better. These DIY bathroom lighting ideas cover some solid options that don’t require an electrician for most setups.
Similarly, the mirror above your vanity does a lot of visual work in a bathroom. A new mirror — even a budget one with a better frame — can make a painted vanity look intentional rather than patched. See best mirrors for bathroom upgrades for ideas that work across different styles.
And if you’re refreshing the whole bathroom while you’re at it, budget bathroom upgrades homeowners love has some genuinely good ideas for making the rest of the room match the new vanity without blowing the budget.
The Honest Reality
A DIY bathroom vanity makeover isn’t magic. If your vanity is structurally damaged, warped, or has delaminating laminate pulling away from the substrate, paint isn’t going to save it. But for the vast majority of dated vanities that are solid and functional but just ugly? This is absolutely worth doing.
The difference between a makeover that holds up for years and one that chips and peels within months almost always comes down to prep — specifically, cleaning properly, using the right primer for the surface, and giving the paint time to cure. Do those things well and the rest is straightforward.
If you want to see what’s possible on a limited budget across the whole bathroom — not just the vanity — these before and after bathroom transformations show what people have actually achieved.
Frequently Asked Questions
Can you paint a laminate bathroom vanity?
Yes, but it requires an adhesion primer specifically designed for slick or non-porous surfaces. Standard primer won’t bond to laminate reliably. Use a product like Rust-Oleum Bonding Primer or Zinsser BIN, sand lightly first, and follow with a durable paint in a satin or semi-gloss finish.
What’s the best paint finish for bathroom cabinets?
Satin or semi-gloss. Both handle moisture and cleaning better than matte finishes. If you want a truly durable result, look for paint labelled for kitchens and bathrooms — it has a harder finish that stands up to daily humidity.
Is chalk paint a good option for a bathroom vanity?
It can work, but it needs a protective top coat — either a clear wax or a water-based polyurethane. Without sealing, chalk paint absorbs moisture in a bathroom and will mark and stain relatively quickly. It’s more maintenance than a standard cabinet paint.
How long does a DIY vanity makeover take?
The physical work — cleaning, sanding, priming, painting — typically takes one to two days spread over a weekend. But paint needs to fully cure before heavy use, which takes up to three to four weeks. You can use the vanity gently after 48–72 hours; just avoid placing heavy or wet items on freshly painted surfaces in the first week.
Do I need to remove the vanity doors to paint them?
It’s not strictly necessary, but painting doors off the hinges gives you a much cleaner finish. It’s easier to coat all surfaces evenly, avoid drips, and paint the edges properly. If you have a cordless drill and somewhere to lay the doors flat, it’s worth the extra effort.
What’s the cheapest way to update a bathroom vanity without painting?
Replacing the hardware is the single cheapest and fastest update. New knobs or bar pulls can cost as little as $2–5 per piece and take about twenty minutes to swap out. Changing the mirror above the vanity is the next most impactful low-cost change.
Can renters do a vanity makeover?
Some approaches are renter-friendly, some aren’t. Replacing hardware is reversible — keep the originals in a bag and swap them back before moving out. Painting is permanent and most rental agreements don’t permit it without permission. If you’re renting, check your lease and consider asking — some landlords are fine with it if the quality of work is good.