Estimated reading time: 10 minutes
If your bathroom caulk has gone black, cracked along the tub edge, or started peeling away from the tiles — you’re not alone. It’s one of the most common bathroom problems, and most people fix it the same way: scrape off what they can, grab a tube of whatever’s at the hardware store, and squeeze a new bead on top.
Then it goes mouldy again in four months and the cycle repeats.
The reason isn’t usually the product. It’s that the wrong type of caulk got used for the location, the old caulk wasn’t fully removed, or both. This article breaks down which type of caulk actually belongs where, which products are worth buying, and why your bathroom keeps fighting back.
The Type Decision Matters More Than the Brand
Most buying guides jump straight to product recommendations. That’s backwards. Pick the wrong type of caulk and no brand name saves you. Here’s what you’re actually choosing between:
100% silicone caulk is the most waterproof and durable option — it stays flexible, doesn’t crack under temperature changes, and resists mould better than anything else over the long term. The trade-off: it can’t be painted over, it’s stickier and harder to tool neatly, and it requires mineral spirits (not water) to clean up before it cures. It also takes longer to fully cure — usually 24 hours before water exposure.
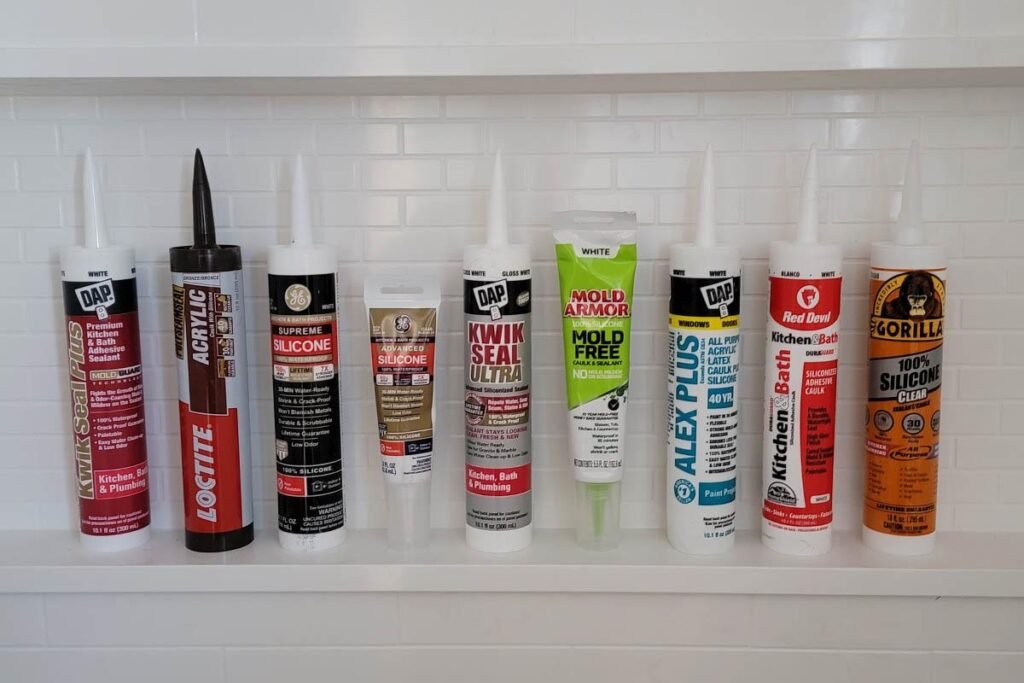
Siliconized acrylic caulk (sometimes labelled “paintable caulk” or “latex caulk with silicone”) is easier to apply, cleans up with water, and can be painted. It’s less durable in constantly wet areas but works well for lower-exposure spots — think around a sink pedestal, at skirting boards near a bathroom, or anywhere paint needs to go over it.
Hybrid polymer caulk sits in between. It offers good flexibility and waterproofing, can often be painted, and applies more like acrylic while performing closer to silicone. It’s a solid middle-ground choice but tends to cost more.
Here’s how they compare at a glance:
| 100% silicone | Siliconized acrylic | Hybrid polymer | |
| Best for | Showers, bathtubs, wet areas | Sinks, trim, painted surfaces | General bathroom use |
| Paintable | No | Yes | Often yes |
| Durability | Excellent | Moderate | Good |
| Mould resistance | Best | Moderate | Good |
| Ease of application | Harder | Easy | Easy–moderate |
| Clean-up | Mineral spirits | Water | Water |
| Water-ready time | 24 hours | 2–4 hours | Varies |
If your repair is inside a shower enclosure or along a bathtub edge that gets daily water contact: 100% silicone, full stop. For anything else, the choice opens up depending on whether you need to paint over it.
The Best Caulk for Bathroom Repairs: Honest Picks by Use Case
Best overall for wet areas — Gorilla Waterproof Silicone Sealant
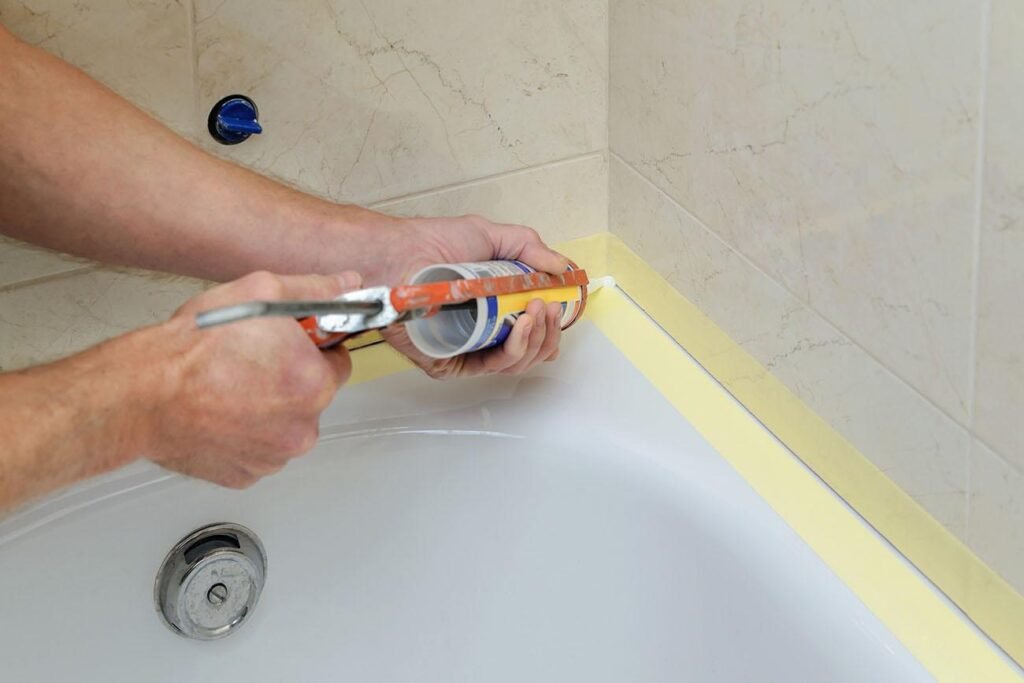
Gorilla’s silicone caulk is reliable, widely available, and dries to touch in about 30 minutes (though full cure still takes 24 hours before the shower runs). It holds up well against constant moisture and temperature swings without cracking or pulling away from tile edges.
The honest caveat: it’s 100% silicone, so if you’re working near painted surfaces or trim you need to keep clean, it’s more demanding to apply tidily than acrylic alternatives. Have painter’s tape ready and work in short sections.
Best for: shower enclosures, tub-to-tile joints, around taps set into tile.
Best for showers on a budget — DAP Kwik Seal Plus
DAP Kwik Seal Plus is a siliconized acrylic rather than pure silicone, which makes some people overlook it for shower use. For moderately wet areas it performs well, applies easily, and dries quickly. Not the first choice for a walk-in shower floor that gets daily heavy water contact, but solid for a bathtub surround that dries out between uses.
It’s also paintable, which makes it genuinely useful if you’re caulking around a painted surface in the bathroom and want the finish line to look seamless.
Best for: bathtub surrounds, bathroom sinks, lower-exposure wet areas.
Best silicone for reliability — GE Advanced Silicone 2
GE’s Advanced Silicone 2 is a professional-grade option that’s been a consistent performer for a long time. The adhesion is noticeably strong, it stays flexible rather than going brittle, and it’s one of the better silicone options for caulking around a shower door frame where movement stress is a factor.
Like all 100% silicone, it’s not paintable and requires proper surface prep to bond correctly. The surface needs to be completely clean and dry — any moisture or soap residue and the adhesion suffers.
Best for: shower doors, tile-to-tile corner joints, anywhere adhesion reliability matters most.
Best for painted trim and fixtures — Red Devil Duraguard
Red Devil Duraguard is a siliconized acrylic that’s specifically worth knowing about if you’re caulking around a painted vanity, wood trim near a bathroom window, or any surface that needs to be painted afterwards. It applies cleanly, smooths out well with a damp finger, and takes paint without the finish looking different over the caulk bead.
It won’t out-perform pure silicone in a wet-daily shower, but for bathroom areas that see occasional splashing rather than constant saturation, it does the job well and leaves a much cleaner result near painted surfaces.
Best for: around bathroom vanities, skirting boards, window trim in bathrooms.
Best hybrid option — Flex Shot or similar hybrid caulk
Hybrid polymer caulks like Flex Shot bridge the gap usefully. They’re waterproof, flexible, often paintable, and apply with the ease of acrylic rather than the fussiness of silicone. If you’re not sure whether your repair area is “wet enough to need pure silicone” or you want one tube that works across multiple spots in the bathroom, a quality hybrid is a reasonable answer.
The limitation is that they tend to cost more per tube than either pure silicone or basic acrylic options, and the quality varies more between brands.
Best for: mixed-use applications, general bathroom sealing, tile surrounds with occasional moisture.
Grout or Caulk at Inside Corners?
This one catches a lot of people out. Inside corners — the joint where two tiled walls meet, or where the tub meets the wall — should be caulked, not grouted. Always.
Grout is rigid. Inside corners experience constant slight movement as the structure flexes, the tub flexes under load, and temperature changes expand and contract materials. Rigid grout at a corner cracks under that movement. Once it cracks, water gets in. Flexible caulk handles that movement without breaking.
If you’ve got cracked grout at an inside corner that keeps coming back despite repairs, switch to caulk — colour-matched caulk is available in most standard tile colours and looks virtually identical to grout once applied. More on maintaining tiled areas in the DIY tile repair tips guide.
Signs Your Bathroom Caulk Needs Replacing
Caulk doesn’t announce when it’s failing. By the time you notice visible mould, it’s usually already letting water through. Here’s what to check for before it becomes a bigger problem:
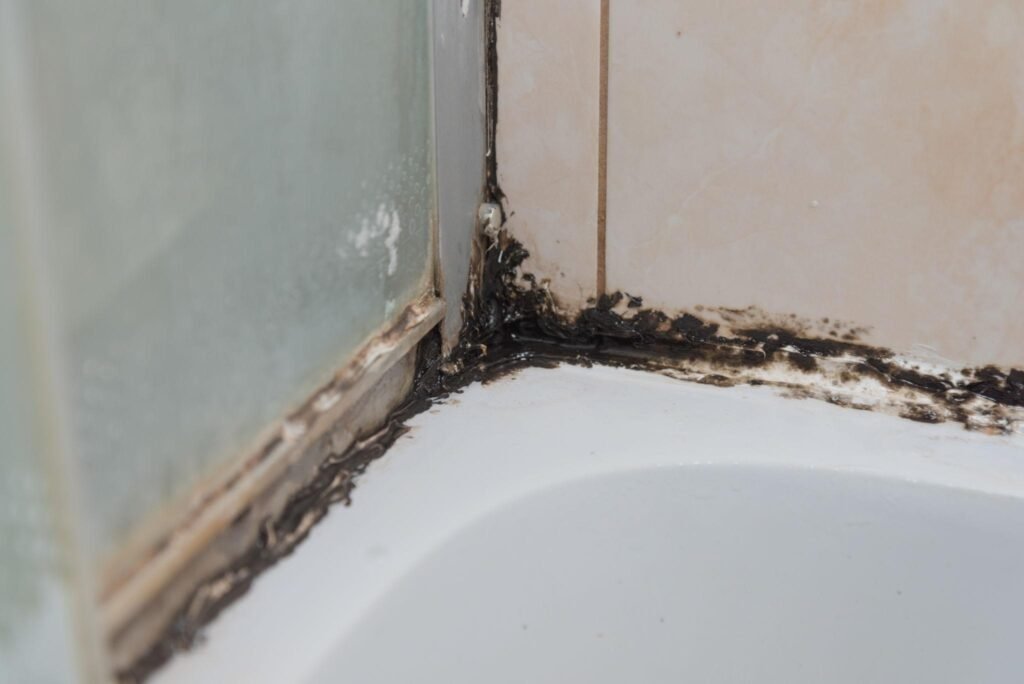
Surface mould that won’t clean off. Once mould has colonised inside the caulk bead itself — not just on the surface — no amount of bleach spray removes it. The caulk needs to come out.
Cracking or splitting along the bead. A hairline crack running along the caulk line is a water entry point. Even if it looks minor, it needs resealing.
The bead has pulled away from the surface. If you can see a gap between the caulk and the tile or tub, water is getting behind it.
Yellowing or discolouration. White caulk that’s gone persistently yellow is breaking down — UV, heat, and cleaning products all degrade caulk over time.
Most bathroom caulk lasts 5–10 years in good conditions. In a heavily used shower or with poor ventilation, that shortens considerably. If yours is more than five years old and starting to look tired, resealing before it fails saves a more difficult repair later. For a wider look at bathroom upkeep, the easy home repairs under $100 guide covers several of the most common maintenance tasks worth staying on top of.
Can You Apply New Caulk Over Old Caulk?
No. And this is probably the most common reason bathroom caulk fails soon after reapplication.
New caulk doesn’t bond properly to cured old caulk. Even if the surface looks fine, the new bead sits on top of the old one rather than adhering to the tile or tub. The result peels away within months — sometimes weeks. It also seals in any mould spores present in the old caulk, which then grow up through the new bead.
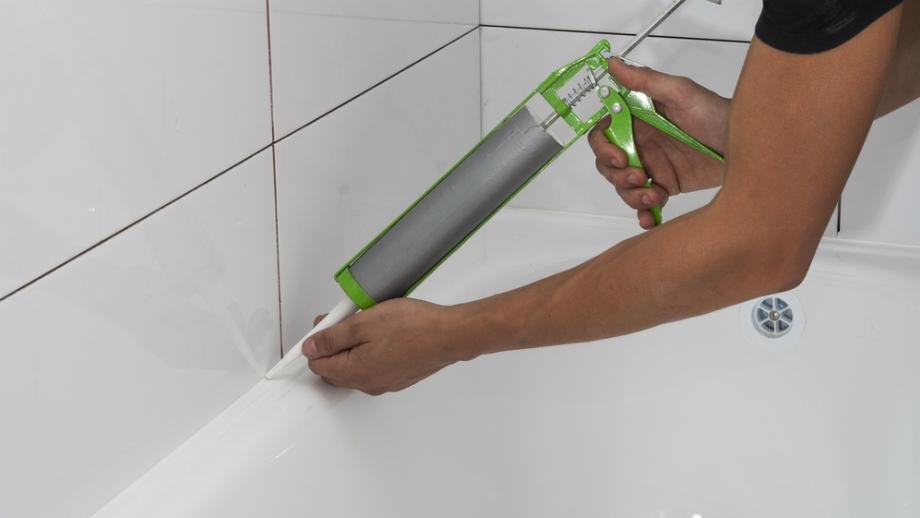
The right way: remove all the old caulk first, clean the substrate with isopropyl alcohol or a dedicated surface prep cleaner, let it dry fully, then apply new caulk directly to the bare surface.
A caulk removal tool (a plastic scraper specifically shaped for this) runs a few dollars and protects the tile surface better than improvising with a knife. For most standard beads, a utility knife along the edges followed by the plastic scraper pulls the old caulk away cleanly. Stubborn silicone residue responds well to a silicone remover spray left to soak for 15–20 minutes.
If you’re dealing with other water-related repairs in the bathroom beyond just caulking, the how to stop a leaking faucet guide and the best sealants for home repairs roundup are worth reading alongside this one.
Why Mould Keeps Coming Back (It’s Probably Not the Product)
If you’ve replaced your bathroom caulk and mould returns quickly, the product is rarely the culprit. The more likely causes:
Incomplete removal of old caulk. Mould spores in the old bead survive under the new one and grow back through it within weeks. Full removal is non-negotiable.
Applying over a damp surface. Caulk applied to wet tile or a damp tub edge doesn’t cure properly. The bond is weak and moisture is effectively sealed in behind it.
Poor bathroom ventilation. Even the best mould-resistant caulk struggles in a bathroom that doesn’t dry out between uses. An extractor fan that runs during and for 15–20 minutes after every shower makes a meaningful difference to how long caulk lasts.
Using acrylic caulk in a high-moisture area. Siliconized acrylic in a daily-use shower will degrade faster than silicone regardless of the brand. Using the right type for the location solves this.
FAQs
What is the difference between silicone and acrylic caulk for bathrooms?
Silicone caulk is fully waterproof, highly flexible, and long-lasting in wet areas but can’t be painted and is harder to apply neatly. Acrylic (or siliconized acrylic) caulk is easier to apply, cleans up with water, and can be painted, but degrades faster in constantly saturated areas like shower floors and walls.
How long does bathroom caulk last before it needs replacing?
In a well-ventilated bathroom with moderate use, quality caulk typically lasts 5–10 years. In a heavily used shower or a poorly ventilated room, that shortens to 3–5 years. Cracking, mould that won’t clean off, and visible gaps are signs it needs replacing regardless of age.
Can you apply new caulk over old caulk?
No — new caulk won’t bond properly to cured old caulk and will peel away much sooner than it should. Remove all old caulk first, clean and dry the surface thoroughly, then apply the new bead directly to the bare tile or tub. Skipping removal is the main reason re-caulking jobs fail quickly.
What’s the best caulk to prevent mould in a shower?
100% silicone caulk offers the best mould resistance for a shower environment. Some silicone formulas include antimicrobial agents for added protection. That said, no caulk is mould-proof if the surface isn’t properly cleaned before application or if the bathroom stays damp. Ventilation matters as much as product choice.
Do I need to use grout or caulk at inside tile corners?
Caulk, not grout. Inside corners flex slightly as the structure moves and temperature changes expand and contract surfaces. Rigid grout at corners cracks under that movement, letting water in behind the tiles. Flexible caulk handles the movement without breaking — colour-matched options are available to blend with surrounding grout lines.