Estimated reading time: 10 minutes
Last month I found a tin of chickpeas that expired in 2021. It was behind a bag of pasta, behind a jar of tahini I’d forgotten existed, behind everything else that had gradually buried it. That’s not an organisation problem — that’s a system problem. And fixing it took one afternoon, about $40, and zero custom shelving.
The fastest way to organise a pantry is to group food by category, decant dry goods into clear containers, and use shelf risers to double your usable surface. Most pantries can be genuinely transformed in a single afternoon for under $50. Here’s exactly how.
Start With a 15-Minute Pantry Audit (Not a Full Declutter)
The word “declutter” makes people close the tab. A 15-minute audit sounds manageable — and it is.
Pull everything out. Set a timer if that helps. Check expiry dates as you go: anything past its date goes straight in the bin, no deliberating. Group what’s left into rough categories — grains, canned goods, baking supplies, snacks, condiments. Don’t organise yet. Just sort.
This step matters because you can’t design a system around stuff you haven’t actually looked at. Most people discover they own three bags of brown rice, two open packets of the same pasta, and a bottle of something they bought for one recipe in 2022. That stuff shapes what storage you actually need.
The whole point of the audit is clarity, not perfection. You’re not trying to achieve anything here — just figuring out what you’ve got and where the real problems are.
The DIY Pantry Organization Hacks That Make the Biggest Difference
Not all hacks are equal. Some look great in photos and do almost nothing practically. These are the ones that genuinely change how a pantry functions, ranked roughly by impact.
Lazy Susans for Deep Shelves
This is the single best hack for anyone with deep shelving. The problem with deep shelves isn’t the depth — it’s that things at the back become invisible. Out of sight, out of mind, out of date.
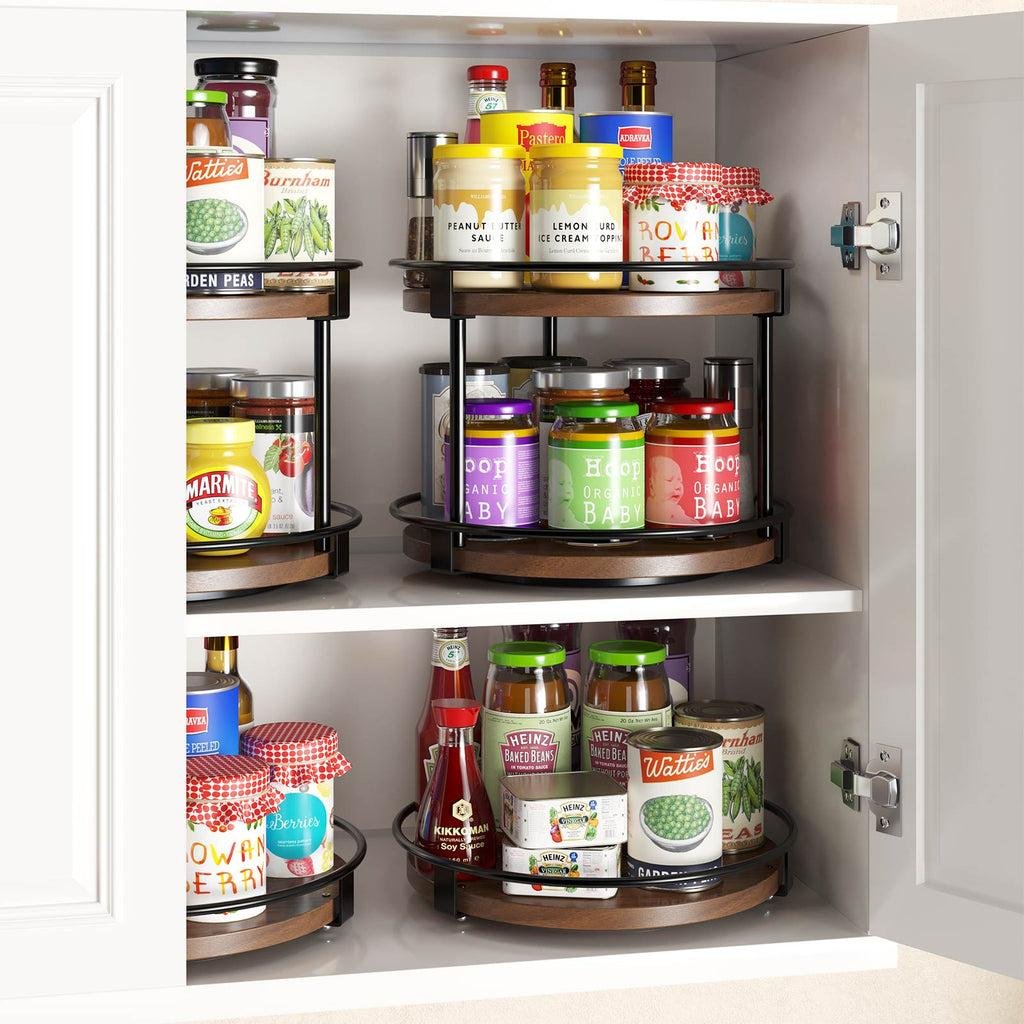
A lazy Susan fixes this because it rotates. Nothing is ever truly “at the back” because the whole thing spins toward you. Put condiments, oils, and jars on one. Put spice jars on a smaller one. Within a week, you’ll stop losing things to the shelf abyss.
Cost: $8–$15 each at any hardware or kitchen store. Worth every penny.
Honest trade-off: They work best with cylindrical or jar-shaped items. Awkwardly shaped bottles can tip on the rotation if you overload the edge.
Shelf Risers for Canned Goods
Standard pantry shelves give you one flat surface. Shelf risers give you two — a raised tier at the back and a lower one at the front. You can suddenly see every can without moving anything.
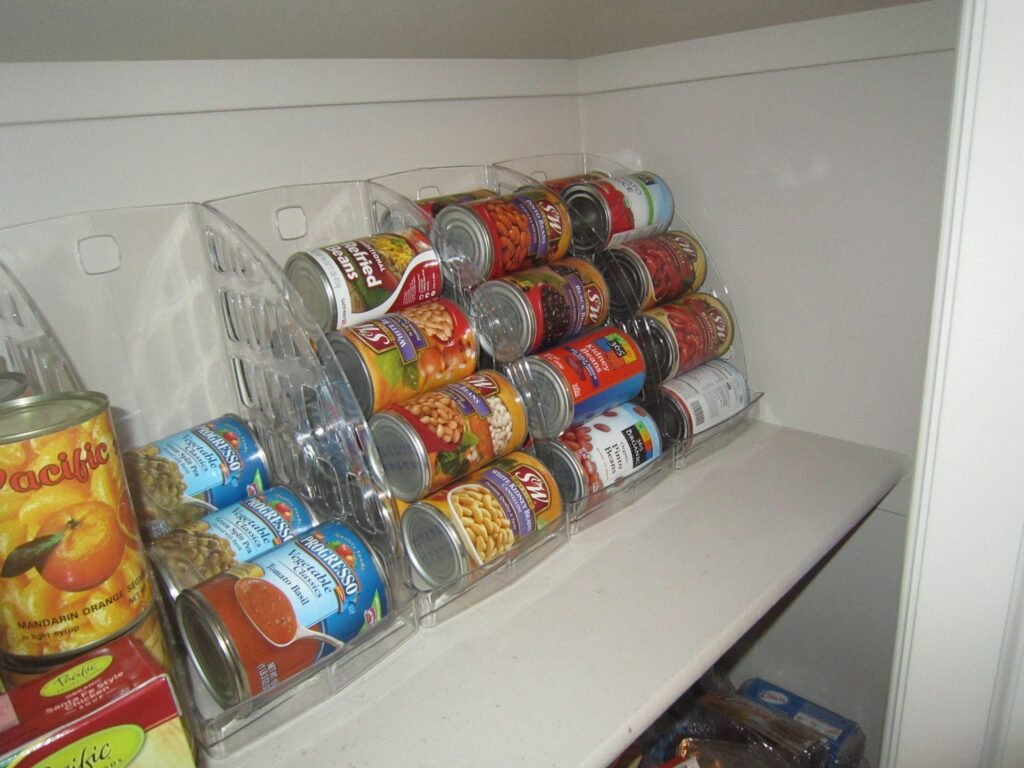
The tiered design also enforces the “first in, first out” principle naturally. Older cans sit at the front (lower tier), newer ones go at the back (raised tier). You stop forgetting what you have because everything is visible at once.
Cost: $10–$20 for a set, depending on size.
Honest trade-off: Measure your shelf height first. Some risers are too tall for pantries with closely spaced shelves.
Clear Containers for Dry Goods
I’ll be honest about this one: decanting into clear containers is the hack with the highest upfront time cost and the most visible payoff. Pasta, rice, flour, oats, cereal — once they’re in matching clear containers, the whole pantry changes. You can see at a glance what’s running low. Nothing hides behind a bulky cardboard box.
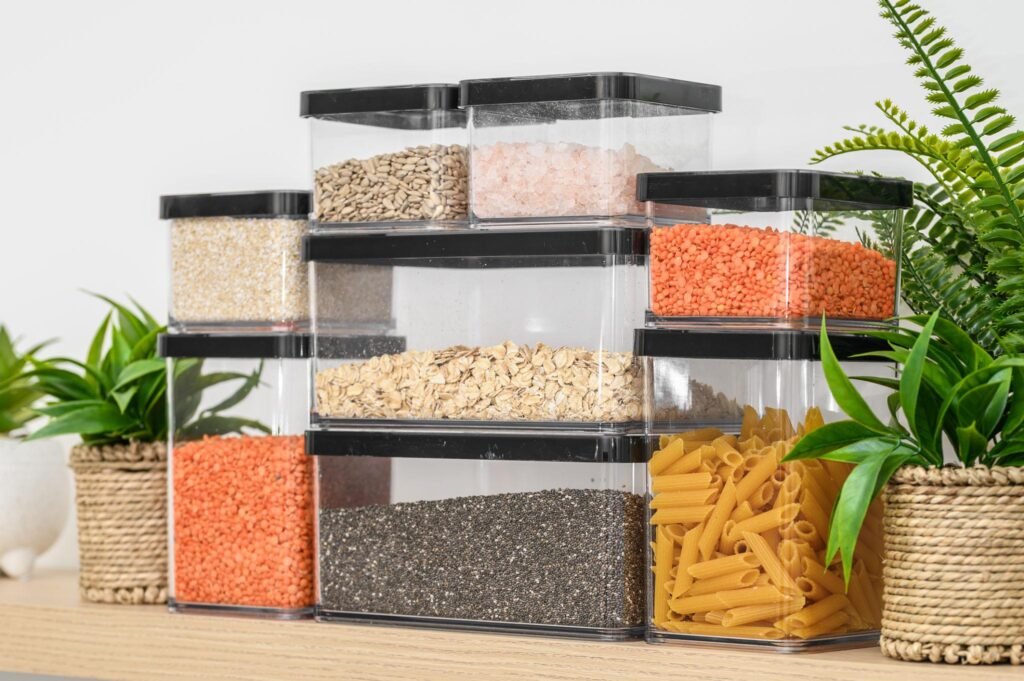
The practical benefits are real too. Sealed containers keep food fresher longer, keep pests out, and stack cleanly. They also let you actually see portion levels without guessing.
But — and this matters — decanting takes time every grocery run. If you’re organised enough to do it consistently, the system works brilliantly. If you’re the kind of person who leaves bags on the counter for three days before putting them away, this might not stick.
Cost: A solid starter set of clear containers runs $20–$40. Our guide to the best storage bins for homeowners covers the most reliable options by size and use.
Door-Mounted Organisers for Spices and Small Items
If your pantry has an inward-opening door, you’re wasting real estate. An over-door rack — the kind with pockets or adjustable shelves — can hold a full spice collection, small jars, foil rolls, and odds and ends that normally crowd a shelf.
This hack is especially useful for reach-in pantries where every inch of shelf space is precious. Moving spices to the door frees up an entire shelf section for bulkier items.
Cost: $15–$25. No drilling required for most over-door models.
Tiered Racks and Pull-Out Baskets
Tiered spice racks and pull-out wire baskets are worth mentioning separately because they solve a specific problem: the middle and back sections of medium-depth shelves, where things sit but rarely get touched.
A pull-out basket works like a drawer — you slide it toward you rather than reaching past things. Tiered racks do the same job lazy Susans do, but in a linear format that suits shallower shelves better.
Small Pantry? The Rules Change
Most pantry guides quietly assume you have a walk-in with floor-to-ceiling shelving and room to move around. A lot of people don’t. Reach-in pantries, tall cupboards, and converted cabinet spaces have different constraints — and different solutions.
For small pantries, the priority order is: door first, then vertical, then deep.
The door is the most underused surface in a small pantry. Mount an over-door organiser and you’ve effectively added a shelf without touching the interior. Vertical stackers — small shelf units that add tiers within an existing shelf — squeeze more storage out of the height you have. Pull-out baskets are better than fixed bins in tight spaces because you can access the contents without rearranging everything around them.
Honestly, small pantries usually can’t hold everything. Part of organising a small pantry is accepting that some things live elsewhere — a high cupboard, the laundry room, a shelf in the garage. The pantry holds what you cook with regularly. The overflow lives somewhere smarter than the back of a deep shelf.
Our small-space storage guide has more ideas specifically built around compact kitchen storage.
The Labelling Question: Do You Actually Need It?
Short answer: sometimes.
Labels genuinely help when your containers look identical and the difference matters — clear containers of flour, icing sugar, and baking powder are indistinguishable at a glance. A simple label on the lid or the front of the container solves that immediately.
Labels become counterproductive when the system is too complicated to maintain. If you’re labelling every shelf section with specific categories and sub-categories, you’ve created a system that requires effort to keep up. Most people’s food habits change week to week. A label that says “THAI FOOD SUPPLIES” stops working the moment you go through a pasta phase.
The most sustainable label system is the simplest one. Label containers for things that genuinely look the same. Leave shelf sections unlabelled or use broad category labels that don’t box you in. A chalkboard label or removable sticker label is better than a printed permanent one — easier to update when things change.
If you want a proper label maker, our roundup of the best options covers everything from basic to Brother P-touch level.
How to Stop It Falling Apart Again
Every pantry organisation article ends with some version of “schedule regular maintenance.” As if the reason your pantry got chaotic was that you forgot to book a cleaning appointment with yourself.
Here’s what actually works:
Check dates when you unpack groceries. Not monthly. Every time. It takes thirty seconds and prevents the 2021 chickpea situation. Put newer items at the back, older ones at the front. That’s the whole system.
One in, one out — roughly. You don’t have to be strict about it, but if you’re buying a new jar of something, check whether you already have one before it goes in. Most pantry clutter is duplicates.
Create an “almost expired” shelf or section. One visible spot — front of a shelf, eye level — where anything approaching its expiry date lives until it gets used. It sounds fussy but it actually reduces food waste meaningfully. Things stop disappearing into the back.
Don’t organise categories too rigidly. A system that’s too specific breaks the moment life gets busy. If “baking supplies” and “grains” need to share a shelf for a month, that’s fine. Flexible systems survive real life. Rigid ones don’t.
What a Pantry Refresh Actually Costs
| Item | Approx. cost |
| Lazy Susan (per unit) | $8–$15 |
| Shelf risers (set) | $10–$20 |
| Clear containers (starter set) | $20–$40 |
| Over-door organiser | $15–$25 |
| Label maker (basic) | $15–$30 |
| Pull-out wire basket | $12–$22 |
Total for a basic refresh: $50–$80 Total for a full overhaul: $80–$150
That’s it. No custom cabinetry, no contractor, no weekend lost to a renovation. Most people can prioritise two or three items from this list and cover the biggest problems in their specific pantry for under $60.
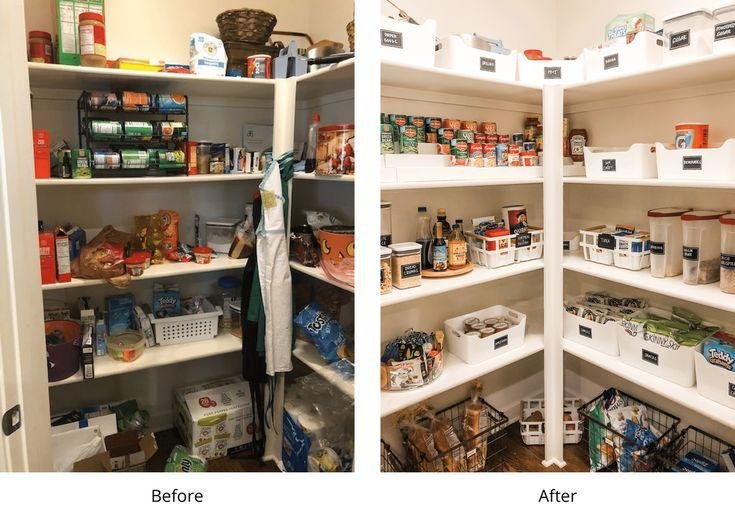
For more ideas that stretch an organisation budget across the whole house, our budget storage guide is a good next stop. And if you’re in the middle of a bigger kitchen or home organisation project, the storage makeover before-and-after section has some genuinely useful inspiration grounded in real spaces.
Frequently Asked Questions
How do I organise deep pantry shelves so things don’t get lost at the back?
A lazy Susan is the most effective solution for deep shelves — it rotates so everything stays accessible regardless of depth. For non-circular items, a pull-out wire basket works similarly, letting you slide the whole contents toward you. As a general rule, avoid stacking items more than two deep without a rotation or pull-out system in place.
Is decanting food into containers actually worth the effort?
For dry goods you use regularly — pasta, rice, oats, flour — yes. Clear sealed containers keep food fresher, let you see quantities at a glance, and stack cleanly. For things you use occasionally or that come in unusual packaging, probably not. The time cost of decanting is real, so prioritise the items where the visual benefit and freshness payoff are highest.
How do I organise a small reach-in pantry?
Prioritise door storage first — an over-door rack can hold an entire spice collection without touching shelf space. Then use vertical stackers to create tiers within each shelf. Accept that a small pantry has limits: not everything needs to live there. Frequently used cooking essentials get prime shelf space; overflow goes elsewhere.
What size containers fit a standard pantry shelf?
Most standard pantry shelves are 12–16 inches deep. Containers in the 4–6 inch height range work well for a front-and-back arrangement, while taller containers (8–10 inches) are better as single-row items. Measure your shelf depth before buying any set — pantry shelf depths vary more than you’d expect, and a container that overhangs the edge becomes a practical annoyance.
How long does it actually take to organise a pantry?
For most people: one afternoon. The audit and purge takes 15–30 minutes. Wiping down shelves takes another 15. Setting up new organisers and putting things back takes 30–60 minutes depending on how much you have. If you’re ordering new containers and waiting for delivery, the physical setup is still a few hours once everything arrives. It’s a Saturday morning project, not a weekend one.