Estimated reading time: 13 minutes
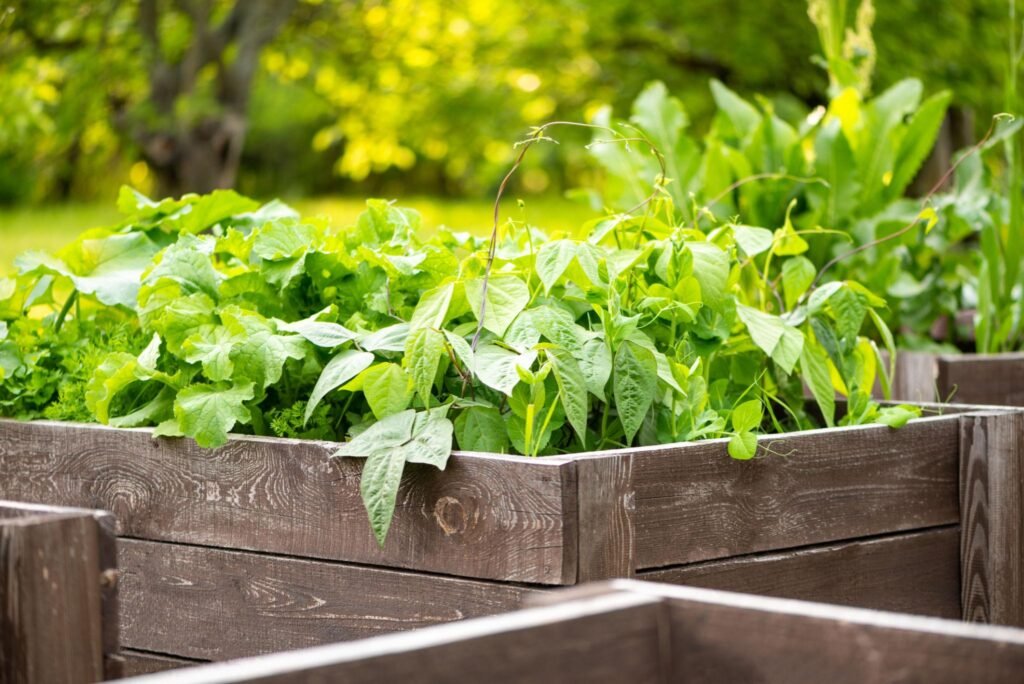
There’s something immediately satisfying about a raised garden bed. You’re not fighting clay soil, not battling drainage that goes nowhere, not kneeling in mud to pull weeds. The whole setup just works — and once you’ve grown a season in one, you’ll wonder why you ever wrestled with the ground.
A standard 4×8-foot DIY raised garden bed can be built in a single afternoon for somewhere between $50 and $120 depending on your lumber choice. Here’s everything you need to build a solid one this weekend — including the pressure-treated wood question most guides dance around, a soil mix formula that actually holds up, and the depth-by-crop guidance nobody tells you until you’ve already planted too shallow.
What Lumber to Use — and the Pressure-Treated Question Answered
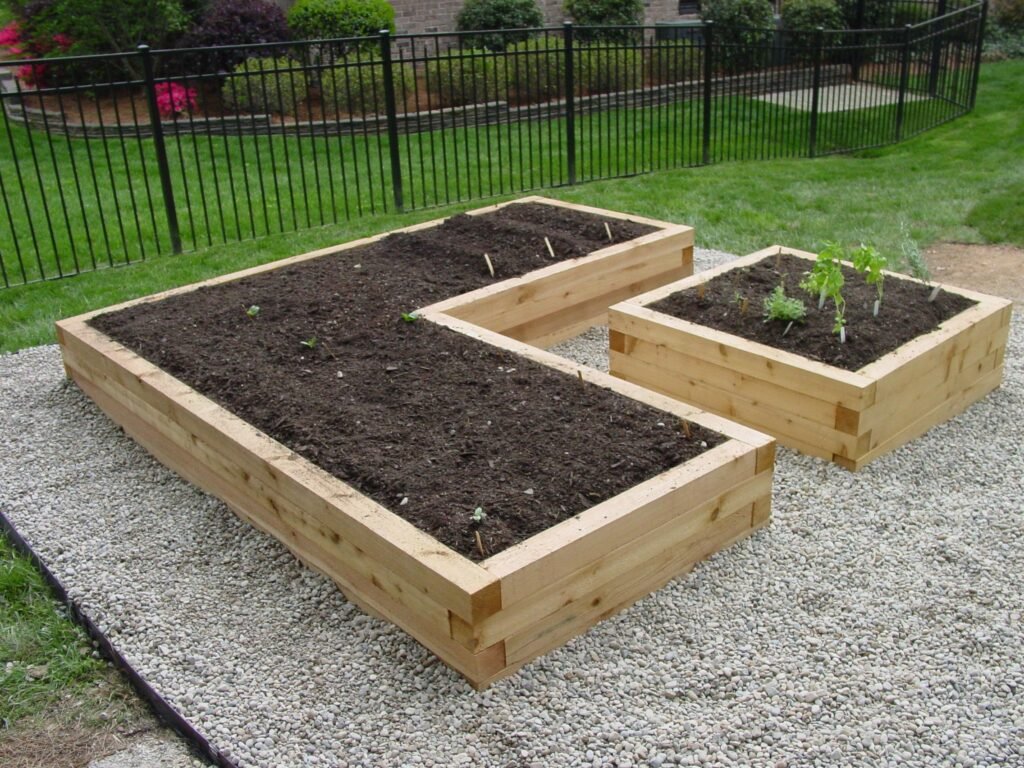
This comes up every single time someone builds their first vegetable bed. “Can I use pressure-treated wood near food?” It’s a fair concern, and the honest answer is: it depends entirely on which type of pressure-treated lumber you’re looking at.
Old CCA-treated lumber — chromated copper arsenate, used before 2003 — contained arsenic and is genuinely not safe for vegetable gardens. Modern ACQ-treated lumber (alkaline copper quaternary) replaced it and is considered food-safe by the EPA. The changeover happened in 2003, so any treated lumber you buy new from a hardware store today is ACQ. If you’re repurposing old wood from a demolished structure, that’s where the caution applies.
That said, if you’re growing food and want to remove any lingering doubt, cedar is the smart choice. I always use cedar for vegetable beds — yes, it costs more than pine, but it’s naturally rot-resistant and will easily last 10–15 years in wet soil without any treatment at all. Pine is fine for flower beds or decorative projects, but in a damp environment it’ll start breaking down in two or three seasons. Redwood performs similarly to cedar but tends to be harder to find outside the western US and costs more.
Lumber comparison at a glance:
| Wood Type | Food Safe? | Lifespan (wet soil) | Relative Cost |
| Cedar (untreated) | ✓ Yes | 10–15 years | $$ |
| Redwood (untreated) | ✓ Yes | 10–20 years | $$$ |
| ACQ pressure-treated pine | ✓ Yes (post-2003) | 15–20 years | $ |
| Untreated pine | ✓ Yes | 2–5 years | $ |
| CCA pressure-treated (pre-2003) | ✗ No | — | Avoid entirely |
How Deep Should Your Raised Bed Be?
Most tutorials say “12 inches” and move on. That works for a lot of crops, but it’s genuinely wrong for others. The first bed I built was only 10 inches deep and my tomatoes stalled out by late July — the roots had nowhere left to go. Depth matters more than most guides admit.
For most vegetables, 12 inches is the practical minimum. Shallow-rooted crops like lettuce, spinach, and herbs can manage in 6 inches. Anything with deep roots — tomatoes, carrots, squash — really wants 18 inches or more.
| Depth | Best for | What to avoid |
| 6 inches | Lettuce, herbs, spinach, radishes, shallow flowers | Anything root-heavy |
| 12 inches | Peppers, beans, most brassicas, cucumbers, onions | Carrots, parsnips, deep tomatoes |
| 18+ inches | Tomatoes, carrots, potatoes, squash, melons | Nothing — handles everything |
For a general-purpose bed that grows a bit of everything, build to 12 inches. Two 2×6 boards stacked gives you 11.25 inches — close enough. Two 2×8 boards stacked gives you 15 inches and is a meaningful upgrade for root crops without adding excessive material cost. Two 2×12 boards gets you a proper 22+ inch bed that essentially never limits root depth.
Materials and Cost for a Standard 4×8 Bed
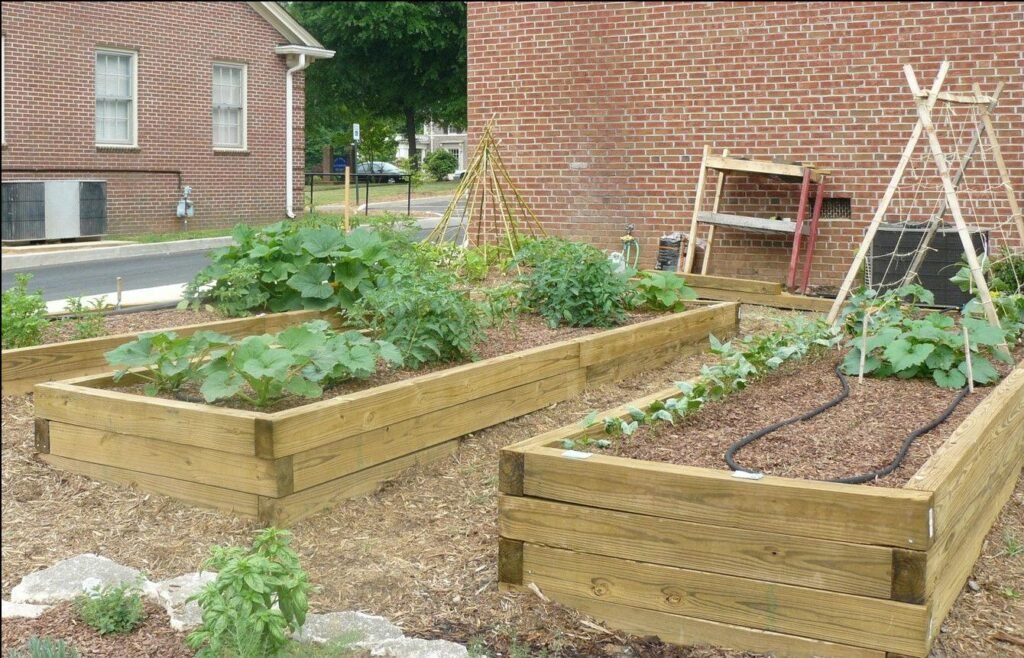
This is the question most tutorials skip entirely, which leaves you standing in the lumber aisle doing mental arithmetic on your phone. Here’s a realistic breakdown for a 4×8-foot bed at 12 inches deep, built in cedar.
| Item | Qty | Approx. Cost |
| Cedar 2×6 boards, 8-foot lengths | 4 boards | $28–$48 |
| Cedar 4×4 corner posts (cut to 12″) | 1 post (cuts to 4) | $8–$14 |
| 3-inch exterior deck screws (box) | 1 box | $8–$12 |
| Hardware cloth (½-inch mesh, 4×8 ft section) | 1 section | $10–$18 |
| Cardboard (optional weed base) | Several sheets | Free |
| Total (cedar build) | $54–$92 |
If you swap cedar for ACQ pressure-treated pine, you’ll trim $20–$30 off the total. If you’re building multiple beds, buying a longer 4×4 post and cutting it yourself saves a few dollars. Soil is a separate cost — covered below.
Want more budget-friendly project ideas? The outdoor DIY projects under $500 roundup has solid companions to this build.
How to Build a Raised Garden Bed — Step by Step
Before you start, you’ll need a drill with a Phillips bit, a handsaw or circular saw (most lumber yards will make cuts for you), a tape measure, and a square. Pre-drilling is non-negotiable with cedar — end grain splits if you drive screws in without a pilot hole first.
Tools you’ll need: power drill and bits, circular or handsaw, tape measure, speed square, tin snips, staple gun.
Check the best outdoor tools for homeowners if you’re setting up a basic kit before starting.
Step 1 — Cut your lumber to length
For a 4×8 bed: two 8-foot side boards and two 4-foot end boards, from two 2×6 boards per row. Cut your 4×4 corner posts into four 12-inch sections. Label each piece as you cut so nothing gets mixed up at assembly. Most big-box hardware stores will make cuts for free or a small fee — handy if you don’t own a saw.
Step 2 — Lay out the frame on flat ground
Arrange the four side boards into a rectangle on the ground before assembling anything. This is your chance to check dimensions and verify the layout is square before you drive a single screw. Use your tape measure to compare corner-to-corner diagonals — they should match within ⅛ inch.
Step 3 — Attach the corner posts to the end boards
Stand a corner post flush with the end of each short (4-foot) board. Pre-drill two pilot holes per board end, then drive 3-inch deck screws. Repeat for all four corners. The posts will extend past the top board and below the bottom — that’s intentional, as they anchor into the ground.
Step 4 — Attach the long side boards
Stand the end-board assemblies upright and connect the 8-foot boards to each side, screwing into the corner posts. Check square at each corner before driving the final screws — a bed that’s off-square will show in every board you add above it. Once all four sides are connected at the first row, it should feel solid.
Step 5 — Add the second row
Stack a second row of boards directly on top of the first, offsetting the joints by a few inches for stability. Pre-drill through each board into the one below, and screw into the corner posts from the sides. This row ties the whole frame together.
Step 6 — Staple hardware cloth to the base
Cut a piece of ½-inch hardware cloth to fit the interior floor of the bed. Lay it flat and staple it up the inside walls about 2 inches. This keeps burrowing rodents — voles, moles — out of the root zone. Skip landscape fabric here: it blocks earthworms and breaks down in two seasons. Cardboard laid over the hardware cloth is a better base layer and decomposes naturally.
Step 7 — Position the bed and check level
Set the assembled bed in its final location. Push the corner posts gently into the soil — the bed stays stable without staking, but posts sitting a few inches below ground help with lateral movement. Check that the top edge is roughly level; a significant slope toward one side means water pools there during heavy rain.
Step 8 — Fill with soil and plant
A 4×8 bed at 12 inches depth holds approximately 32 cubic feet of soil — you’ll want around 24–26 cubic feet of mix, accounting for settling. Use the formula in the next section rather than bagged topsoil alone, which compacts quickly in a raised bed.
The Soil Mix That Actually Works
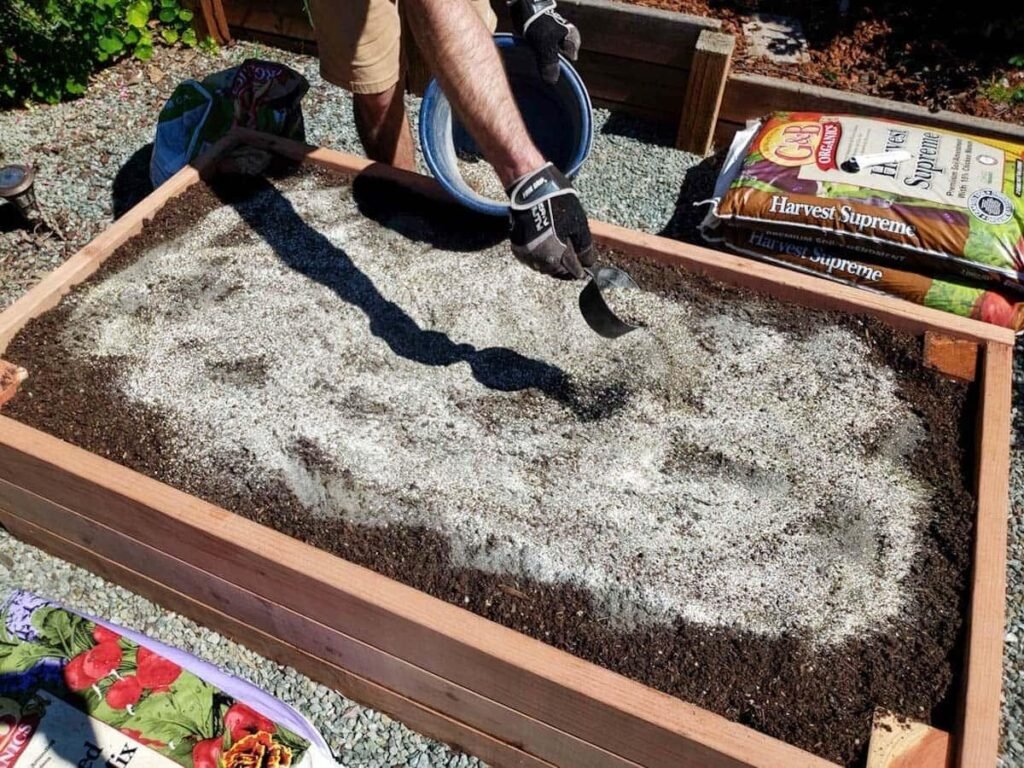
This is genuinely where most DIY raised beds succeed or fail. “Topsoil and compost” is the answer you’ll find everywhere, and while it’s not wrong exactly, it’s far too vague to be useful. The problem with native soil in a raised bed is compaction — without surrounding earth to hold structure, it packs down and suffocates roots within a season.
The formula (for a 4×8 bed at 12″ depth):
- 60% quality topsoil — provides structure and weight
- 30% mature compost — nutrients and microbial activity
- 10% coarse sand or perlite — drainage and preventing compaction
This is a variant of the “Mel’s Mix” popularised by square foot gardening. The perlite or coarse sand is the component most people skip, and it’s the one that makes the most difference long-term. Native soil compacts in a raised bed and drains poorly — roots hit a dense layer and stall. The mix has to stay loose enough for roots to push through without resistance.
For a 4×8 bed at 12 inches, you need around 24–26 cubic feet of mix. At current prices, bulk topsoil runs $20–$40 per cubic yard and compost $25–$50 depending on your area. Expect to spend $40–$80 on fill for one bed when buying bags, or closer to $30–$50 if you source bulk delivery.
Don’t buy bagged “garden soil” — it often compacts badly in containers. Labelled “raised bed mix” is usually fine but check the compost ratio before buying.
For a longer-term look at soil building and garden transformation, the backyard makeover guide covers soil improvement as part of a larger project.
Mistakes Worth Avoiding
A few things that catch first-time builders out — including one widespread piece of advice that’s actually counterproductive.
Building too wide to reach the centre
A bed wider than 4 feet means you can’t comfortably reach the middle from either side. That sounds trivial until you’re trying to harvest beans from a spot that requires leaning awkwardly across the frame. Four feet is the standard maximum for a reason. If you’re building against a wall or fence with access from one side only, keep it 2–3 feet wide.
Building too shallow for the crops you’re growing
Six inches is fine for salad greens. For anything else, you want at least 12 inches — and for root crops or indeterminate tomatoes, 18 inches is worth the extra lumber cost. Shallow beds cause stalled plants and poor yields in summer when heat concentrates near the surface and roots try to push deeper for moisture.
Using landscape fabric on the base
It feels sensible — blocks weeds, keeps soil from washing through. In practice, landscape fabric on the bottom of a raised bed blocks earthworms from entering, restricts drainage over time, and breaks down into plastic fragments within two or three seasons. Cardboard over hardware cloth is far better: it suppresses weeds initially, lets worms through as it decomposes, and costs nothing.
Skipping the hardware cloth base
If voles or moles live in your area, a raised bed without a wire base is effectively an open buffet for them. Half-inch hardware cloth stapled to the inside base takes 10 minutes and solves the problem entirely. Don’t skip it on the assumption pests aren’t currently an issue — they find raised beds eventually.
Placing the bed in the wrong spot
Most vegetables need 6–8 hours of direct sun daily. Once a bed is full of soil it’s not moving easily, so track the sun across your yard before deciding on placement. Pay particular attention to afternoon shade from trees or structures — it’s harder to notice in the morning when you’re planning. Orienting rows north-to-south within the bed also helps prevent taller plants from shading shorter ones beside them.
For more on common DIY yard pitfalls, the DIY backyard mistakes to avoid post covers several of these alongside other project types.
FAQ
Is it safe to use pressure-treated wood for a vegetable garden?
Modern ACQ (alkaline copper quaternary) pressure-treated lumber — the standard since 2003 — is considered food-safe by the EPA and is widely used in raised vegetable beds. The older CCA (chromated copper arsenate) formula used before 2003 contained arsenic and should be avoided entirely. Any new pressure-treated lumber bought from a hardware store today is ACQ. If you’re reusing salvaged lumber, check the stamp on the wood. When in doubt, untreated cedar or redwood are naturally rot-resistant alternatives that need no treatment.
How deep should a raised garden bed be for vegetables?
For most vegetables, 12 inches is the practical minimum. Shallow-rooted crops like lettuce, spinach, and herbs can get by with 6 inches. Tomatoes, carrots, squash, and other deep-rooted plants benefit significantly from 18 inches or more — roots need room to grow downward for water and nutrients, especially during summer heat. A general-purpose bed built to 12 inches covers most common vegetables comfortably.
What is the best soil mix for a raised garden bed?
A reliable formula is 60% quality topsoil, 30% mature compost, and 10% coarse sand or perlite. Topsoil provides structure; compost delivers nutrients and supports soil biology; perlite or sand keeps the mix draining freely and prevents compaction. Avoid using native garden soil on its own — it compacts in a raised bed and restricts root growth. Pre-blended raised bed mix from garden centres is generally fine, but check that it includes a meaningful amount of compost.
Do I need to line the bottom of a raised garden bed?
You don’t need to, but hardware cloth on the base is strongly recommended if burrowing rodents are present in your area. Use ½-inch mesh, cut to size, and staple it up the inside walls a couple of inches. Skip landscape fabric — it blocks earthworms, impedes drainage, and degrades into plastic. Overlapping sheets of cardboard on top of the hardware cloth is a better base layer: it suppresses weeds initially and decomposes naturally without harming soil biology.
How much does it cost to build a DIY raised garden bed?
A basic 4×8-foot cedar raised bed typically costs $54–$92 in materials — covering lumber, corner posts, deck screws, and hardware cloth. Switching to ACQ pressure-treated pine brings that down to roughly $35–$65. Soil is separate: filling a 12-inch deep bed runs approximately $40–$80 using bagged materials, or $30–$50 with bulk delivery. All in, expect $90–$170 for a complete setup with quality fill, or as little as $60–$80 using economy lumber and bulk soil.
How far apart should raised garden beds be placed?
Leave at least 24 inches (2 feet) between beds — enough for comfortable side access, kneeling, and manoeuvring a wheelbarrow. If you use a garden cart or need wheelchair-friendly access, 36 inches is more practical. Narrow paths feel fine on paper and frustrating the moment you’re actually working in them. When in doubt, go wider.
One last thing worth saying: the bed you build this weekend doesn’t have to be perfect. The corner posts will settle, the lumber will weather to a silver-grey within a season, and you’ll almost certainly want to build a second one by next spring. That’s the pattern for everyone who builds one. Start with the 4×8 at 12 inches, get the soil mix right, and the rest sorts itself out in the growing.If you’re thinking about extending the project — lighting, edging, or turning this into a proper kitchen garden — the DIY garden edging ideas and budget backyard upgrade ideas posts both have practical, cost-conscious options that sit naturally alongside raised beds.