Estimated reading time: 11 minutes
Because “heat resistant” and “easy to install” appear on every box, and none of that tells you which one won’t be curling off your wall in eight months.
Let me be upfront about something most backsplash buying guides skip entirely. The difference between a peel-and-stick tile that looks genuinely good for years and one that starts peeling at the corners within a season isn’t the pattern, or the colour, or whether it comes in a set of 30 or 150. It’s thickness. And almost nobody talks about it.
That, combined with where you’re installing it in the kitchen, determines everything. I’ve gone through several sets of these across different walls — including one near a high-heat gas burner that I learned the hard way about — and the picks below reflect what I’d actually buy again, not just what has the best product photography.
The best peel and stick backsplash for most kitchens is a thicker PVC composite tile (2mm or above) installed on a properly degreased, flat surface away from direct burner heat. That’s the short answer. The longer one is below.
What actually separates a good peel-and-stick tile from a disappointing one

Thickness matters more than pattern
Pick up a 1mm budget tile and a 2mm+ option side by side and you’ll feel the difference immediately. The thicker ones have a satisfying density to them — tap them and they sound more like ceramic, less like plastic sheet. That’s not just tactile vanity; thicker tiles hold their shape better, the adhesive backing has more surface area to grip with, and the grout line detail reads more convincingly in real light rather than just in product photos.
Thin tiles also telegraph whatever’s underneath them. If you’re installing over existing tile with visible grout lines, a 1mm tile will show every ridge. A 2mm+ tile covers it much more cleanly.
The grease problem nobody mentions on the box
Kitchen walls near the stove carry an invisible film of grease that builds up over months and years. You can’t always see it — but adhesive tiles will find it. On a greasy or dusty surface, even premium tiles start to lift at the edges within weeks. Every product box says “clean surface before installation.” Almost none of them tell you what “clean” actually means in a kitchen context.
Use a dedicated kitchen degreaser — not a spray-and-wipe all-purpose cleaner, actual degreaser — and wipe down the full surface twice before you open a single tile pack. Let it dry completely. This one step has more impact on how long your backsplash lasts than the brand you choose.
The best peel and stick backsplash tiles in 2026
Four picks here — each genuinely different, each with an honest caveat attached.
STICKGOO Thicker Design Peel and Stick Tile
This is the one I’d recommend to most people. The tile is noticeably thicker than standard peel-and-stick options — you feel it the moment you handle one — and that translates directly into better adhesion, better coverage over existing grout lines, and a finish that genuinely reads as tile rather than vinyl sheet. Each piece covers roughly 40% more area than standard tiles, which also means fewer seams across the wall and a faster install overall.
The heat and humidity resistance claims hold up better here than on thinner alternatives, which matters if you’re installing anywhere remotely near steam from the kettle or the dishwasher.
Honest caveat: Still not recommended for the wall directly behind high-heat gas burners. The upgraded adhesive is an improvement, but sustained direct heat at close range is a challenge for any adhesive-backed tile.
Vamos Fish Scale Mosaic Peel and Stick Tile

The mosaic sheet format makes this one faster to install than individual tiles — each sheet covers a larger area in one placement, which reduces alignment work significantly. The fish scale pattern is distinctive without being loud, and the texture reads convincingly in person. If you want something that looks more like a permanent tile install rather than a vinyl update, this is worth considering.
The install process is also simpler around corners and outlets than with individual tiles — you can cut the sheet with scissors or a utility knife and the mesh backing holds the mosaic together cleanly.
Honest caveat: The grout lines on mosaic sheets are small and tight, which looks great initially but is harder to keep clean over time. Factor that in if the backsplash is behind a heavy cooking area.
Art3d 102-Piece PVC Composite Peel and Stick Tile
The PVC composite construction here is meaningfully different from standard vinyl — harder, more impact-resistant, and the glossy finish has the kind of reflectiveness that makes a small kitchen feel larger. The colour stability over time is genuinely better than soft vinyl alternatives; you won’t see the yellowing or fading that budget tiles often show after a year or two near natural light.
The 102-piece count also makes this practical for larger backsplash areas without needing to order a second set mid-project — an underrated convenience when you’re mid-install and don’t want to wait for a new delivery.
Honest caveat: The glossy finish shows fingerprints and water spots more than matte options. Fine for a backsplash, but wipe it down regularly if it’s near the sink.
Art3d Subway Style Peel and Stick Backsplash
Subway tile is the pattern that almost never looks wrong in a kitchen, and this version pulls it off convincingly. The 3D grout line detail is sharper than many competitors — in good light, it reads as real tile with genuine depth rather than a printed pattern. The white gloss finish also bounces light well, which makes it a solid choice for darker or narrower kitchens where you want a bit of visual lift.
Quick to install, widely available, and forgiving to align — this is the most beginner-friendly pick on this list.
Honest caveat: Classic white subway is the safe choice, but if your kitchen already has a lot of white — cabinets, countertop, appliances — this can get lost. Consider whether you want contrast or cohesion.
Quick comparison: all four options
Product Thickness Heat safe Renter safe Best for
STICKGOO Thicker Design ~2mm+ Side walls Yes Most kitchens — best all-rounder
Vamos Fish Scale Standard Away from stove Yes Feature wall, decorative areas
Art3d 102-piece PVC PVC composite Away from stove Yes Large areas, lasting colour
Art3d Subway Style Standard Away from stove Yes Beginners, classic look
How to choose the right one for your kitchen
Near the stove vs. side walls — why it matters
Every product on this list describes itself as “heat resistant.” What that actually means in practice is: fine for ambient kitchen warmth, steam, and the occasional splatter of hot water. Not fine for a wall that receives direct radiant heat from burners at close range, day after day.
If the wall directly behind your stove is what you’re tiling, the honest recommendation is to either use a real grouted tile for that section and peel-and-stick for the surrounding walls, or to accept that even the best peel-and-stick option will need to be replaced sooner on that wall. The STICKGOO with its upgraded adhesive gives you the best chance — but it’s not a permanent solution in a high-heat stove zone.
For side walls, the splash zone behind the sink, and any run of wall between appliances — peel-and-stick performs really well. That’s where these tiles genuinely earn their reputation as a weekend project that holds up.
Rentals: what “removable” really means
All four options here are technically removable. But removal isn’t always clean, and it depends heavily on what’s underneath. On existing ceramic tile — the best surface for a rental install — peel-and-stick tiles come off cleanly with minimal residue. On painted walls, especially older or lower-sheen paint, removal can pull the surface paint away with it.
The safest approach for renters: install over existing tile if you have it, test one tile on an inconspicuous section of painted wall first if you don’t, and keep the box temperature warm during removal (a hair dryer helps the adhesive release without leaving residue). For more on avoiding common pitfalls in rental kitchen upgrades, our guide on kitchen upgrade mistakes homeowners make covers this in more detail.
How to install peel-and-stick backsplash tiles (and make them actually last)
The install itself takes 2–3 hours for a standard 15–20 sq ft backsplash. The prep takes maybe 30 minutes but determines how well it holds. Don’t skip it.
Degrease the wall with a kitchen degreaser — not a general spray cleaner. Wipe twice, let it dry completely. If the surface feels even slightly tacky or greasy, do it again.
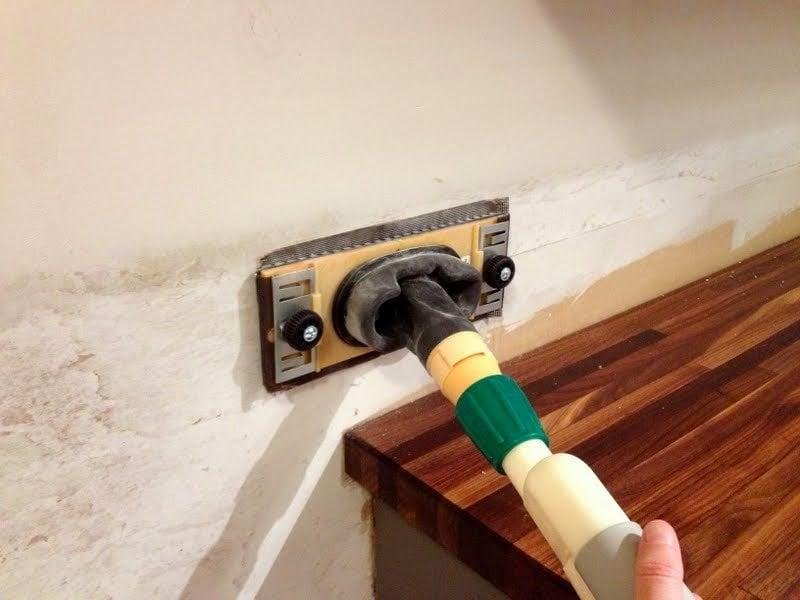
Check for texture. Run your hand across the wall. If it’s not flat and smooth, peel-and-stick tiles won’t bond properly. Lightly sand any bumps, or consider a skim coat of joint compound if the texture is significant.
Find your centre point and work outward in both directions. Don’t start from one edge — you’ll end up with an uneven cut tile on the other side.
Peel the backing, press firmly from the centre outward, and hold each tile in place for 20–30 seconds. The adhesive needs pressure and time to bond, not just placement.
For outlets, remove the cover plate, tile up to the edge of the box, and reinstall the cover over the tile. Corners require a utility knife and a metal straight edge — score and snap cleanly rather than trying to cut freehand.
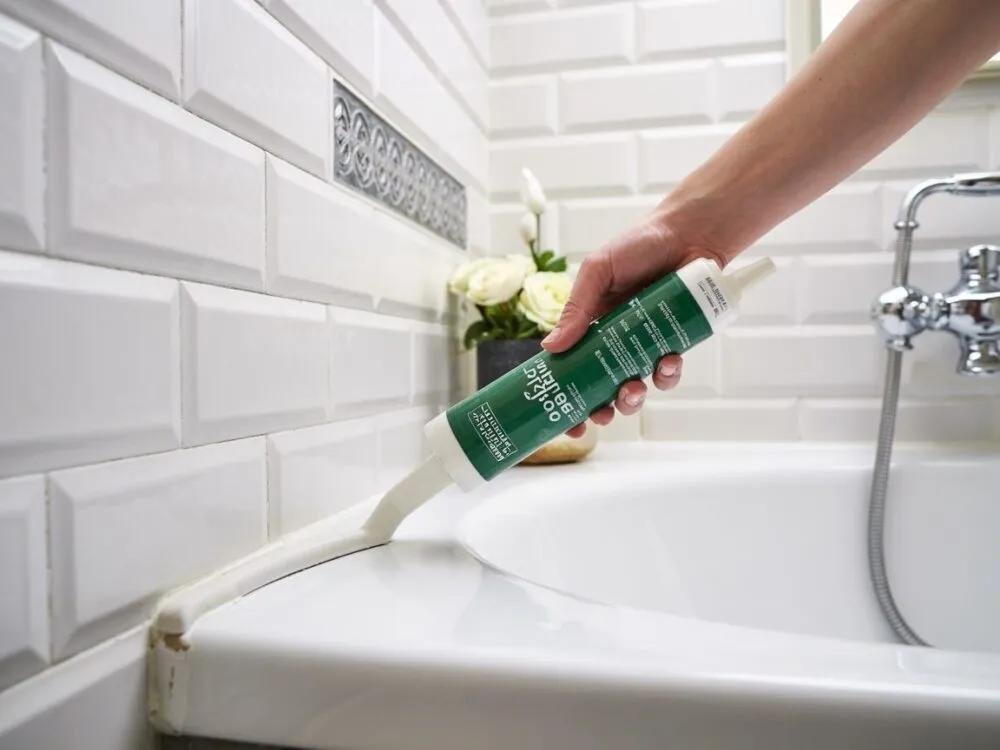
Seal edges where tiles meet the countertop and cabinet with a thin bead of clear silicone caulk. This stops water infiltration at the seam, which is the most common place for edge lifting to start.
One thing most tutorials miss
Don’t install in a cold kitchen. Adhesive tiles need warmth to bond properly — below about 55°F (13°C) the adhesive stiffens and the tiles won’t grip reliably. If your kitchen is cold, turn on the heat for an hour before you start.
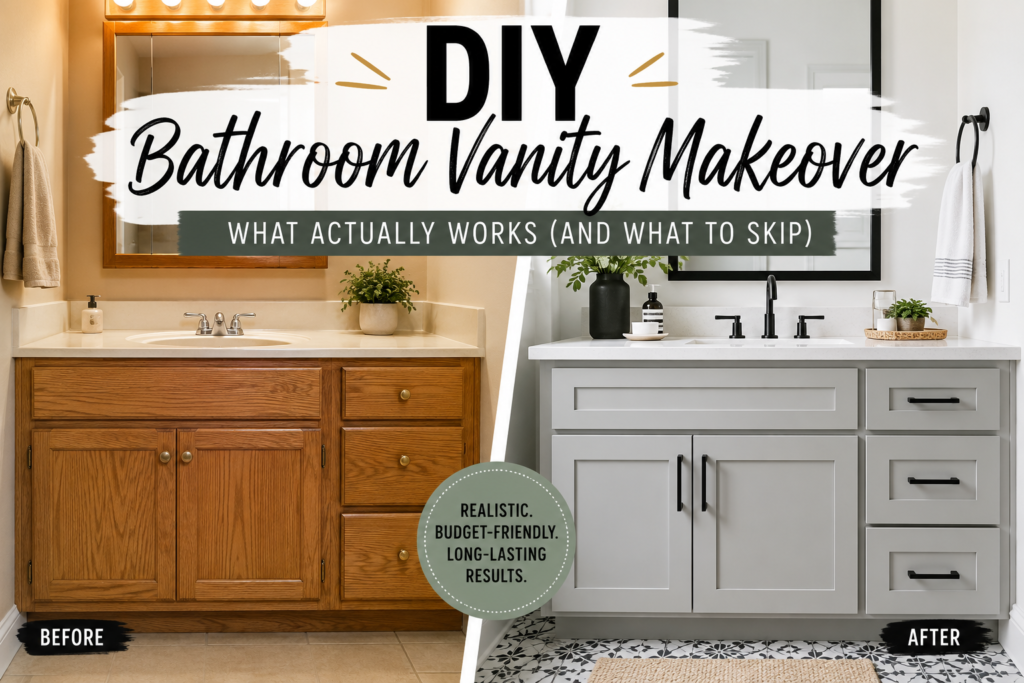
For a broader look at what a full kitchen refresh can look like — including pairing a new backsplash with updated cabinet hardware and lighting — see the DIY kitchen makeover before and after for realistic before-and-after context. And if you’re thinking about the rest of the kitchen at the same time, replacing cabinet hardware takes about an hour and makes a noticeable difference alongside a new backsplash.
Bottom line
For most people, the STICKGOO Thicker Design is the right starting point — the thickness advantage is real and the install is forgiving. If you want a more decorative finish or a mosaic style, the Vamos Fish Scale is genuinely impressive for the format. Just prep the wall first. That’s not a throwaway line.
If you haven’t settled on peel-and-stick yet and want to compare it against other budget DIY options — stencilling, beadboard, reclaimed wood — the full DIY kitchen backsplash ideas guide has an honest comparison table across all of them, including cost per sq ft and heat durability.
Frequently asked questions
Does peel-and-stick backsplash actually work, or does it always peel off?
It works reliably when the surface is properly prepared — flat, clean, and degreased. Most failures come down to grease residue or textured walls, not the tiles themselves. Thicker tiles (2mm+) perform noticeably better long-term than budget 1mm options.
How long does a peel-and-stick backsplash last?
On side walls with good prep, 3–5 years is realistic with quality tiles. Directly behind a high-heat stove, expect 1–2 years before some edge lifting appears. The prep work matters more than the brand for longevity.
Can you put peel-and-stick tiles over existing tile?
Yes — and it’s often the better surface than painted walls. Make sure existing tiles are clean, flat, and fully adhered. Thicker peel-and-stick tiles (2mm+) cover existing grout lines more convincingly than thin options, which can show grout ridges through the surface.
What’s the best peel-and-stick backsplash for renters?
All four options here are removable, but for renters the cleanest removal comes from installing over existing ceramic tile rather than painted walls. If you’re going over paint, test one tile in a hidden spot first — older or flat-finish paint can pull away during removal.
How much does a peel-and-stick backsplash cost for a standard kitchen?
For a typical 15–20 sq ft backsplash area, budget $30–$90 in tile materials depending on quality tier. Thicker, better-quality tiles run higher but the durability difference is worth the extra cost. Add around $10–$15 for degreaser, caulk, and a utility knife if you don’t already have them.
Is peel-and-stick tile heat resistant enough for a kitchen?
For most of the kitchen — yes. For the wall directly behind high-heat gas or electric burners — not reliably. Sustained close-range heat causes adhesive failure over time regardless of how the product is marketed. Use grouted ceramic or glass tile for that section if long-term durability matters.
How do I remove peel-and-stick backsplash tiles without damaging the wall?
Work slowly from a corner, using a hair dryer on low heat to warm the adhesive as you go. Warm adhesive releases much more cleanly than cold. If there’s residue, a small amount of cooking oil or adhesive remover on a cloth will lift it w