Estimated reading time: 10 minutes
The patch looked perfect when you put it on. Smooth, flat, barely visible. Then you painted over it and suddenly there’s a dull circle staring back at you, or a faint ridge that catches the light from across the room. Sound familiar?
Most DIY wall repair mistakes don’t reveal themselves until the paint goes on. By then people either live with it, slap on another coat hoping it disappears (it won’t), or start Googling “why does my wall repair look bad” at 9pm on a Sunday. This article is for all three situations.
Here’s what’s actually going wrong — and how to fix it, whether you’re planning ahead or already dealing with the aftermath.
The Most Common DIY Wall Repair Mistakes at a Glance
Before diving into each one, here’s the quick version. These are the problems that show up most often:
- Skipping primer before painting
- Applying compound too thick in one coat
- Not feathering edges wide enough
- Using spackle where joint compound was needed
- Rushing drying time between coats
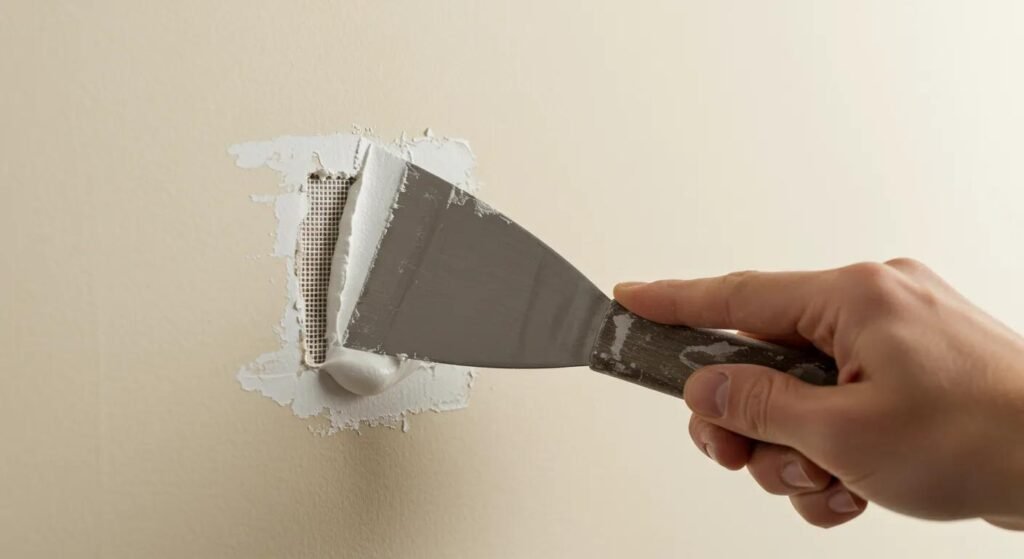
- Using mesh tape where paper tape would hold better
- Ignoring what’s behind the wall before patching
- Sanding through the drywall’s paper face
Every single one of these is fixable. Most of them are also easy to avoid once you know what to look for.
If You’re Seeing a Dull, Flat Circle After Painting — It’s Primer
This is probably the most common post-repair complaint. You sand, you paint, it looks fine — then the second coat dries and there’s a noticeable flat spot where your patch is. Sometimes it’s slightly darker. Sometimes it’s not the colour that’s off, it’s the sheen.
Joint compound and spackle are porous. They absorb paint completely differently from the surrounding wall, which already has layers of paint and primer sealing the surface. Without a coat of drywall primer over your patch, the compound drinks up the paint and dries flat while the rest of the wall holds its sheen. That’s primer flashing, and no amount of extra paint coats will fix it.
The fix: sand the area lightly, apply a coat of drywall primer or a PVA primer specifically, let it dry, then repaint. One coat of the right primer solves this permanently.
If you’re working on a full room repaint, prime the whole wall. Spot-priming blends fine on flat finishes; on satin or semi-gloss, it can still show.
The Thick Coat Trap
It seems logical. Bigger hole, more compound. Fill it up, let it dry, done. But joint compound shrinks as it dries — closer to 10–15% depending on thickness — and thicker layers shrink unevenly. That’s where the cracks come from. That ridge that appeared overnight? Same thing.
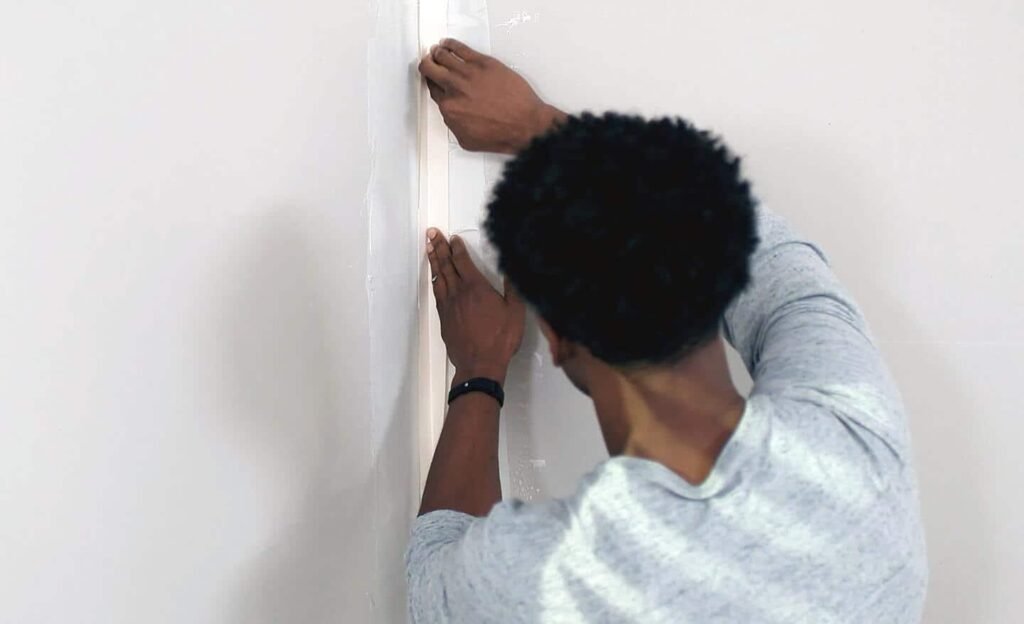
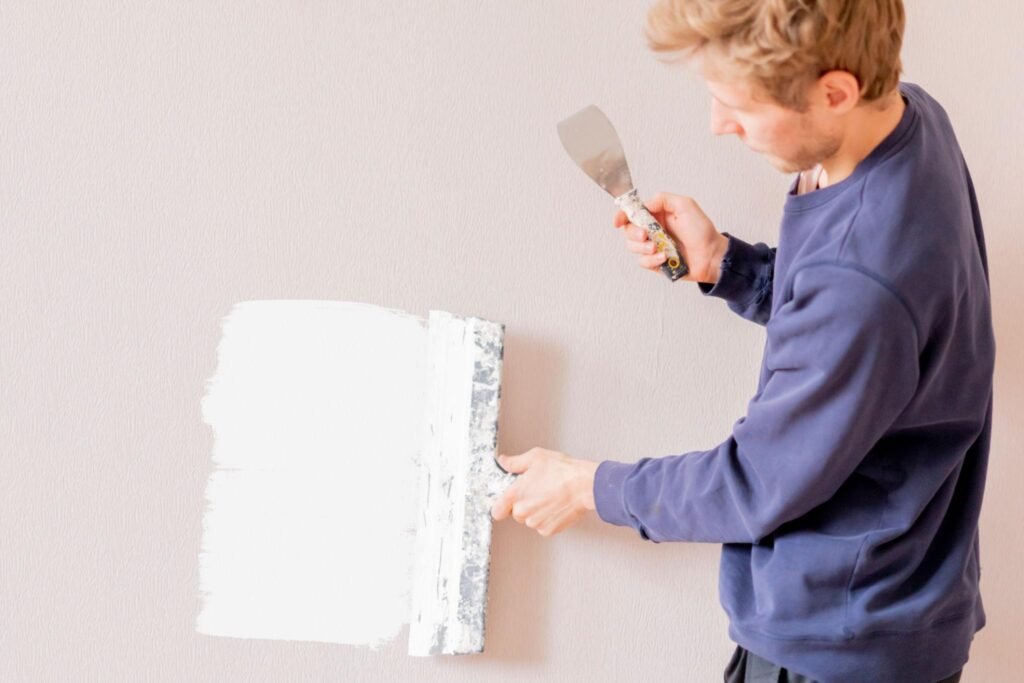
Thin coats are the actual technique here, not a slow-person workaround. Two or three thin layers that fully dry between applications will always look better than one heavy fill. Each coat should be almost translucent at the edges.
The fix if you’ve already applied too thick: if it’s cracked, scrape off the loose material, sand back to a stable surface, and start over with thin coats. If it’s just slightly proud of the wall and uncracked, sand it down carefully (see the sanding mistake below before you do).
Not Feathering Wide Enough
A repair that blends invisibly into the wall isn’t about the centre — it’s about the edges. If your joint compound only extends two inches past the hole, it creates a detectable ridge. Raking a work light across the surface at an angle shows this immediately; the shadow gives it away.
Feathering means making each coat slightly wider than the last, with the edges tapered so thin they almost disappear into the wall surface. On a medium hole, your final coat might extend 8–10 inches out from the original damage.
The fix on an existing repair: apply another thin skim coat, starting from the centre and pulling outward much further than before. Let it dry, sand lightly, and check with a raking light before painting.
Using Spackle on a Hole That Needed Joint Compound
Spackle is designed for small repairs — nail holes, minor dents, surface damage. It dries fast and sands easily, which makes it convenient. But it’s not built for anything bigger than about half an inch, and a lot of people reach for it on medium-sized holes out of habit.
The problem: spackle shrinks more than lightweight joint compound, has less structural integrity over larger areas, and doesn’t feather as smoothly. Repairs done with spackle on bigger holes often end up with visible edges, slight cracking, and a chalky texture that doesn’t take paint the same way.
For anything larger than a small nail hole, pre-mixed lightweight joint compound is the right tool. It feathers more smoothly, blends better, and holds up properly under paint. If you’re unsure which to reach for, the spackle vs joint compound breakdown on homeeguide.com is worth a few minutes.
Rushing the Drying Time
“It looked dry” is the reason behind a surprising number of failed repairs. Pre-mixed joint compound looks dry — pale, matte — before it actually is. Press a fingernail gently into the surface. If it leaves any impression at all, it needs more time.
At room temperature with normal humidity, expect 4–8 hours per coat for pre-mixed compound. In a humid room, near a window in damp weather, or with poor air circulation, that can stretch to 24 hours. Applying a new coat over compound that’s dry on the surface but still damp underneath traps moisture, causes uneven shrinkage, and leads to cracking or poor adhesion.
Don’t use heat guns or space heaters to speed things up either. Fast external drying seals the surface while moisture is still escaping from below. That’s a crack waiting to happen.
Paper Tape vs Mesh Tape: Choosing the Wrong One
Both work. Neither is universally better. The problem is using them interchangeably.
| Paper tape | Fiberglass mesh tape | |
| Best for | Flat seams, corners, large repairs | Quick patches, screw holes, small repairs |
| Strength | Stronger bond on prepped seams | Easier to apply but slightly weaker |
| Technique | Requires embedding in compound first | Self-adhesive, sticks directly |
| Risk | Bubbles if not properly embedded | Can crack on larger seams under movement |
For anything involving a full seam — a large patch, a replaced drywall section, a crack repair — paper tape embedded in a thin bed of compound gives a stronger hold. Mesh tape is genuinely fine for smaller fixes but tends to crack on larger repairs, especially in areas with any wall movement.
If you’ve got mesh tape on a seam that keeps cracking: the tape may not be the issue, but switching to paper tape on the next repair attempt usually gives a more durable result.
The Sanding Problem Nobody Warns You About
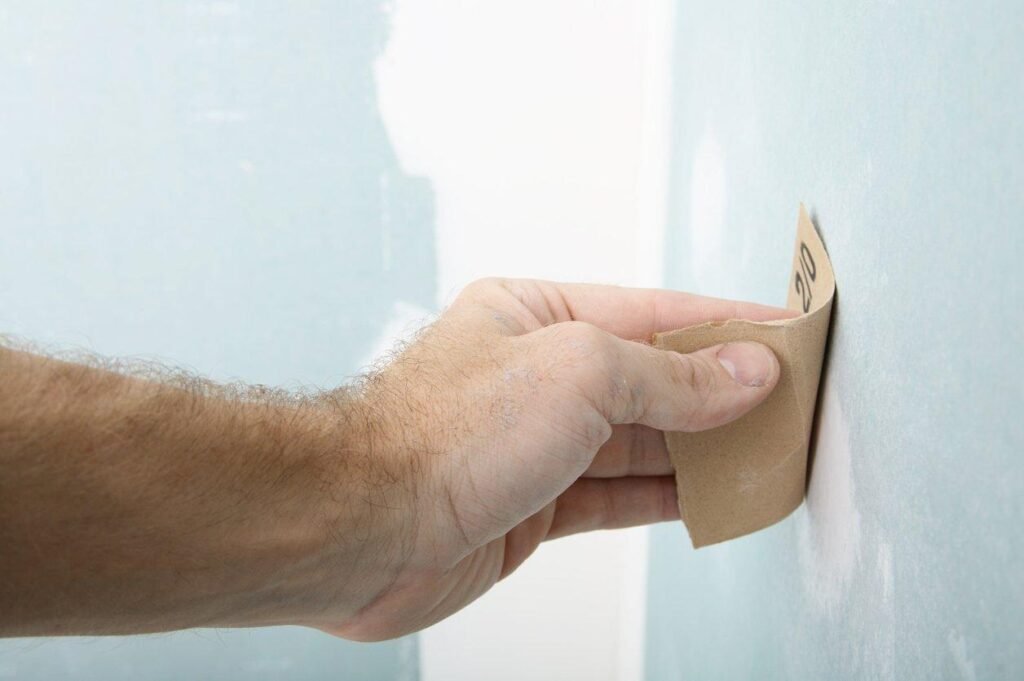
Sanding through the paper face of the surrounding drywall is easier than it sounds, especially when you’re trying to blend a slightly raised patch. You press a bit too hard, the paper scuffs, and now that area absorbs paint differently — same result as an unprimed patch, except it’s in the middle of your “good” wall.
Use a sanding sponge or a block rather than bare sandpaper. The block distributes pressure more evenly and gives you more control. Go with 150-grit for the main work, finish with 220. Light pressure. The goal is smoothing, not reshaping.
After sanding, always wipe with a slightly damp cloth to remove dust before priming. Dust acts as a barrier between primer and surface.
What to Do If You’ve Already Botched the Repair
This section is for the second group — people who’ve already patched and it looks wrong.
The assessment question is: is the current compound stable, or is it cracked and loose?
If it’s stable but the surface is lumpy or edges are too raised: you can sand back and skim over it. Apply a thin coat of joint compound over the whole repair area, feather it wider than before, and start fresh from that point. You don’t have to strip everything off.
If it’s cracked, delaminated, or bubbling: remove the loose material completely. Use a putty knife to scrape back to solid compound or bare drywall. Then start again with the proper method — thin coats, full drying time between each, wide feathering.
If you painted over an unprimed patch and the flat circle won’t go away: sand lightly, prime, repaint. That’s genuinely all it needs. Two coats of paint over primer will resolve the sheen difference.
The only scenario that usually requires calling someone is if the repair keeps failing in the same spot — especially if there are cracks that reappear along the same line, or any sign of moisture behind the wall. That’s not a technique problem; it’s a structural or water issue underneath.
For a full walkthrough of the repair process from scratch, how to fix a hole in drywall covers every size from nail holes to large patches.
When to Actually Call a Pro
Most drywall mistakes are cosmetic. They look bad but they’re fixable with a bit of patience and the right sequence.
Call someone when: cracks keep returning in the same location (possible structural movement), you find soft or discoloured drywall that suggests moisture, or there’s any visible mould around the damaged area. These aren’t surface problems and patching over them will only delay the real issue.
Everything else — lumpy patches, visible seams, cracking compound, paint that won’t blend — is DIY territory. It just needs the right approach and enough time to do it properly.
For jobs that require cutting into the wall, it’s worth having a basic set of drywall tools before you start. Trying to make clean cuts with the wrong equipment is one of the fastest ways to turn a small repair into a bigger one.
FAQs
Why does my wall patch look different after painting?
Almost always a primer issue. Joint compound and spackle are porous and absorb paint differently from the surrounding wall. The result is a flat, dull circle — sometimes slightly darker — even after multiple paint coats. Sand lightly, apply a coat of drywall primer, and repaint. One primer coat usually fixes it completely.
How do I fix a wall repair that keeps cracking?
Recurring cracks in the same spot usually mean either the compound was applied too thick (causing shrinkage cracks) or there’s underlying movement in the wall. Scrape back the cracked material, apply thin coats with full drying time between each, and feather edges wide. If cracks keep returning regardless of technique, the wall may have a structural or moisture issue worth investigating.
Should I use paper tape or mesh tape for drywall?
Paper tape is stronger on flat seams, large repairs, and anywhere with potential wall movement — but it needs to be embedded in compound first. Mesh tape is self-adhesive and quicker to apply, making it better for small patches and screw holes. Using mesh tape on large seams is a common reason repairs crack later.
How do I know if my wall has moisture damage?
Look for soft or spongy drywall around the repair area, yellowish-brown staining, paint that bubbles or peels without being touched, or a musty smell in the room. A basic moisture meter (under $20 at most hardware stores) gives a reliable reading. If you find moisture, identify and fix the source before patching.
Can I repair over a bad patch or do I have to start over?
Depends on the state of the existing repair. If the compound is stable but uneven, you can skim a thin new layer over it and feather wide — no need to strip it. If it’s cracked, bubbling, or delaminating, scrape back to solid material first. Painting over an unprimed patch just needs sanding, primer, and fresh paint — you don’t have to redo the patch itself.