Estimated reading time: 10 minutes
Last updated on June 19th, 2026 at 12:36 pm
The biggest mistake most people make with drywall repair? They pile on too much compound at once. It looks great wet, dries lumpy, cracks, and the whole thing has to come off. That one habit is behind about 80% of bad DIY patches.
The good news: fixing a hole in drywall isn’t hard. It just requires the right method for the right size hole, a bit of patience with drying times, and one extra step most guides skip entirely — matching your wall’s texture. Get those three things right and the repair disappears.
Here’s exactly how to do it.
What Size Is Your Hole? (This Changes Everything)
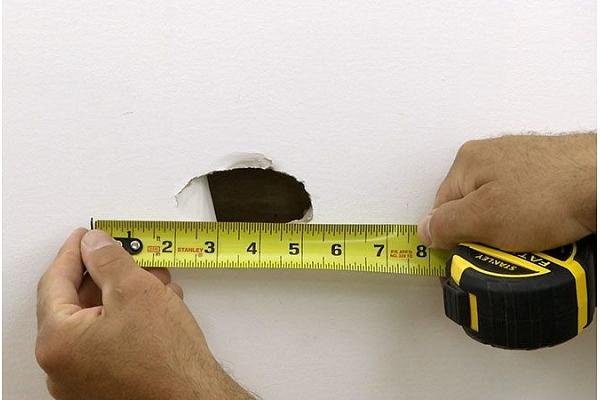
Before grabbing anything, figure out what you’re actually dealing with. The hole size determines the method, the materials, and how long the job will take. Treating a large hole like a small one is how repairs fail.
| Hole size | Method | Materials needed | Difficulty | Time |
| Under ½ inch | Spackle fill | Spackle, putty knife | Easy | 1–2 hours |
| ½ inch to 6 inches | Self-adhesive patch | Patch kit, joint compound, mesh tape | Moderate | 4–6 hours (+ drying) |
| Over 6 inches | Backing board + drywall patch | Drywall piece, wood backing, screws, tape, compound | Harder | 1–2 days |
If you’re not sure, err on the side of the next size up. Underestimating leads to weak repairs.
What You’ll Need Before You Start
No mid-job hardware store runs. Get everything together first.
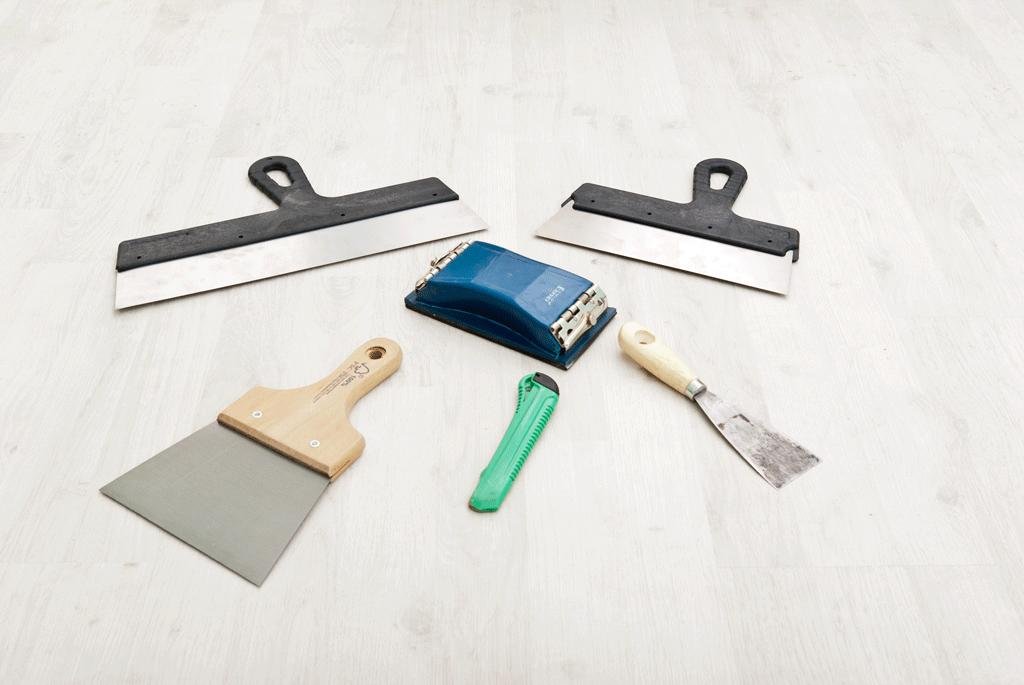
For small holes (under ½ inch): lightweight spackle, a putty knife, fine-grit sandpaper (around 220 grit), primer, and touch-up paint.
For medium holes: a self-adhesive mesh patch kit (most cover up to 6 inches), joint compound — the pre-mixed lightweight kind is easier to work with — a wider putty knife or drywall knife, sandpaper, primer, and paint.
For large holes: a piece of drywall cut to fit, wood backing strips (1x3s or similar), drywall screws, a drill, paper or mesh joint tape, joint compound, and the same finishing supplies.
One tool most guides don’t mention: a work light. Rake it across the wall at an angle once the compound dries. Any imperfection jumps out immediately. Don’t skip this.
If you’re new to buying tools for this kind of job, the best tool kits for homeowners cover everything worth having on hand.
How to Repair a Drywall Hole: Step by Step
Small holes (under ½ inch)
These are the easiest. Nail pops, small door-handle dents, anchor holes — all the same fix.
- Clean out any crumbling edges with a putty knife or your fingernail. The hole needs a clean edge to bond to.
- Press a small amount of spackle into the hole using the putty knife. Don’t glob it on — you want a thin fill, slightly proud of the surface.
- Let it dry completely. Lightweight spackle usually takes 1–2 hours depending on humidity. Don’t rush it.
- Sand smooth with 220-grit sandpaper. Wipe off the dust with a slightly damp cloth.
- Prime, then paint.
That’s it for small holes. The whole job takes maybe 20 minutes of actual work.
Medium holes (½ inch to 6 inches)
This is the most common repair — the size you get from doorknobs, shelving anchors pulled out badly, or accidental impacts.
- Peel the backing off a self-adhesive mesh patch and center it over the hole. Press it firmly so the edges stick flat.
- Apply a thin layer of joint compound over the patch with a 6-inch drywall knife, feathering the edges outward a few inches. Thin means thin — you should almost be able to see the mesh underneath.
- Let it dry. Pre-mixed joint compound takes 4–8 hours per coat depending on thickness and humidity. Don’t trust the “dry to touch” test — press a fingernail in gently. If it leaves a mark, it’s not ready.
- Apply a second coat, feathering wider than the first. This is how you make repairs invisible: each coat slightly bigger than the last.
- Sand lightly between coats with 150-grit, then finish with 220. Wipe dust away before each new coat.
- Prime, then paint.
Most medium patches need two to three coats total. The temptation to do one thick coat is real. It’s also always a mistake — thick layers crack as moisture escapes unevenly.
Large holes (over 6 inches)
This one takes more time but it’s not complicated.
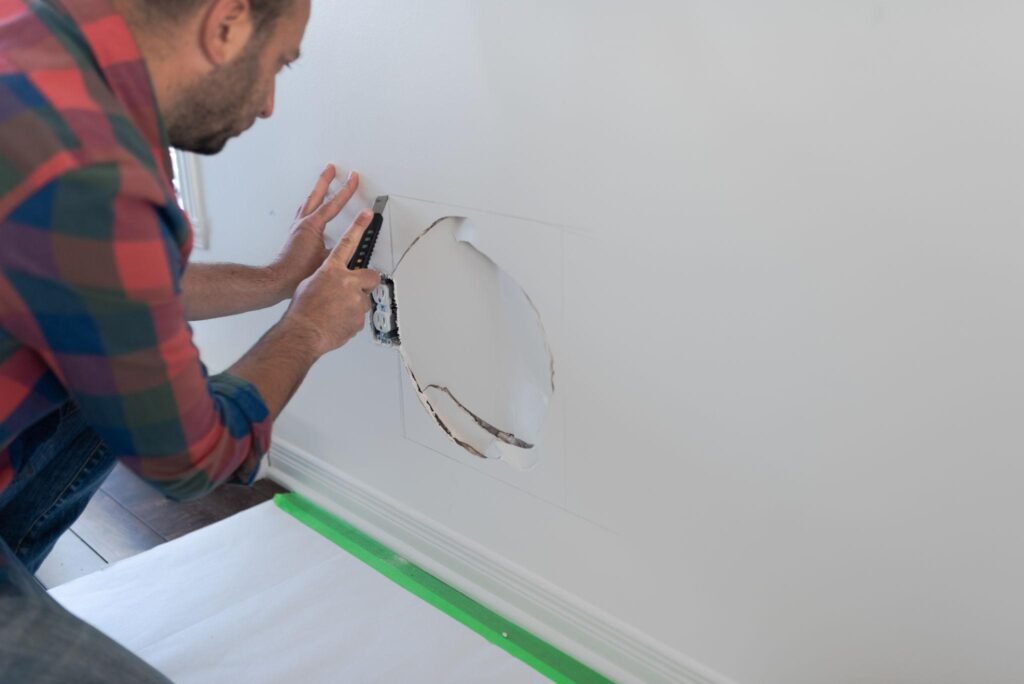
- Cut the damaged area into a clean rectangle using a drywall saw. Straight edges are much easier to patch than ragged ones.
- Cut wood backing strips slightly longer than the hole’s height. Insert them into the hole and screw them to the existing drywall on either side — these are what your new patch will attach to.
- Cut a piece of drywall to fit the opening exactly. Screw it into the backing strips.
- Apply joint tape over all four seams. Paper tape gives a stronger bond than mesh for large patches; press it into a thin bed of compound and smooth it flat.
- Apply joint compound over the tape in thin layers, feathering each coat outward. You’ll likely need three coats here.
- Sand, prime, paint.
For more about common mistakes that trip people up at the larger repair stage, DIY wall repair mistakes homeowners make is worth a read before you start.
The Step Most Guides Skip: Matching Your Wall’s Texture
Here’s the thing — a perfectly smooth patch on a textured wall looks worse than the original hole did. Paint highlights the difference immediately.
Real walls aren’t smooth. Most have some kind of finish applied over the drywall, and if yours does, the repair needs to match it.
Smooth walls: Sand carefully and prime well. The smooth surface means any unevenness shows up clearly, so the work-light test really matters here.
Orange peel texture: This light, slightly bumpy finish is the most common. After your final coat dries, apply a very thin skim coat of compound, then use an orange peel texture spray (available at any hardware store) from about 18 inches away. Practice on cardboard first to get the pressure right. Blend the spray into the surrounding area, not just over the patch.
Knockdown texture: Thin down some joint compound slightly with water until it’s the consistency of thick pancake batter. Dab it onto the surface with a sponge or a crumpled plastic bag, then lightly drag a wide drywall knife across the top to “knock down” the peaks. It takes a couple of practice passes to match existing knockdown, but the pattern is forgiving.
Skip-trowel and heavy textures: These are harder to match consistently. If the texture is very pronounced or unusual, test your technique in a low-visibility area first.
Getting texture right is the difference between a repair that’s invisible and one that you’ll notice every time you walk past. Don’t skip it.
If the Repair Cracks After Drying
It happens. You did everything right and a hairline crack appears, usually along the edge of the patch.
This almost always means the compound dried too fast (low humidity rooms, heat vents nearby) or was applied too thick. Don’t panic.
Lightly sand the cracked area, apply another thin coat of compound, and feather it wide. Let it dry slowly — if the room is very dry, a slightly damp cloth placed nearby helps regulate moisture. Don’t heat the room to speed drying.
If cracks keep returning in the same spot, especially on seams, the problem might be movement in the wall rather than the repair technique. That’s worth looking into before repainting — the DIY baseboard repair guide has some useful context on wall movement and structural settling.
A Note for Renters
Small holes from picture hooks and anchors are standard wear and tear in most rental agreements — but anything larger than a nail hole might come out of your deposit.
For nail holes and small anchors, lightweight spackle and a quick sand is genuinely enough. Match the paint as closely as possible. Most landlords won’t look twice at a properly filled nail hole.
For medium holes, a quality patch job done properly looks completely fine. Just prime before painting — an unprimed patch absorbs paint differently and creates a dull spot that stands out under certain light.
If there’s any doubt about what counts as normal wear and tear, ask in writing before you move out. Worth the 30-second email.
Common Mistakes That Ruin a Good Repair
Skipping primer. Unprimed joint compound sucks up paint like a sponge. You’ll see a flat, dull circle even after two coats of paint. Always prime first.
Not feathering wide enough. The repair should blend invisibly into the surrounding wall. If your compound only extends an inch or two beyond the hole, it’ll be visible as a slight ridge. Go wider each coat.
Sanding too aggressively. Light pressure, fine grit. You’re smoothing, not reshaping. Pressing hard scuffs the paper face of the surrounding drywall, which then absorbs paint unevenly.
Painting before it’s fully dry. Joint compound looks dry before it is. If there’s any white (not gray) still visible, give it more time. Painting over wet compound traps moisture and the paint film can bubble or peel.
When to Call a Pro
Most drywall holes are genuinely DIY-able. But there are a few situations worth getting a second opinion on.
If the damage is near electrical wiring or plumbing, don’t cut into that area without confirming what’s behind it. If there’s visible mold around the hole, that’s a moisture problem that needs to be fixed before the drywall is. And if the hole is the result of structural settling — walls cracking repeatedly along the same line — patching the surface is a short-term fix.
For everything else? You’ve got this.
FAQs
Can you fix a large drywall hole without replacing the whole panel?
Yes. Holes larger than 6 inches can be repaired with a drywall patch attached to wood backing strips installed inside the wall. You don’t need to replace the full panel — just cut a clean rectangle, fit backing, attach a new piece of drywall, tape the seams, and finish with joint compound.
How long does joint compound take to dry between coats?
Pre-mixed lightweight joint compound typically takes 4–8 hours per coat at room temperature. In humid conditions or thicker applications, allow up to 24 hours. Don’t rely on the surface looking dry — press a fingernail gently into the compound. If it leaves a mark, it needs more time.
Do I need to prime before painting a patched wall?
Always. Joint compound and spackle are highly porous and absorb paint differently than the surrounding wall. Without primer, you’ll see a dull, flat circle even after multiple paint coats. A single coat of drywall primer solves this completely.
What’s the difference between spackle and joint compound?
Spackle is a ready-to-use filler designed for small holes — it dries faster and sands easily but isn’t suitable for large repairs. Joint compound (also called “mud”) is more versatile, used for taping seams and finishing larger patches. It takes longer to dry but feathers more smoothly over wider areas.
How do you texture drywall after patching?
Match your existing texture. For orange peel, use a spray texture can from about 18 inches. For knockdown, thin joint compound to a pancake-batter consistency, dab it on, then lightly drag a knife across to flatten the peaks. Always test on cardboard first and blend into the surrounding area, not just over the patch.
Is drywall repair worth doing yourself, or should you just hire someone?
For holes up to about 6 inches, DIY is straightforward and genuinely cost-effective. The materials cost under $20 in most cases. Larger repairs take more time but are still manageable with the right method. Where it gets more complex — multiple large holes, texture matching on unusual finishes, or moisture-related damage — a professional finisher can save time and frustration.