Estimated reading time: 13 minutes
Smart lights sound simple until you’re standing in a hardware aisle staring at a wall of boxes, wondering whether you need a hub, a bridge, or a gateway — and whether those are even different things.
They are, sometimes. Which is exactly the problem.
Most guides on how to install smart lights jump straight to “screw in the bulb and download the app” without addressing the decisions that actually determine whether your setup works reliably or frustrates you for weeks. The installation itself takes ten minutes. The part that trips people up is everything before it — choosing the right product type, understanding whether your existing Wi-Fi will cooperate, and figuring out whether your smart speaker ecosystem matters before you buy.
Get those three things right first and the rest genuinely is as easy as it looks on the box.
The Decision Nobody Warns You About: Bulb, Switch, or Strip?
These aren’t just aesthetic choices. Each one works differently, installs differently, and suits different living situations.
Smart bulbs are the most popular starting point, and for good reason. You unscrew the old bulb, screw in the smart one, and you’re most of the way there. No wiring, no tools, no electrician. They’re also renter-friendly — take them when you move. The main drawback is one that households discover quickly: if someone turns the light switch off at the wall, the bulb loses power and can’t be controlled remotely or via voice until the switch is turned back on. In a house with multiple people and a habit of using wall switches, this gets old fast.
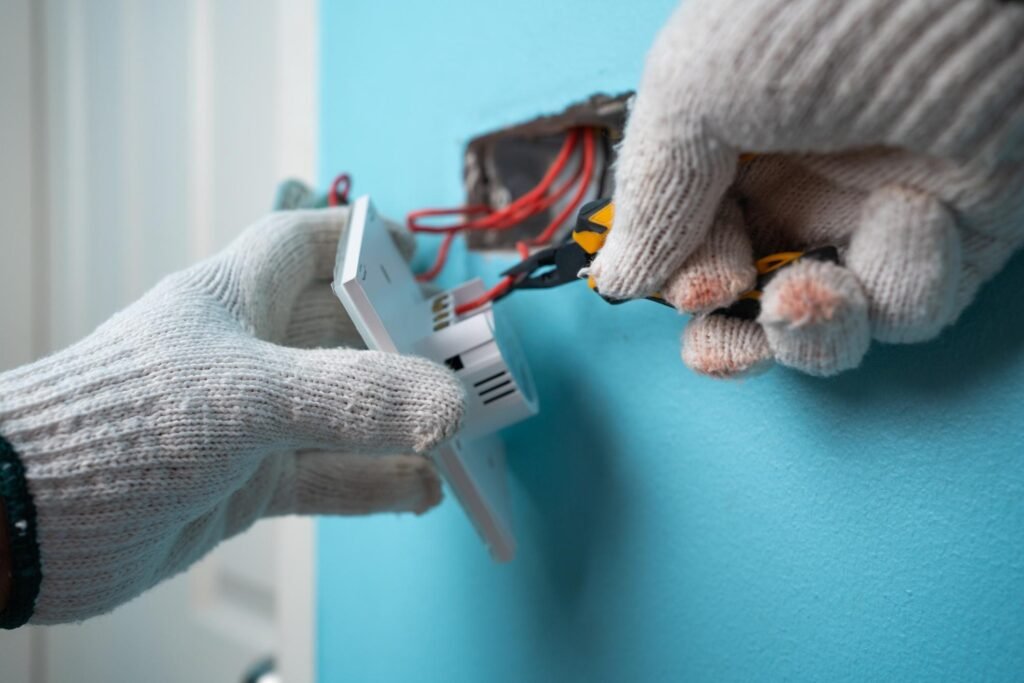
Smart switches solve that problem entirely. The wall switch becomes the smart device, and any bulb can go in the fitting. Voice control, schedules, and automations all work regardless of how anyone interacts with the switch. The trade-off: installing a smart switch involves wiring — connecting wires behind the wall plate. It’s not complicated if you’re comfortable turning off the breaker and following a wiring diagram, but if the idea of working with electrical wiring gives you pause, that’s completely reasonable. This one is worth being honest with yourself about.
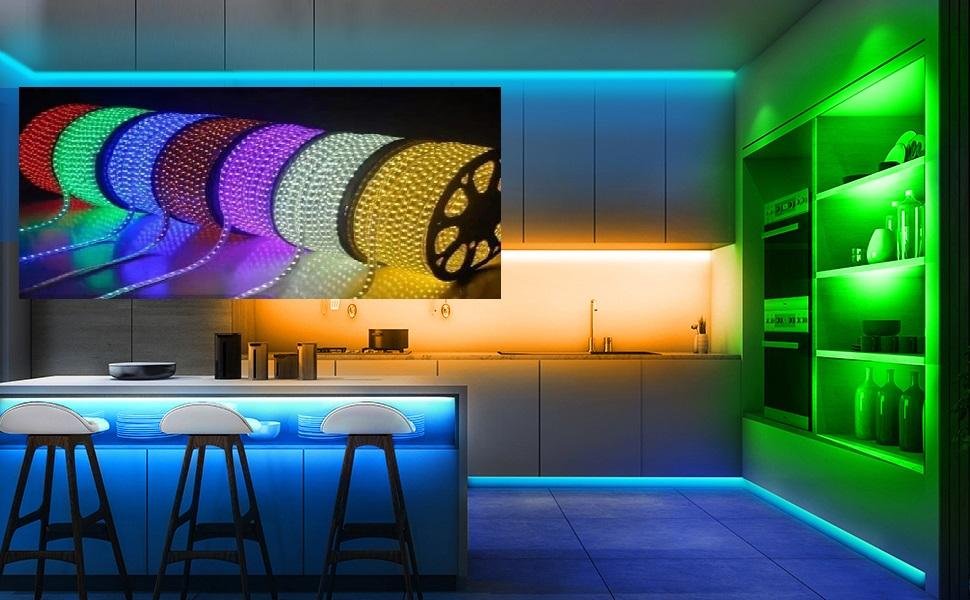
LED light strips are a different category altogether. They sit in drawer runners, behind TVs, under kitchen cabinets, or along shelving. No fixture required — they run on a plug-in power supply and stick to surfaces with adhesive backing. Setup is usually the simplest of the three.
For most people starting out: smart bulbs for bedrooms and living areas, light strips for accent lighting, smart switches if you’re comfortable with basic wiring and want a more permanent solution.
Do You Actually Need a Hub?
This question causes more confusion than almost anything else in smart lighting — partly because the word “hub” gets used inconsistently by different brands.
Here’s the honest answer: it depends on the bulb protocol.
Wi-Fi bulbs (from brands like TP-Link Kasa, LIFX, and most budget options labelled “Smart Life”) connect directly to your home router. No hub required. You download the companion app, connect to your Wi-Fi, done. Simple.
Zigbee bulbs (Philips Hue’s standard range, Sengled, and others) use a different wireless protocol that doesn’t connect to your router directly. They need a dedicated hub — a small box that plugs into your router and acts as a translator between the bulbs and your network. Without it, a Zigbee bulb is just a bulb.
I had a Zigbee bulb sitting unused for a week once before I worked this out. The packaging didn’t make it obvious. If you’re buying Philips Hue, budget for the starter kit that includes the bridge — don’t just buy individual bulbs and expect them to work.
The practical upside of Zigbee: it’s generally more reliable and responsive than Wi-Fi bulbs, especially as you add more devices. The practical upside of Wi-Fi: no hub cost, no extra device to maintain.
For a room or two? Wi-Fi bulbs are fine. For a whole house with dozens of lights? A proper Zigbee or Thread-based system like Philips Hue is worth the investment in stability.
The Ecosystem Question (And Why You Should Care Before Buying)
Your smart lights will probably end up controlled through one of three major ecosystems: Amazon Alexa, Google Home, or Apple HomeKit. If you already have a smart speaker or display, you’re likely already in one of these.
Most mainstream smart lights support all three — but not always equally well. Some brands have better Alexa integration, some have smoother Google Home experiences. Before buying, check the box or the product page for the logos of supported ecosystems.
The important thing is deciding early and staying consistent. A home that mixes devices across ecosystems ends up with multiple apps, inconsistent voice command behaviour, and automations that can’t talk to each other properly.
One development worth knowing about: Matter is a newer universal smart home standard that allows devices from different brands and ecosystems to work together directly. Products with Matter support can be added to Alexa, Google Home, and HomeKit from the same device. It’s increasingly common on new releases in 2025 and 2026. If future-proofing matters to you, look for the Matter logo when buying.
For most people starting from scratch: pick the ecosystem that matches your existing smart speaker and stick to it. Don’t overthink this.
Before You Buy: The Wi-Fi Check That Saves Hours of Frustration
This is the one thing almost no smart lighting guide mentions, and it’s the cause of a huge proportion of failed setups.
Most Wi-Fi smart bulbs only work on 2.4GHz Wi-Fi networks. They don’t support 5GHz. Most modern routers broadcast both bands, sometimes as separate networks with different names, sometimes combined under one name.
If your router broadcasts a single combined network and your phone connects to 5GHz automatically, the bulb setup will fail — the app will find the bulb, attempt to connect it to Wi-Fi, and time out. The app will blame the bulb. It’s almost never the bulb.
To check: go into your router settings or the router’s companion app and look for the network bands. If you have separate 2.4GHz and 5GHz networks listed (often with “2G” or “5G” in the name), use the 2.4GHz one during bulb setup. If they’re combined, check the router settings for an option to separate them temporarily, or connect your phone to the 2.4GHz network specifically for setup.
Once the bulb is set up, your phone can go back to its preferred network. The bulb stays connected to 2.4GHz independently.
How to Install Smart Lights: The Actual Steps
Once the decisions above are sorted, installation is genuinely quick.
Smart bulbs
Turn the light switch off. Remove the existing bulb. Check the fitting type on the new smart bulb — E27 is the most common screw fitting, E14 is smaller (often used in lamps), GU10 is a bayonet spotlight fitting. Make sure it matches your fixture before you open the packaging.
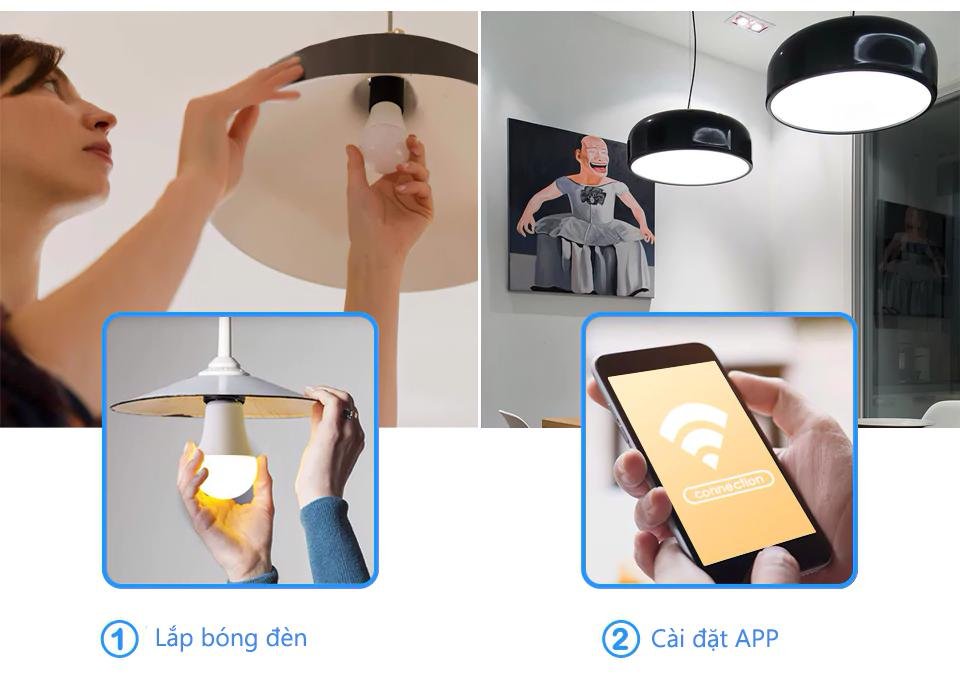
Screw or click in the smart bulb. Turn the switch back on. The bulb should do a brief flash or colour cycle to indicate it’s in pairing mode. If it doesn’t, most bulbs can be reset by switching power off and on three to five times in quick succession — check the manual for the specific pattern.
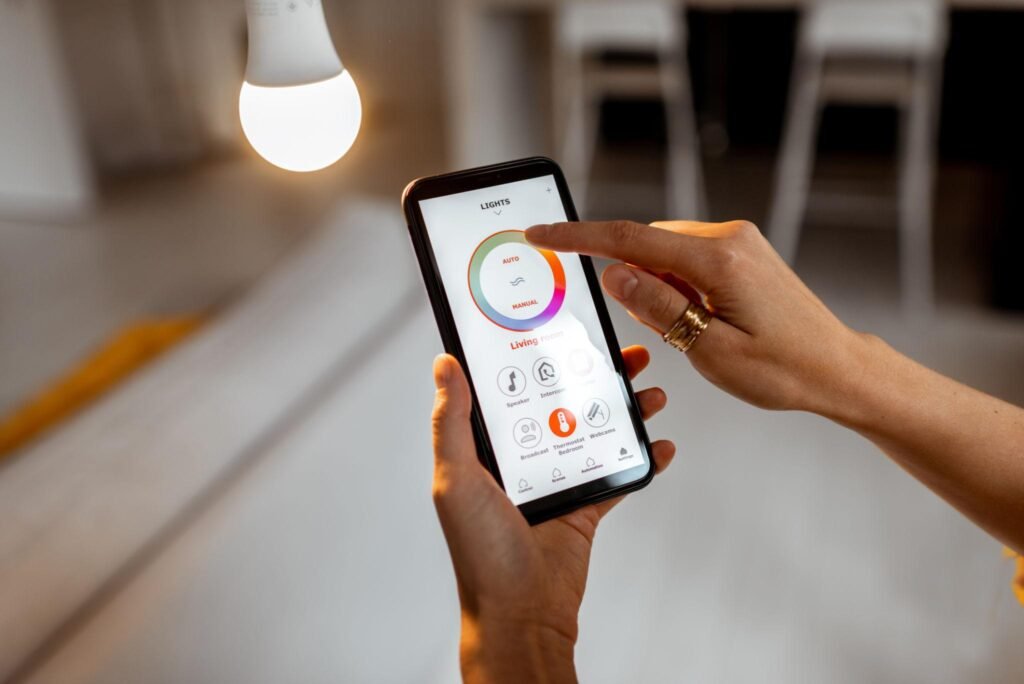
Open the companion app on your phone (make sure you’re on 2.4GHz Wi-Fi), create an account if you haven’t already, and follow the pairing steps. Most modern apps either scan a QR code on the bulb or auto-detect it on the network. The whole process usually takes two to three minutes per bulb once you’ve done it once.
LED light strips
Clean the surface where the strip will go — dust or grease prevents the adhesive from sticking properly. Peel the backing off the strip and press it firmly into place. Plug in the power supply. From there, setup through the app is identical to a smart bulb.
Measure the run length before buying. Most strips can be cut at marked intervals, but they can’t be extended without a connector and a matching extension strip.
Smart switches
Turn off the breaker for the circuit — not just the switch, the breaker. Use a voltage tester on the wires before touching anything. Remove the existing switch plate and switch, and photograph the existing wiring before disconnecting anything. Smart switches typically require a neutral wire, which older homes sometimes lack. Check the product requirements before buying.
Follow the manufacturer’s wiring diagram carefully. Most smart switches have clear colour-coded instructions. Once wired, the setup through the app follows the same pairing process as bulbs.
If you’re not comfortable with any part of the wiring step, this is genuinely a job worth getting an electrician in for. The wiring itself takes them about fifteen minutes.
Setting Up Voice Control and Automations
Once your lights are in the app and working, connecting them to a voice assistant is usually just a few taps.
In the Alexa app: go to Devices, tap the + icon, select Add Device, choose your light brand, and follow the linking steps. Google Home is similar — tap the + icon, select Set up device, and choose Works with Google. For HomeKit, most devices use a QR code or numeric code printed on the product.
After linking, tell Alexa or Google to “discover devices” if your lights don’t appear automatically.
For automations, the companion app is usually more powerful than the voice assistant’s built-in automation tools. Set schedules, sunrise/sunset triggers, and motion sensor activations through the original app. More complex routines that involve multiple device types — lights plus thermostat, lights plus doorbell — are better built through the Alexa or Google Home routine builders.
A few automations that are actually useful day-to-day, rather than novelty: lights that gradually brighten thirty minutes before your alarm time, outdoor lights that turn on at sunset and off at midnight, and a “leaving home” scene that turns everything off when you’re the last to leave. Geofencing — where the lights respond to your phone’s location — works well for that last one if your ecosystem supports it.
Why It’s Not Connecting: Quick Troubleshooting
Setup problems are common and almost always solvable. The most frequent causes:
Bulb won’t appear in the app: Check the Wi-Fi band first (almost always this). Make sure the bulb is in pairing mode — it should be flashing. Try moving closer to the router during setup.
App times out during pairing: The 2.4GHz issue again, or the router is too far from the bulb. Some routers also have “AP isolation” enabled, which prevents devices on the same network from communicating — check your router settings.
Bulb pairs but goes offline repeatedly: Weak Wi-Fi signal in that location. A Wi-Fi extender, or switching to a Zigbee system with a hub, resolves this.
Voice assistant can’t find the lights: Re-run device discovery in the assistant app. Make sure the lights are assigned to a room in the companion app before linking — unnamed devices often don’t transfer cleanly.
Lights work from the app but not voice: Usually a re-linking issue. Remove the skill or integration and re-add it.
For a broader look at the mistakes that make smart home setups unnecessarily complicated, this guide on DIY smart home mistakes to avoid covers the patterns that catch people out across all device types — not just lighting.
A Note on Budget vs Premium
You don’t need to spend $200 on a Philips Hue starter kit to get reliable smart lighting in one room. A $12–15 Wi-Fi bulb from TP-Link Kasa or a Govee light strip gives you app control, scheduling, and voice assistant support for a fraction of the cost.
The honest trade-off: budget Wi-Fi bulbs depend on cloud servers to function. If the company discontinues the product or shuts down the service, the smart features stop working. Philips Hue and other established ecosystems have a longer track record of continued support and local processing options.
For a bedroom lamp or under-cabinet accent lighting, a budget option is fine. For a whole-house installation you’re relying on daily, the more established ecosystems are worth the premium.
If you’re curious about what else is worth adding to a smart home setup alongside lighting, these smart home devices for beginners covers the next logical additions without overcomplicating things. And for ideas on what’s achievable on a limited budget across the full home, budget smart home upgrades is worth bookmarking.
Smart lighting is genuinely one of the more satisfying smart home projects — the results are immediate and visible. Get the pre-purchase decisions right and the installation itself will feel like the easy part it’s supposed to be.
Frequently Asked Questions
Do smart lights need a hub to work?
It depends on the type. Wi-Fi smart bulbs connect directly to your home router and don’t need a hub. Zigbee-based bulbs (like Philips Hue’s standard range) require a hub or bridge that plugs into your router. Always check the product description before buying — it will specify whether a hub is required.
Can you install smart lights without an electrician?
Smart bulbs and LED strips require no electrical work and no electrician — they install exactly like regular bulbs. Smart switches involve wiring behind the wall plate and require turning off the circuit breaker. If you’re comfortable with basic electrical work, most smart switch installations are manageable DIY. If not, an electrician can do the wiring portion in around fifteen minutes.
Why won’t my smart bulb connect to Wi-Fi?
The most common cause is the Wi-Fi band. Most smart bulbs only support 2.4GHz networks, not 5GHz. If your router combines both bands under one name, your phone may be connecting to 5GHz automatically during setup, which prevents the bulb from pairing. Temporarily connect your phone to the 2.4GHz network specifically before running the setup.
Do smart lights still work if the wall switch is turned off?
No — turning the wall switch off cuts power to the bulb, which means it can’t be controlled remotely, respond to voice commands, or run scheduled automations. This is the main practical drawback of smart bulbs. Smart switches solve this by keeping the circuit powered while still giving physical control.
Can I mix smart bulbs from different brands?
You can, but managing them through a single app becomes complicated. The more practical approach is to keep all bulbs within the same ecosystem or brand for one room or zone. If you’re using a voice assistant like Alexa or Google Home as the central control point, some cross-brand management is possible, but automations that involve multiple brands can be unreliable.
What happens to smart lights during a power outage?
They go off like any light. When power returns, most smart bulbs default to turning on at full brightness — which can be startling at 3am. Many apps let you configure the power-on behaviour so bulbs return to their previous state or turn off after a power cut. It’s worth setting this up early.
Are smart lights worth it for just one room?
Yes, especially if you want scheduling, dimming without a physical dimmer switch, or voice control. A single smart bulb in a bedside lamp with a wake-up routine is genuinely useful. You don’t need a whole-house setup to get real value from smart lighting.